What you’ll need
- Your lipstick and its application directions
- A lip liner in a compatible shade
- A clean lip brush if you want more control
- A tissue, cotton buds and a remover suitable for the lips
- Non-irritating lip balm if needed
Before you start
Feathering is colour spreading beyond the lip border, sometimes into the surrounding fine lines. Transfer is colour leaving a mark on something you touch with your lips. Fading is loss of colour from the lip itself. Check which is happening before changing the whole routine.
Comfort comes first. The AAD advises stopping products that burn or sting and using non-irritating care for chapped lips. Do not scrub sore or cracked lips to prepare them for lipstick.[1]
One step at a time
Here’s how to do it
Prepare without leaving a slippery layer
Use balm if your lips need it, then gently blot excess before lining. Charlotte Tilbury’s application guide includes this step. You want comfortable lips without a thick, mobile layer underneath the colour.[2]
Check the skin just outside the lip edge too. If there is a smear of balm there, remove that excess with a clean tissue. Avoid rubbing back and forth over flakes or trying to peel them away.
What to look forYour lips feel comfortable and the border is easy to see.
Follow your natural border
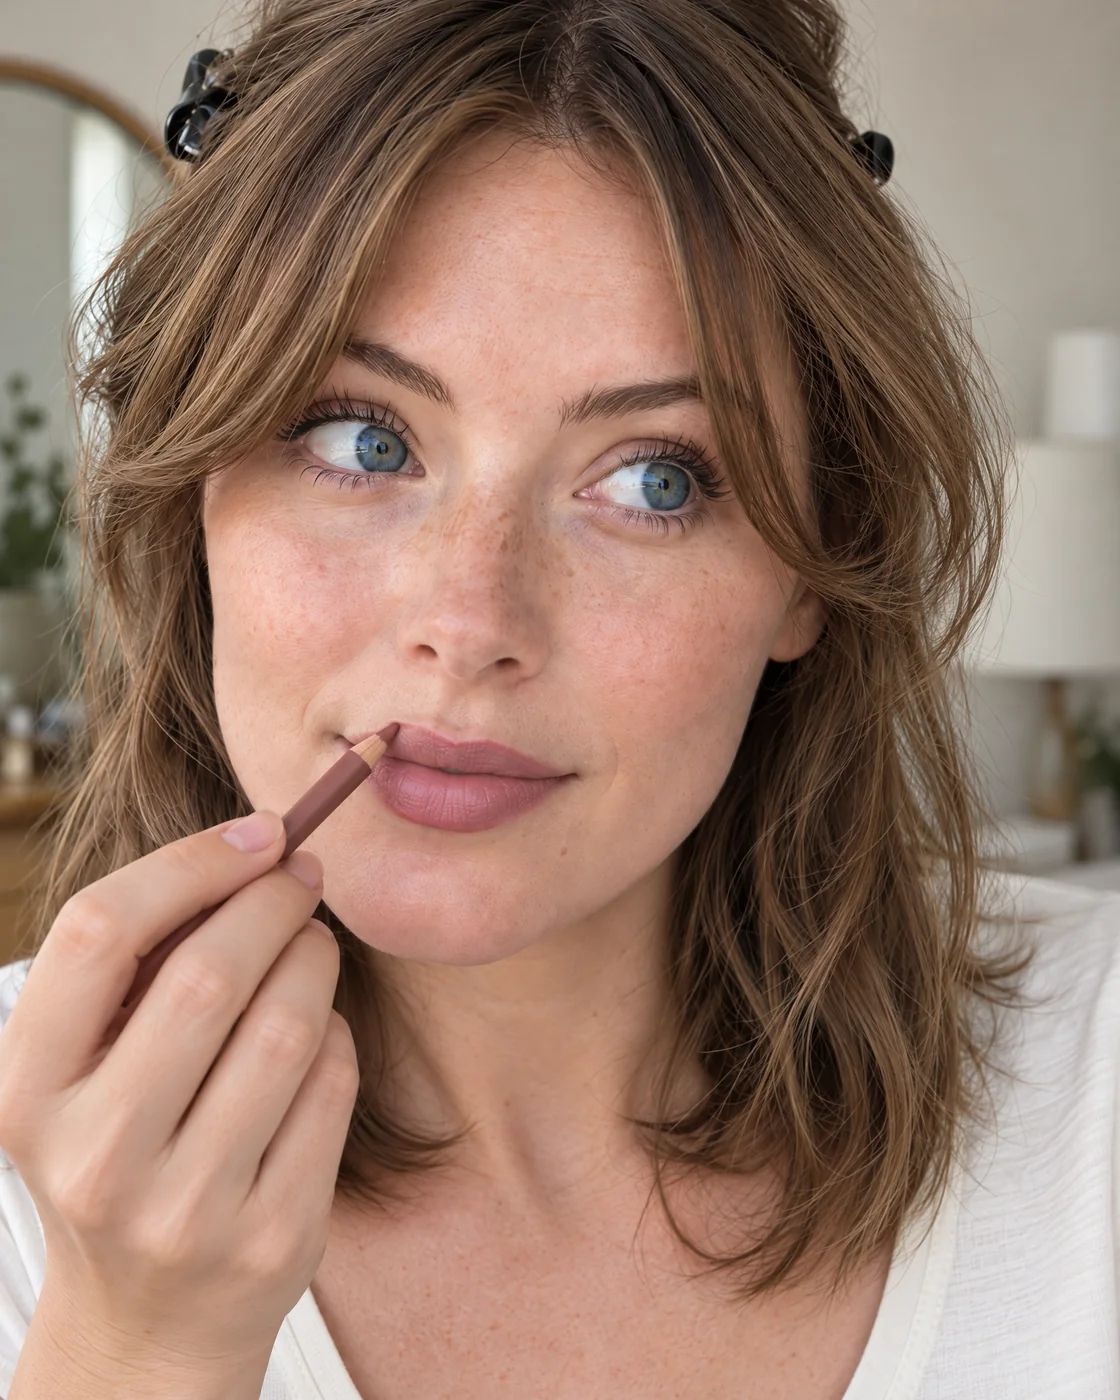
With your mouth relaxed, use short pencil strokes along the edge you can actually see. Begin at the cupid’s bow and the middle of the lower lip, then connect towards the corners. Keep the line light enough to correct.
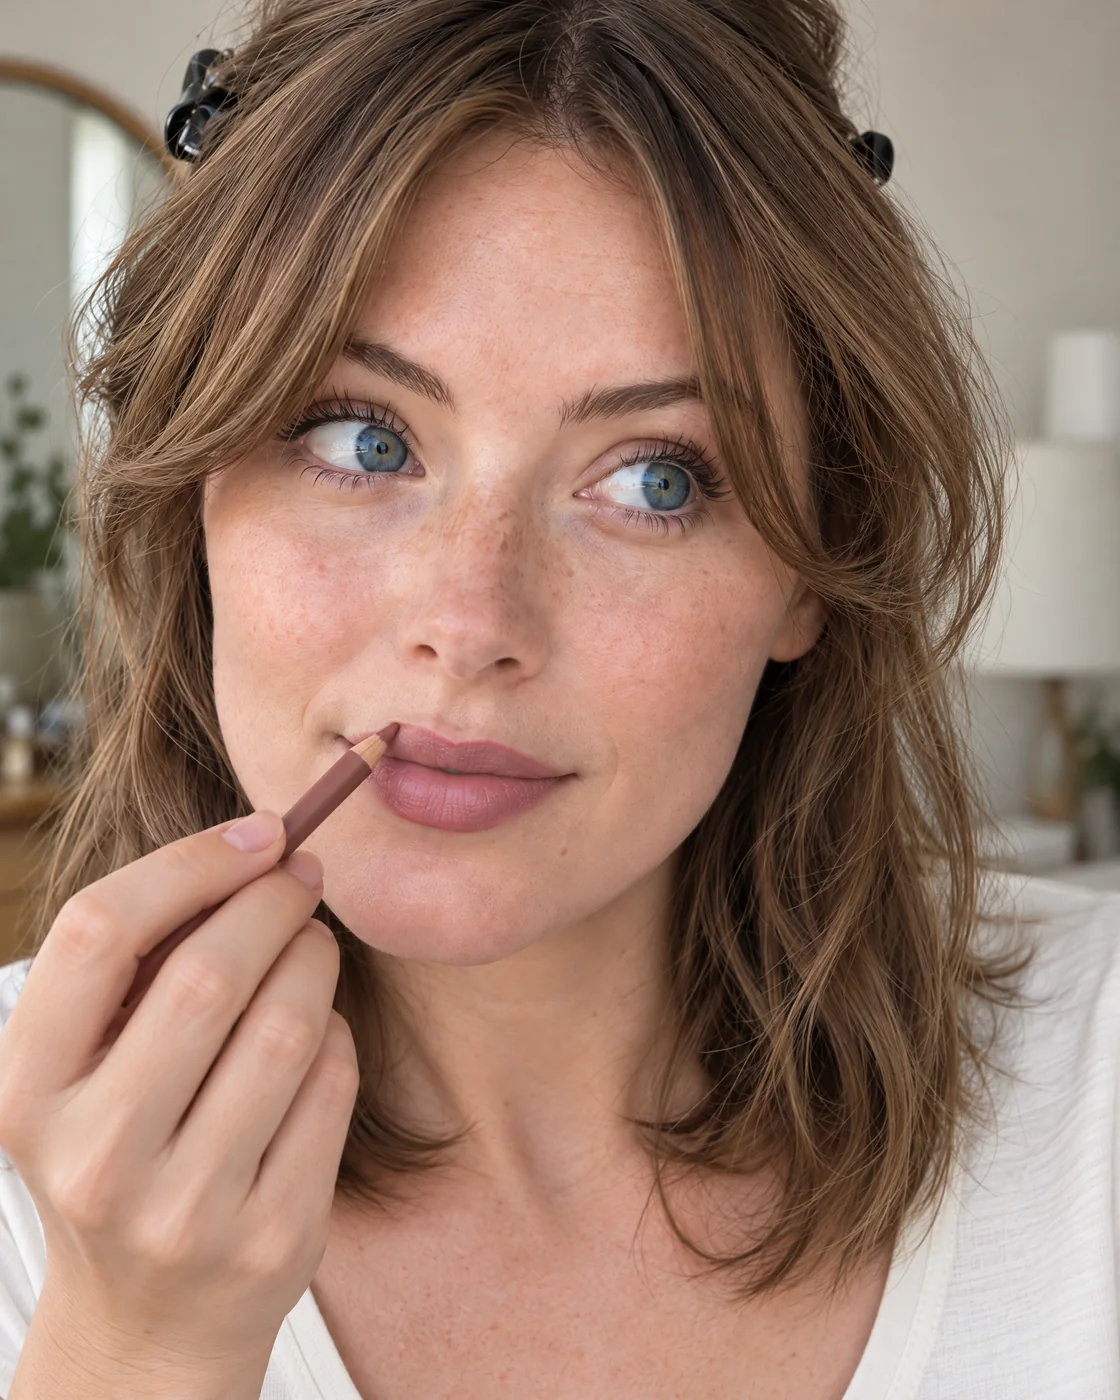
Follow your own lip edge with short strokes you can control. Clinique’s Quickliner instructions use small starting marks and connect them, then allow liner to fill the lips before lipstick. If you fill in, use a thin layer rather than repeatedly pressing over one spot. This is an application option, not a guarantee against movement.[3]
What to look forThe line follows the lip itself; it has not moved onto the surrounding skin.
Bring the colour up to the line carefully
For cream lipstick, use the bullet or a clean lip brush to place a thin layer inside the border. Start with less on the brush near the corners, where a large dab is harder to control. Charlotte Tilbury recommends thin coats and a brush for more precise placement.[2]
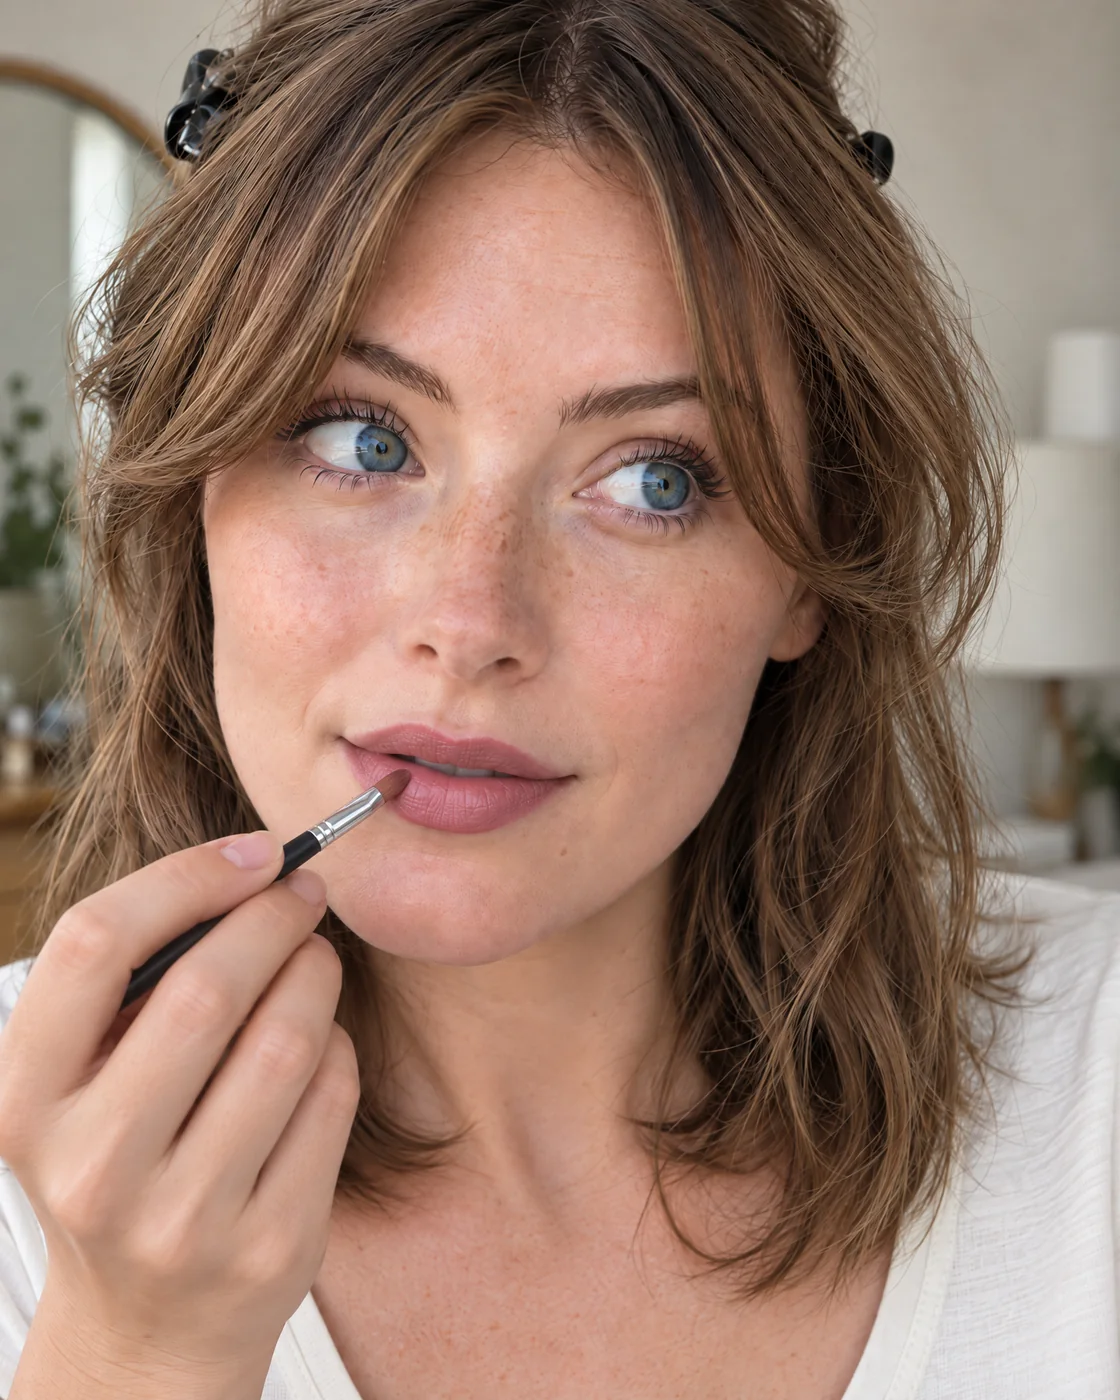
Keep the layer thin and bring the colour up to the border carefully. Look at both corners with your lips relaxed, then slightly parted. Fill an actual gap if you see one. Do not redraw the whole mouth because one small section needs another touch.
What to look forColour reaches the border without a ridge of excess product sitting along it.
Use the finishing step for your formula
For a conventional cream lipstick, a gentle tissue blot can lift excess. Check the finish before adding another thin layer. Blotting is not the default instruction for every liquid lipstick or stain.[2]
For example, NYX Shine Loud is a two-step product. Its current US directions call for dry lips, an even colour coat, 30–60 seconds to dry, then its gloss. Follow your own pack if it differs. Do not insert tissue blotting or powder between those steps unless the manufacturer tells you to.[4]
What to look forYou have completed the product’s own drying or finishing sequence before judging it.
Repair only the edge that needs it
Use a clean cotton bud for a small fresh smudge. If colour will not lift, use a little lip-safe remover on the bud, following its directions. Work just outside the border and switch to a clean tip before it starts spreading pigment.
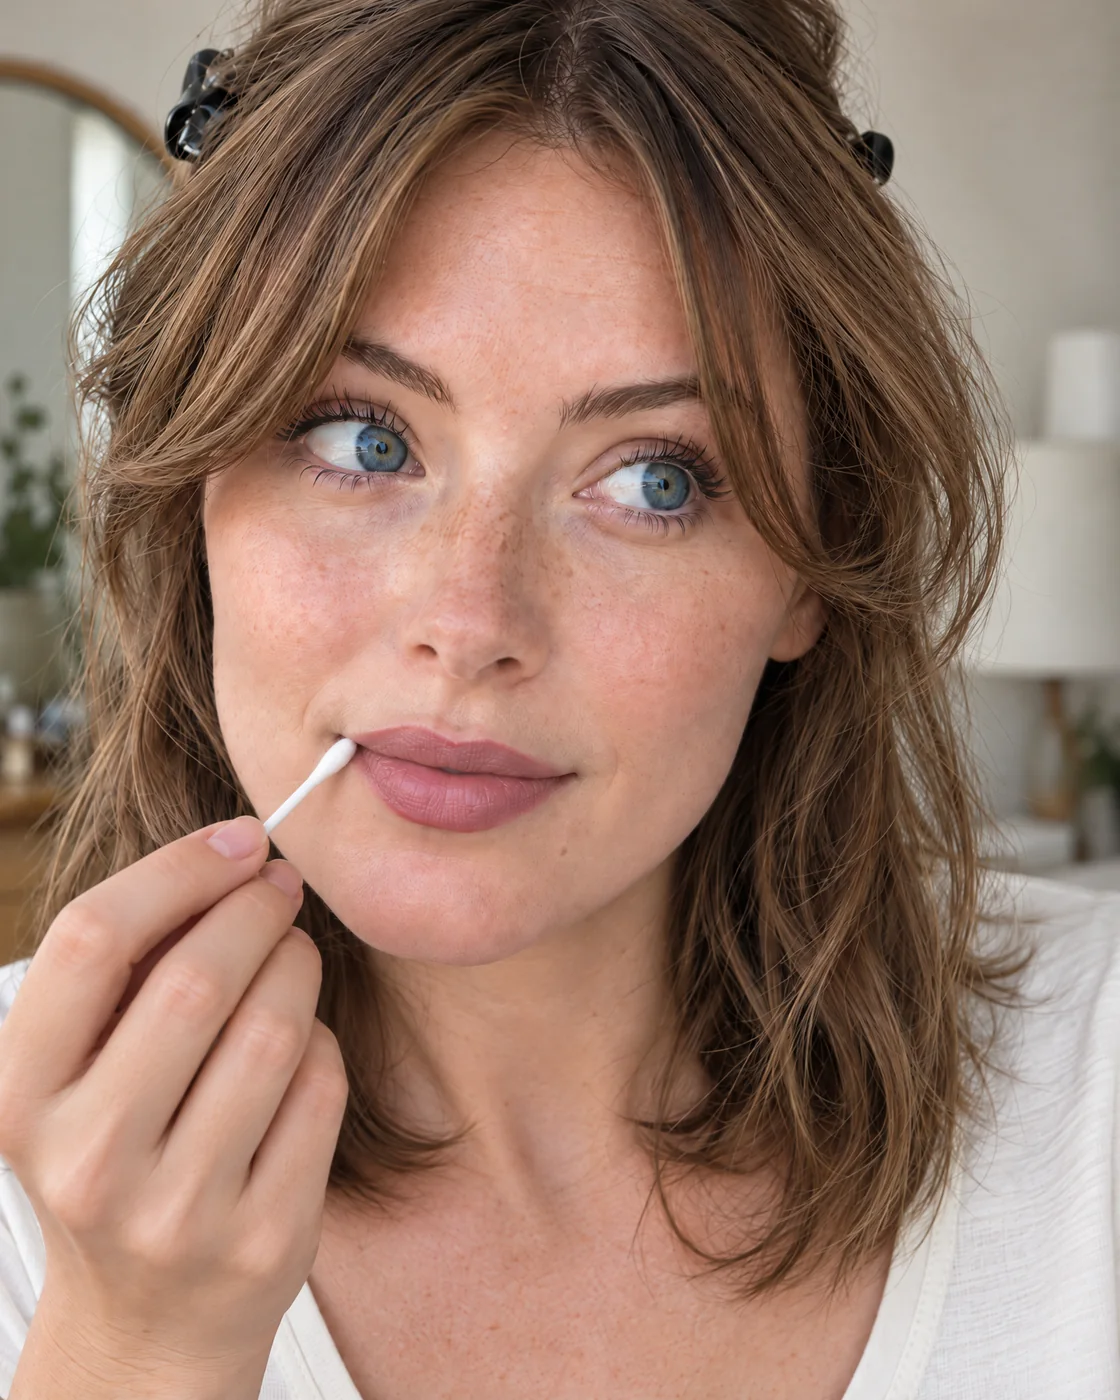
Tidy the affected edge with a small touch, without wiping across the whole lip. Blot away residue, let the edge dry and redraw that short section. Check whether your base makeup also needs a tiny repair. Covering escaped lipstick with a broad layer of concealer can leave you with a larger area to tidy.
What to look forThe affected edge is clean and comfortable, without repeated rubbing.
Change the method with the finish
Gloss and lip oil
If the edge is where your gloss moves, try keeping the glossy layer towards the centre instead of carrying it over the liner. L’Oréal’s guide suggests concentrating gloss centrally. Check again after application rather than assuming liner makes every gloss stay put.[5]
Visible lip lines
Follow the border you have, keeping both liner and lipstick light there. The aim is controlled colour placement, not hiding normal texture. If a very dry finish is uncomfortable, forcing it to stay on is not a useful trade-off.
Red or other high-contrast shades
Use the same method, but pause after lining to check the shape before filling. Keep a clean cotton bud ready. A small mistake is easier to correct before you add a full layer of a strongly coloured lipstick.
If it’s not going to plan
Troubleshooting
The liner looks like a hard ring
Check the colour match and blend the inner edge lightly towards the lip before applying lipstick. If the centre has worn away, restore colour there rather than adding another outline. A thicker ring will not replace the missing centre.
Lipstick keeps collecting at the corners
Remove the excess, then use less product on that area next time. Check with your mouth relaxed as well as slightly open; stretched lips can hide how much colour is gathering in the corner.
My long-wear lipstick peels when I touch it up
Check whether the formula allows another layer over the existing film. If it has become patchy, follow its removal directions and start again on comfortable, dry lips instead of repeatedly painting over loose product. For NYX Shine Loud, the brand specifies an oil-based remover.[4]
Should I powder every lipstick?
No. Powder changes the finish and is not part of every formula’s application method. Start with the preparation, amount and finishing steps the product actually calls for, particularly with two-step long-wear products.
My lips feel sore or stay chapped
Stop the irritating product and prioritise gentle lip care. The AAD recommends seeing a dermatologist if chapping does not improve with self-care in two to three weeks. Do not keep concealing persistent discomfort with extra lipstick.[1]