What you’ll need
- Lukewarm water and a small bowl
- A cleanser suitable for your brush or sponge
- A clean towel or paper towels
- A secure, ventilated space for drying
Before you start
Check the tool maker’s care directions, especially for an unusual brush construction or a delicate sponge. A bristled brush, foam sponge and powder puff do not necessarily use the same method.
The AAD recommends washing brushes every seven to ten days and cleaning sponges after each use. Set separate reminders if that helps you keep up with them.[1][2]
One step at a time
Here’s how to do it
Rinse the brush tips
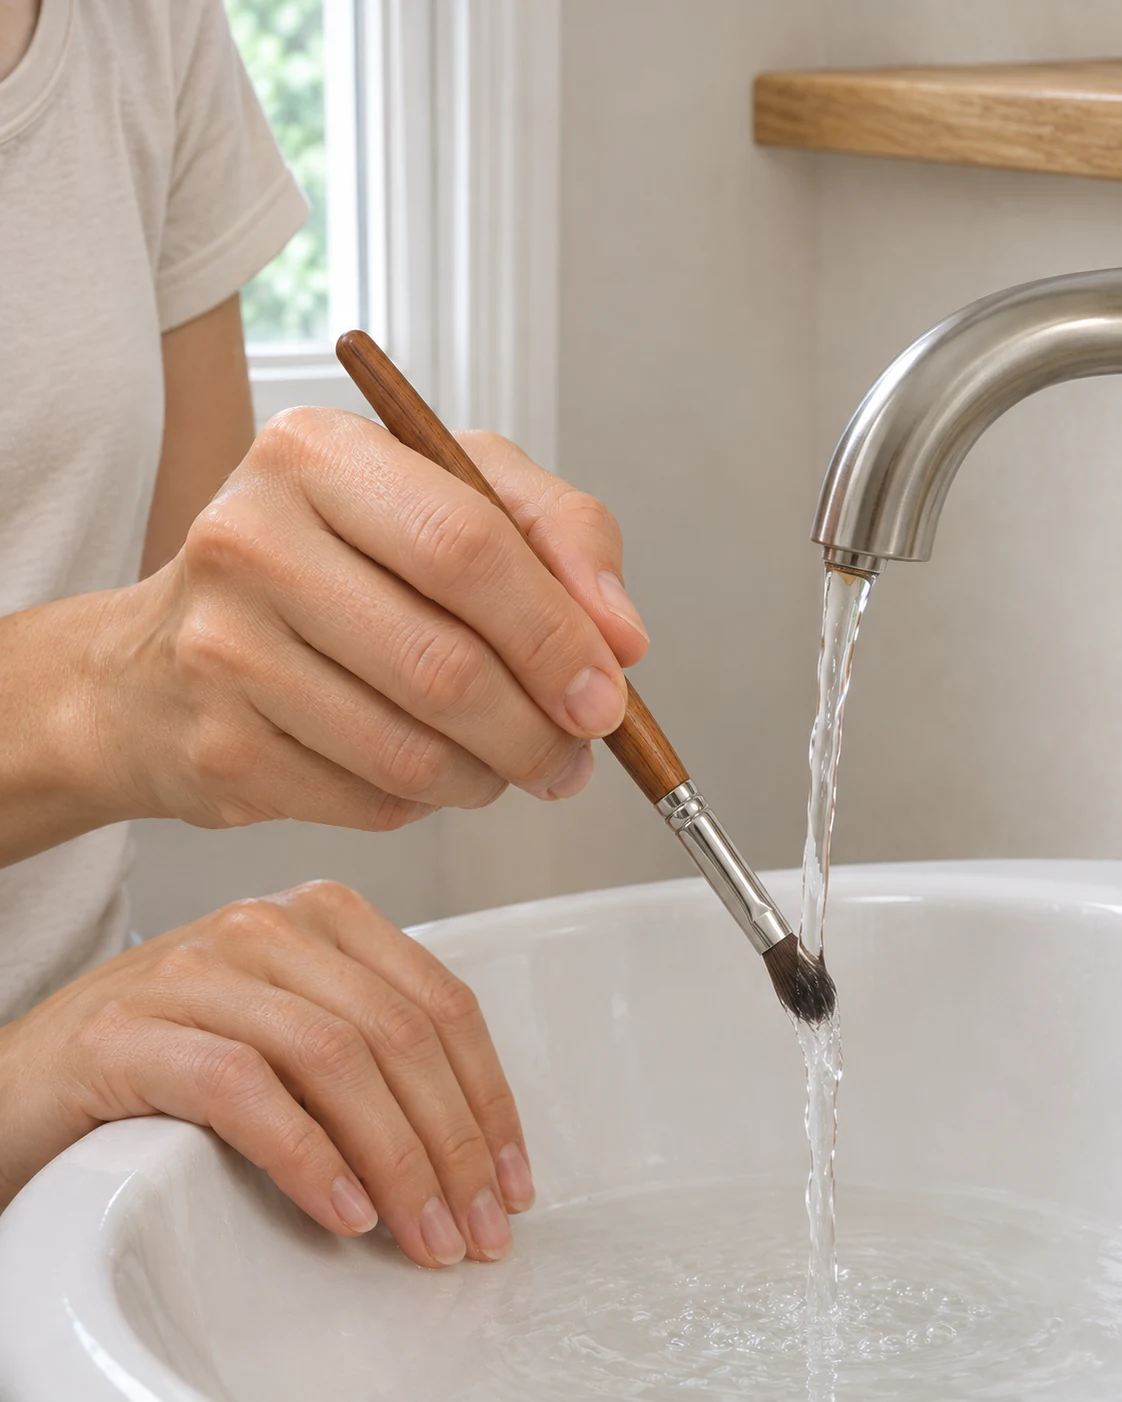
Point the bristles down under lukewarm running water. Keep the handle and metal sleeve, called the ferrule, outside the stream. Real Techniques advises against soaking the whole head because water can loosen the glue.[4]
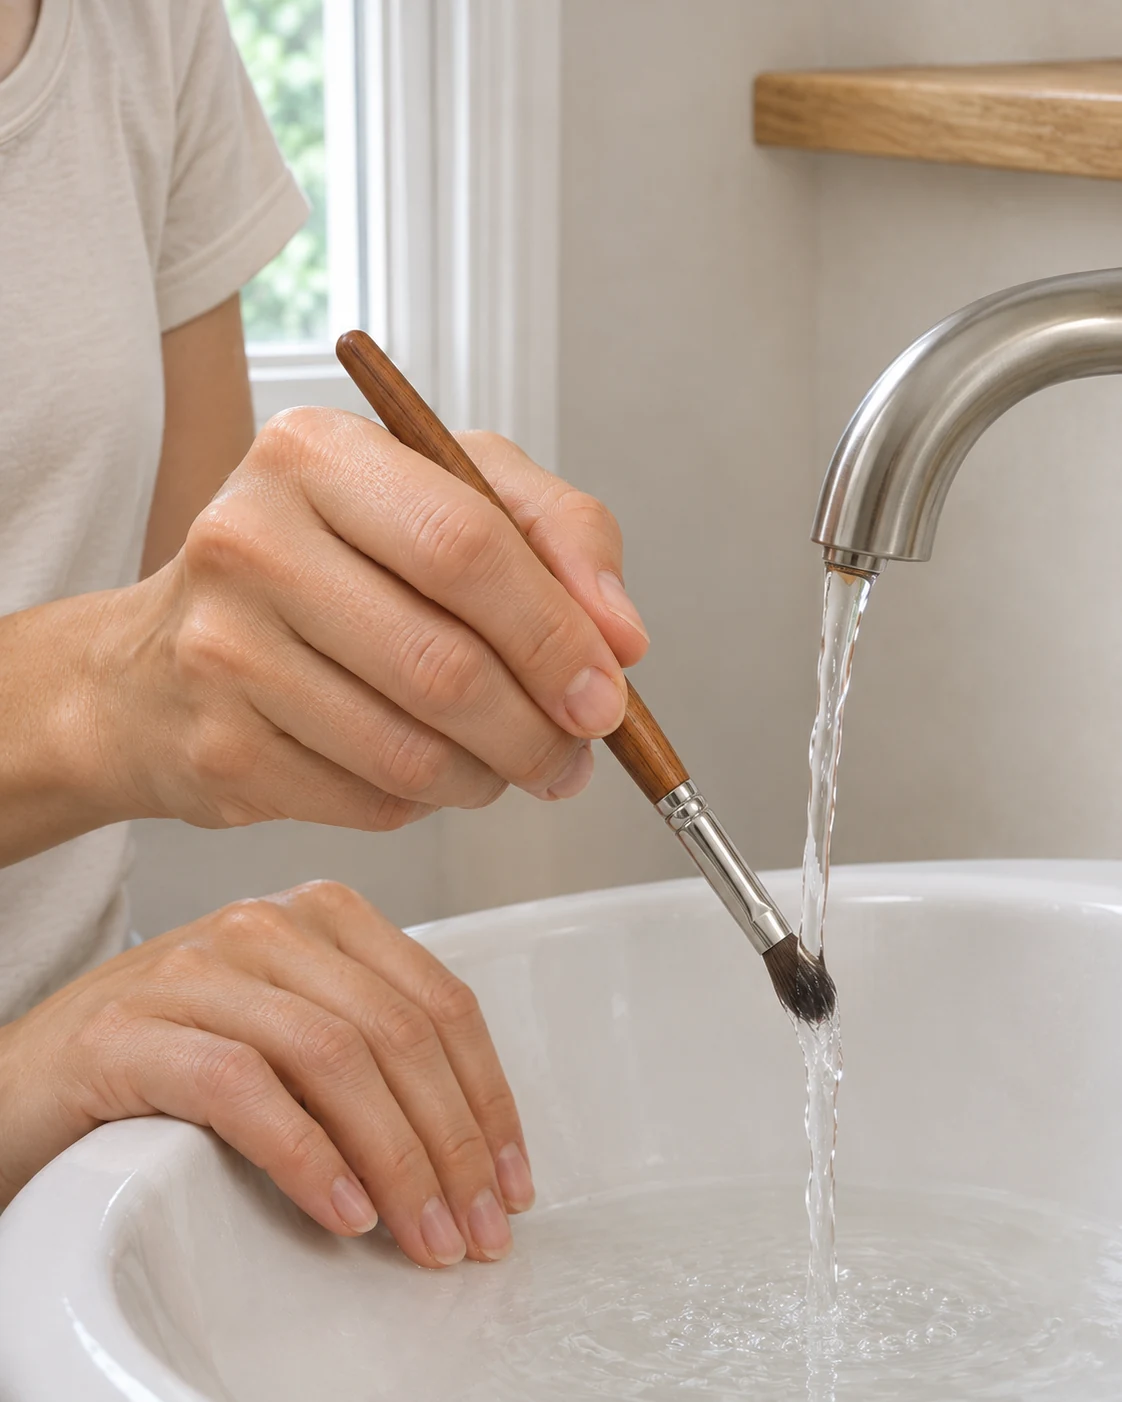
Keep the rinse on the bristles rather than soaking the whole brush. Check the rinse from the side: the water should fall from the bristle tips into the basin, rather than run back along the handle.
What to look forThe bristle tips are being rinsed while the handle and glued joint stay out of the soak.
Work cleanser through, then rinse
The AAD’s brush method uses a bowl of lukewarm water and a tablespoon of gentle or clarifying shampoo. Swirl the tips in the mixture and gently work them against your palm if needed. Rinse and repeat until the water runs clear.[1]
If you use a dedicated brush cleanser instead, follow that product’s dose and directions. A cleansing mat is optional; you do not need to buy a gadget to start a regular routine.
Work on a few tools at a time if that gives you better control. Keep the ones you have washed separate from the ones waiting to be cleaned.
What to look forThe rinse runs clear, with no visible lather or makeup leaving the bristles.
Dry the brushes flat
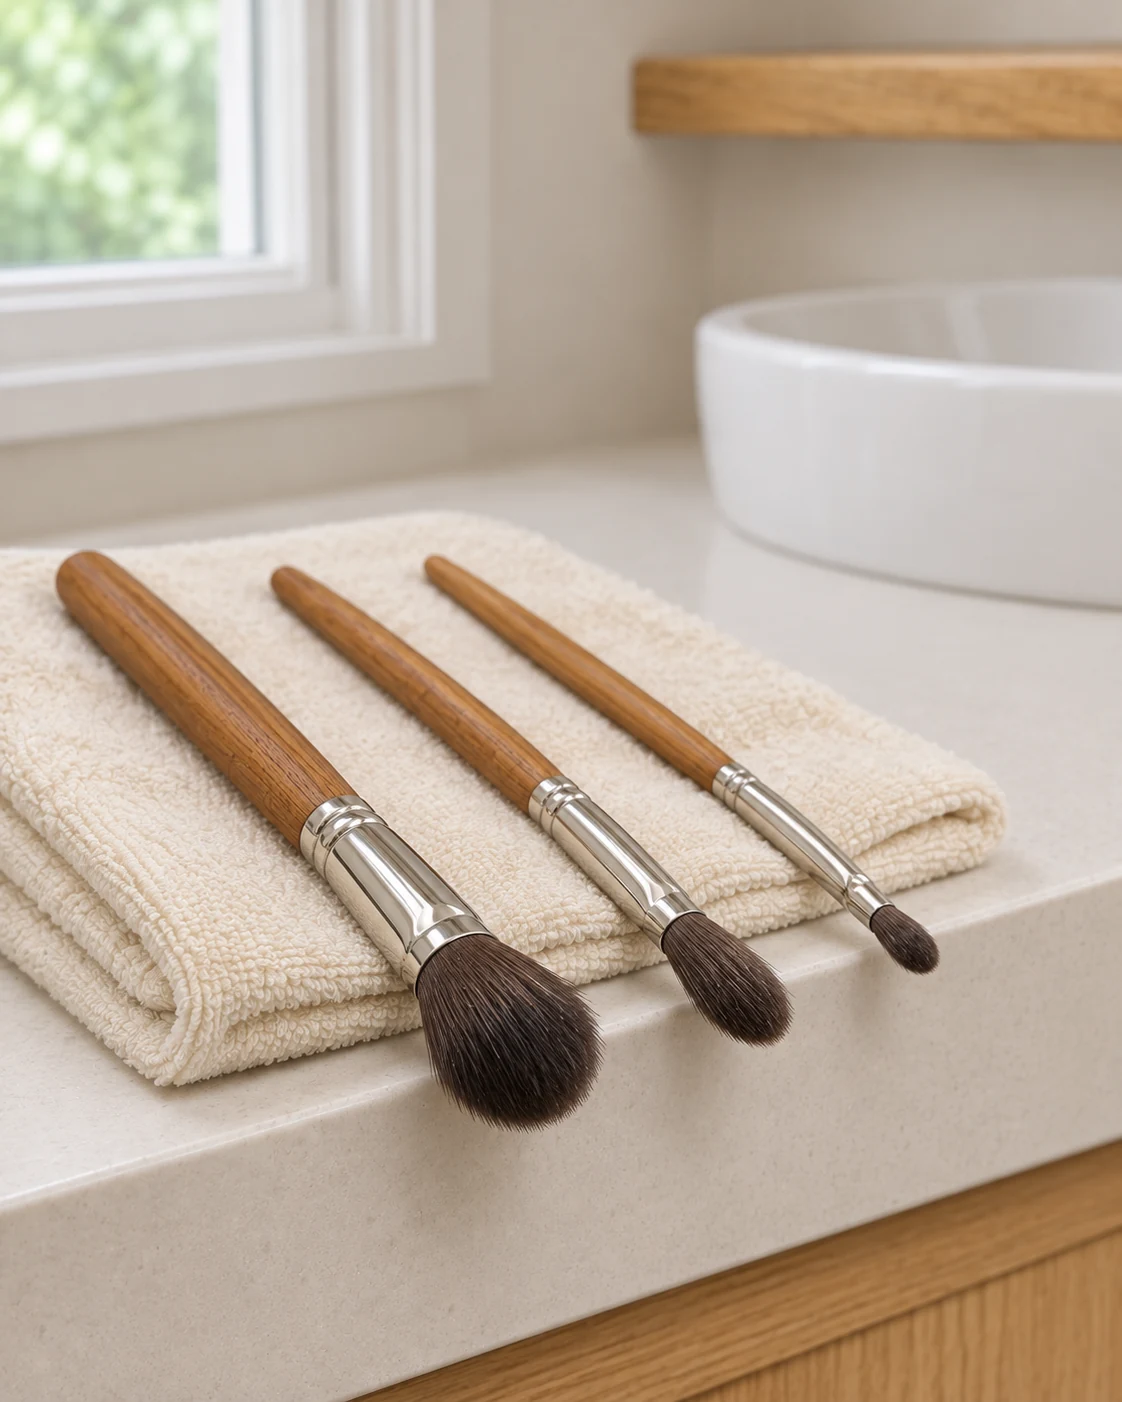
Press out excess moisture with a clean paper towel. Lay each brush securely on its side, with the bristle tips extending beyond the counter edge. Avoid standing wet brushes upright, which allows water to run toward the glued joint.[1]
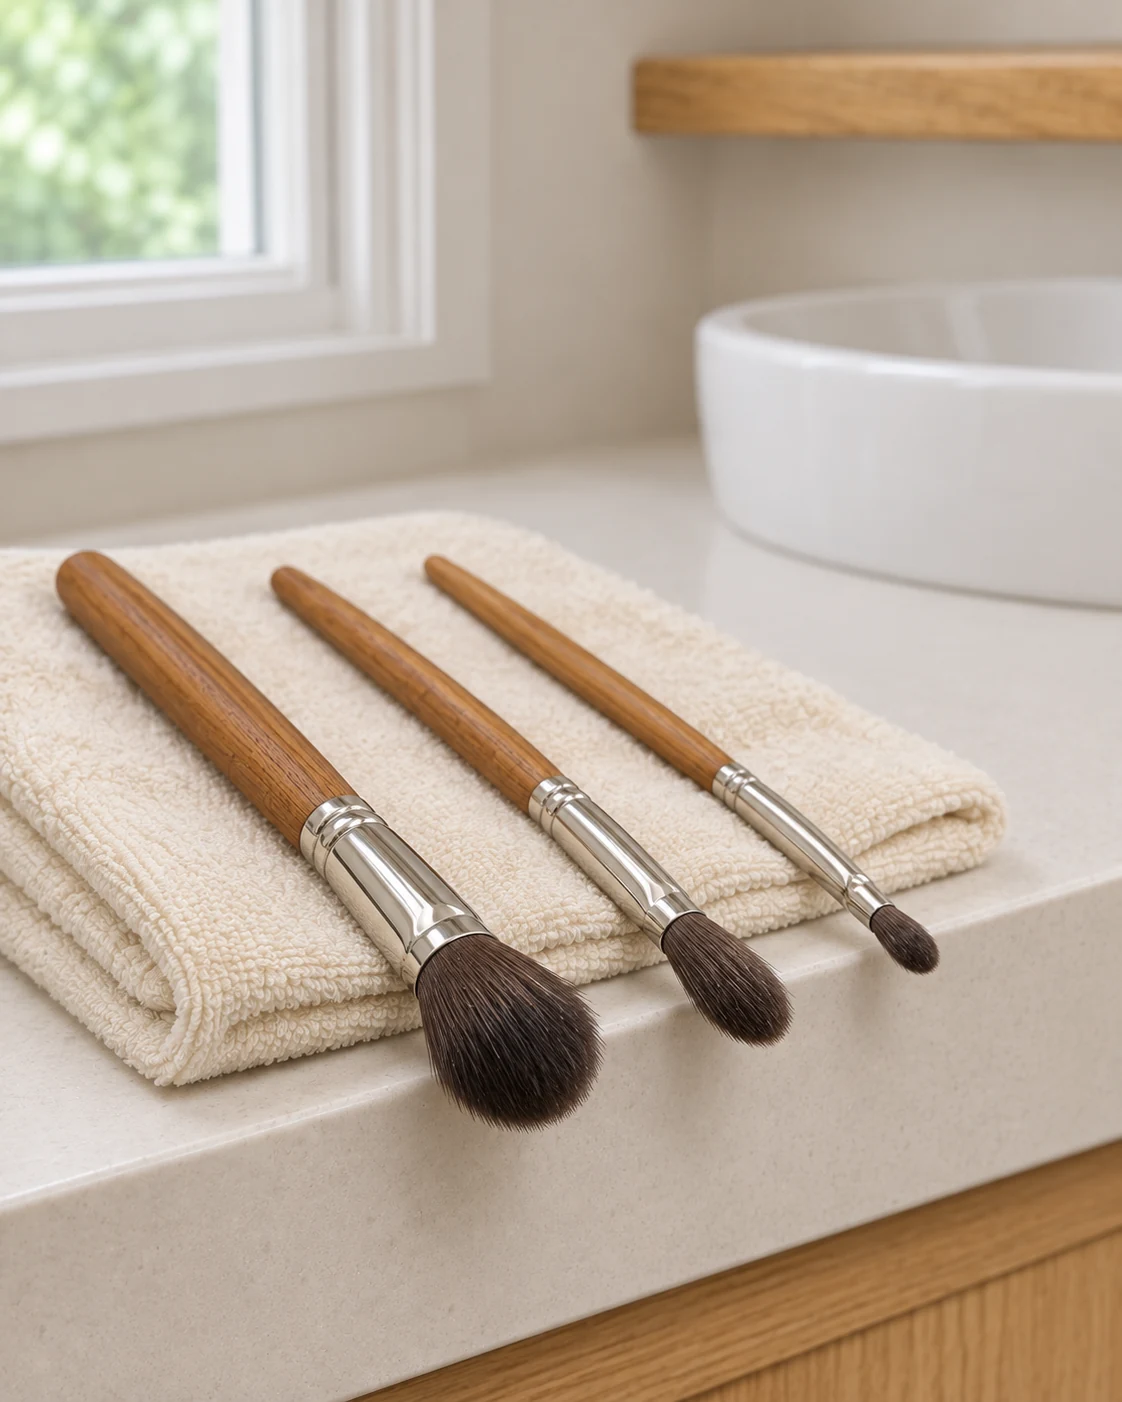
Lay brushes securely on their sides, with space around the bristles. Leave space around the heads rather than stacking them. Choose a spot where the tools cannot roll off or be knocked into the sink. Let them dry fully before packing them away.
What to look forBrushes are stable, separated and lying flat. The bristle tips have room around them.
Wash sponges with a gentle squeeze
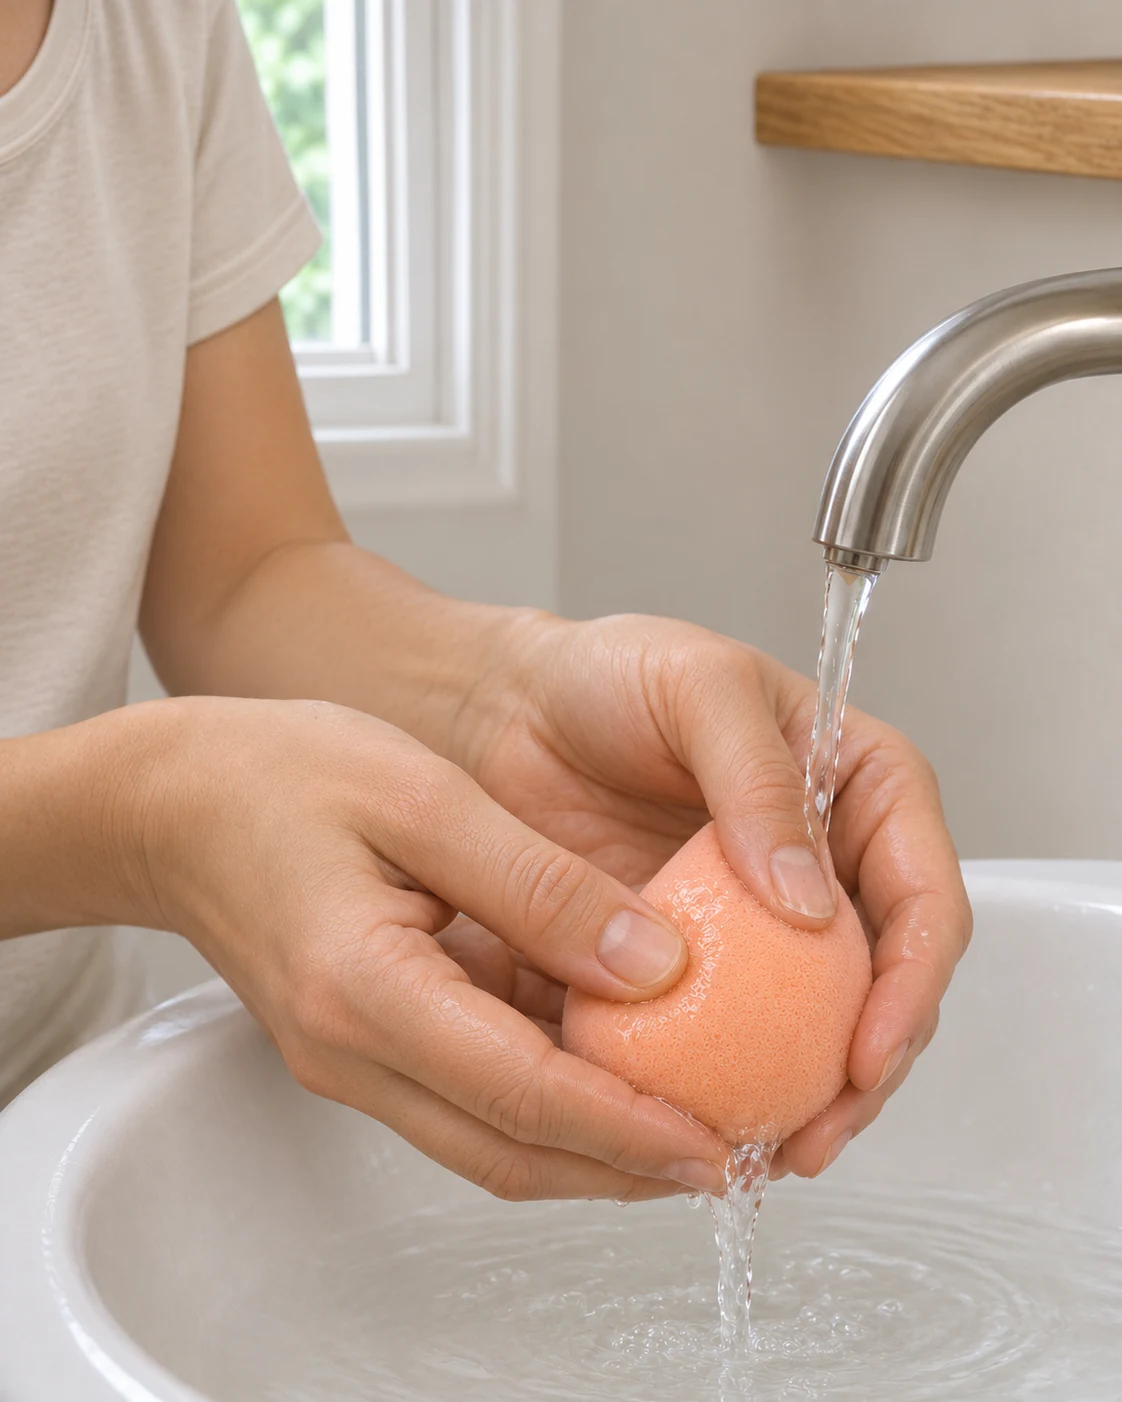
For the AAD’s sponge method, add a few drops of liquid cleanser or soap to warm water, work the soapy water into the sponge for 15 seconds, then rinse under running water until clear. Squeeze out excess water and air-dry on a clean paper towel.[2]
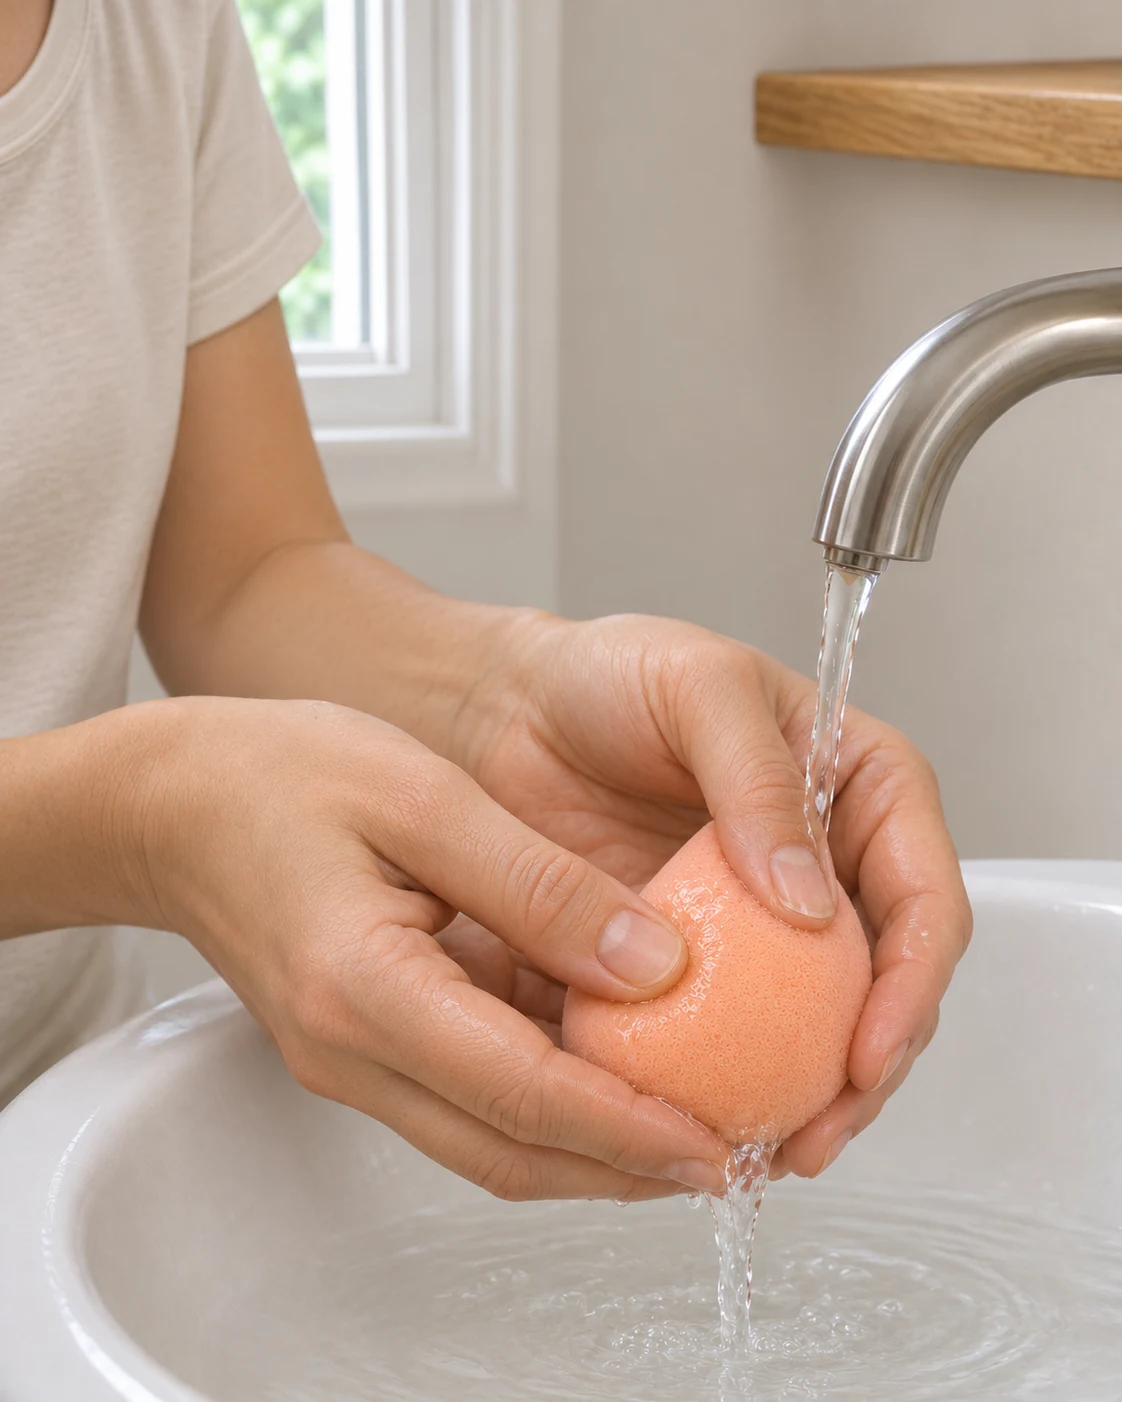
Work cleanser through gently, then rinse the sponge thoroughly. Use gentle pressure. Beautyblender specifically cautions against snagging or tearing the foam and recommends complete drying in a ventilated place. Avoid digging at a stain with your nails.[3]
What to look forThe sponge has been rinsed through and set somewhere clean to air-dry, rather than closed inside a pouch.
Put tools away only when dry
Give drying its own time in the routine. A brush washed moments before you need it may not be ready; wash a smaller group while you still have clean tools available.
Check the storage space too. A clean brush placed into a bag full of loose powder and old residue immediately picks up more mess. Keep clean, dry tools separate from the ones you have just used.
For travel, plan the final wash around departure. If an applicator is still damp, use another clean tool for that last application rather than sealing the wet one inside a makeup bag.
What to look forThe tools and their storage space are dry and clean before you put everything away.
Two tools, two routines
Bristled brushes
If you use several brushes each day, divide them into manageable washing groups. Put the next cleaning date in your calendar, and leave yourself a clean, dry brush to use while the others finish drying.
Foam sponges
Clean after each use and let the sponge air-dry. Beautyblender’s washing instructions call for gentle squeezing; its spot-cleaning spray serves a different purpose. Check which product and method you are using.[2][3]
Special constructions
A removable brush head, electric cleaning device or unusual material may have different instructions. Read those before following a general method. Keep the care information when you buy a tool so you do not have to guess later.
If it’s not going to plan
Troubleshooting
The sponge still looks stained
Colour alone does not tell you whether a sponge is clean or safe. Follow its wash directions and inspect its condition. Do not keep scraping or tearing the foam to make it look new.
Can I microwave a sponge or use vinegar?
Beautyblender advises against both hacks. Use its ordinary cleaning directions or the instructions for your particular sponge instead of inventing a heat or chemical treatment.[3]
Can I dry brushes upright in a cup?
Keep wet brushes flat. Real Techniques explains that upright drying lets water run toward the glued joint. Set aside a secure spot on the counter before you start washing.[4]
How long will everything take to dry?
There is no single drying time for every brush or sponge. Density, how much water remains and the room all affect the practical wait. Check that the tool is fully dry before storage rather than relying on an automatic overnight promise.
When should I replace a tool?
Follow the maker’s replacement guidance and inspect the tool during cleaning. A loose head, tearing foam or a tool that cannot be cleaned properly deserves attention rather than another forceful wash. Do not borrow one brand’s replacement interval for a different tool.