What you’ll need
- Your usual concealer
- A clean fingertip, small brush or damp sponge
- Optional: a little setting powder and a small brush
- A mirror in even light
Before you start
Compare the area before and after makeup in the same light. A natural fold, a shadow and a ridge of gathered product are different things. More coverage may change the shadow without changing the fold.
This is a technique guide based on the sources below, not a test ranking of concealers. The illustrated amount is a starting example, not a prescription for every applicator, formula or face.
One step at a time
Here’s how to do it
Let your usual prep settle
Let your usual moisturiser settle before adding makeup. MAKE’s guidance from Carrie Barber and Nikki La Rose flags too much eye cream and wet prep as common problems. Start with a comfortable base, without a fresh slippery layer.[1]
You do not need to buy an eye cream or primer to try the rest of this method. Keep the routine simple enough that you can tell which change helped.
What to look forThe area is comfortable, without a fresh wet layer of skincare underneath the makeup.
Put coverage where the shadow is
Look at where you actually want coverage, then start with a small amount there. For some people that is mainly below the inner corner; others need coverage farther out. Avoid treating a large triangle as a required shape.
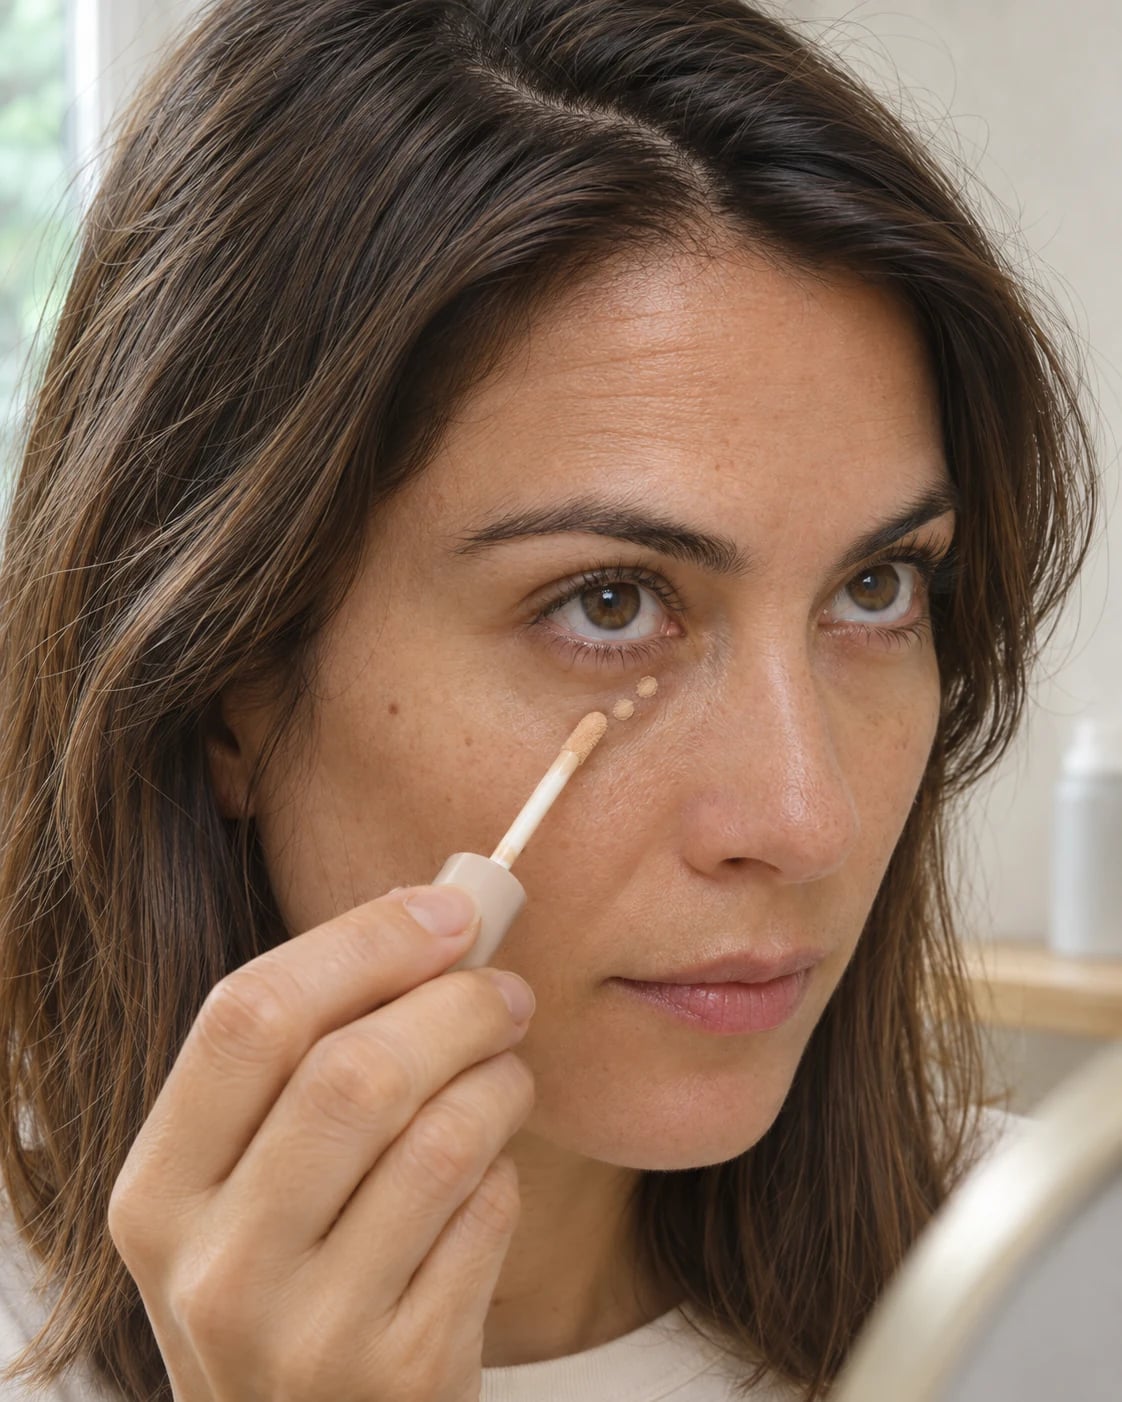
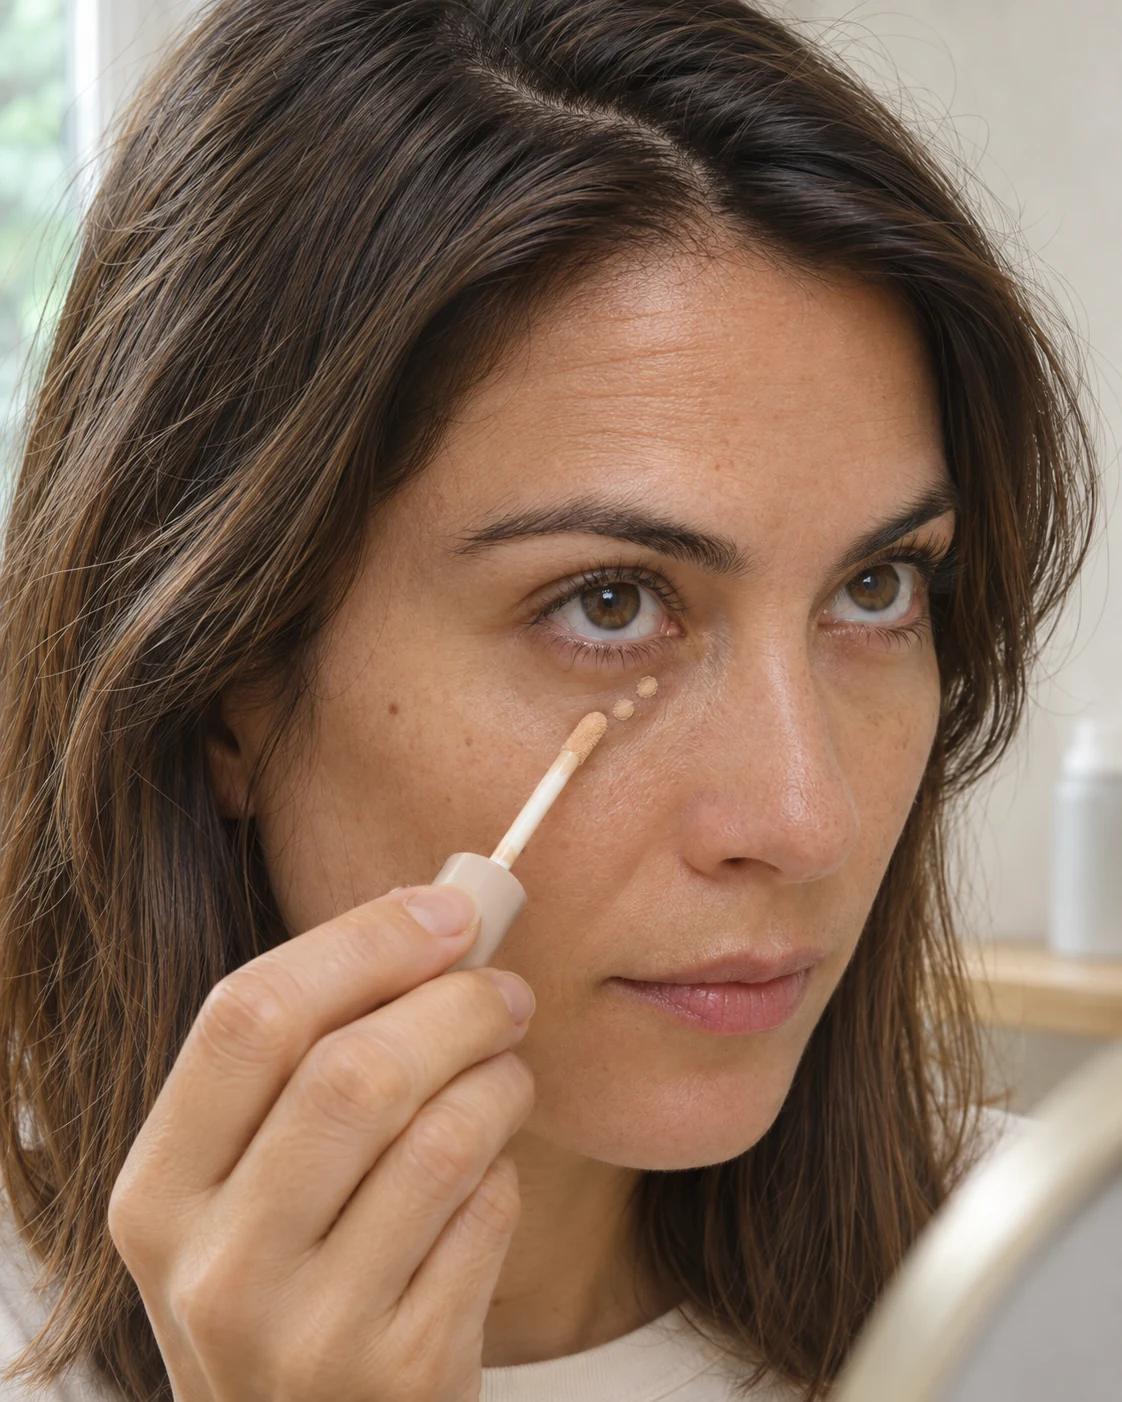
Start where you want coverage, leaving the rest of the under-eye lightly covered. A few small placements give you a chance to blend before adding more. e.l.f. advises using sparing amounts because over-application can gather and look heavy. A dot from a large doe-foot can hold much more product than one from a fine applicator.[2]
What to look forYou have covered a specific shadow, rather than automatically coating the whole under-eye.
Tap the edges into a thin layer
Use a clean fingertip, brush or damp sponge to tap the edge gently. Keep the pressure light and avoid dragging the skin. e.l.f.’s application guide describes tapping and blending with these tools.[2]
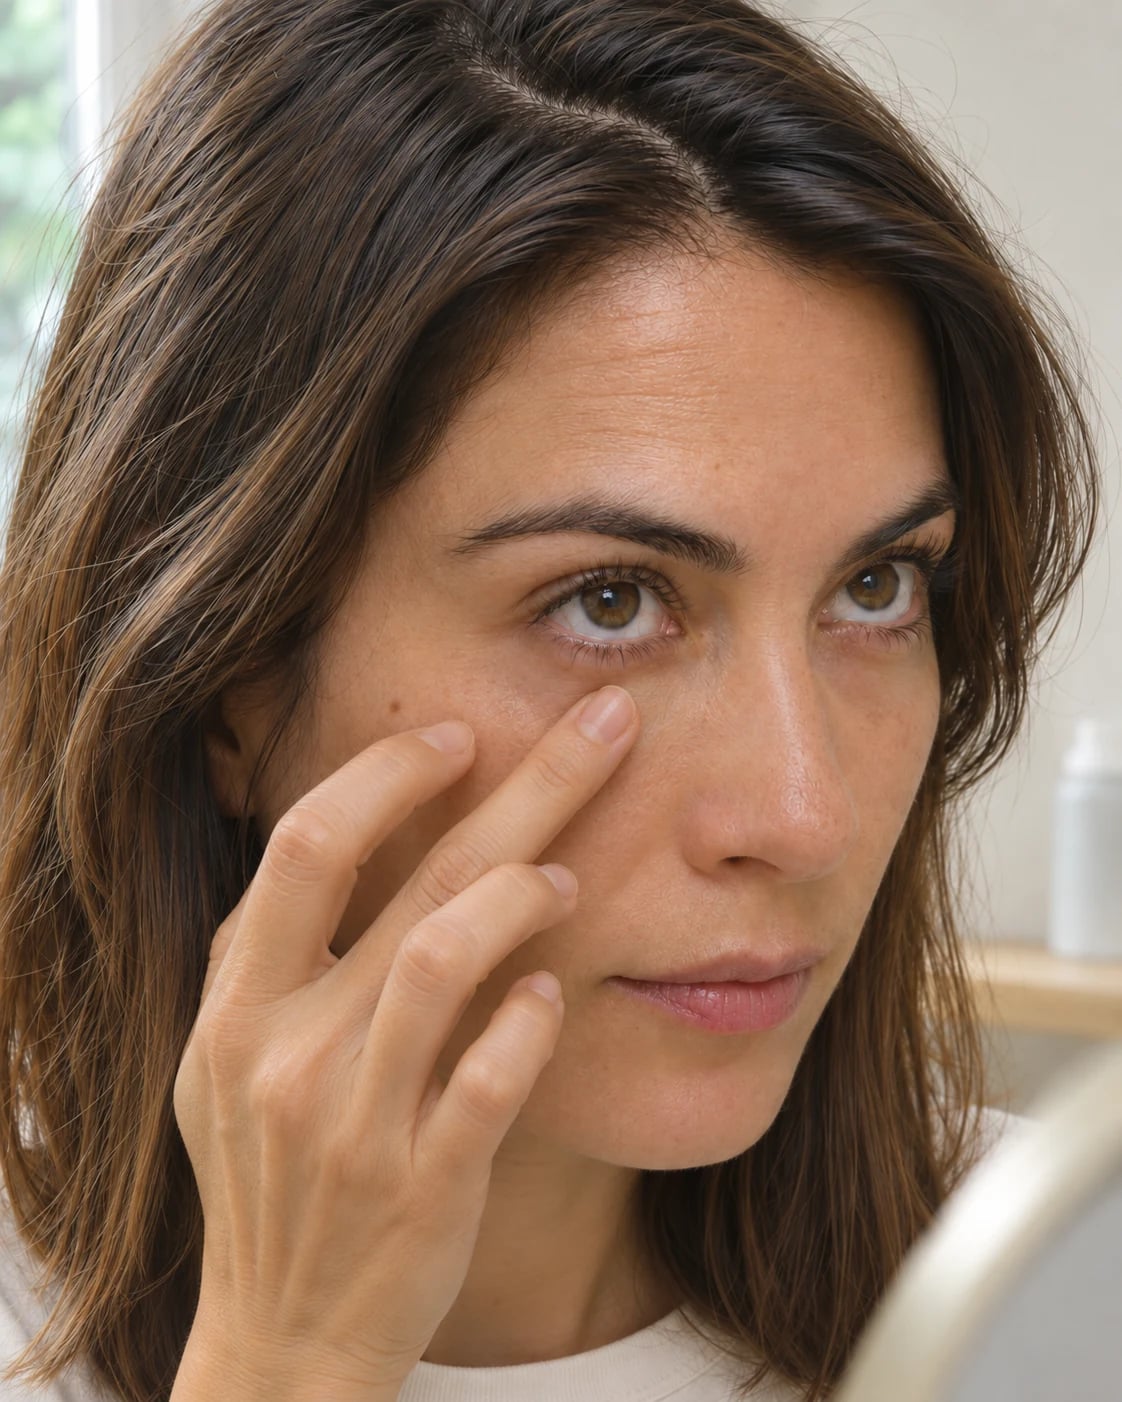
Tap the edge into a thin layer without pulling the skin. Work while your formula is blendable. MAKE suggests letting its concealer approach dry before blending. Faster-setting formulas may need a different approach: follow your product’s directions and blend before it starts resisting the tool.[1]
Pause to inspect the coverage. Add another small amount only to a remaining area you want to cover, rather than repeating the first layer everywhere.
What to look forThe edge fades into the surrounding skin without a visible thick border.
Check for gathering, then set selectively
Look down, look ahead and relax your expression. If product has already collected in a fold, gently tap that small area with a clean tool before deciding whether to powder. Do not keep adding powder over a visible ridge.
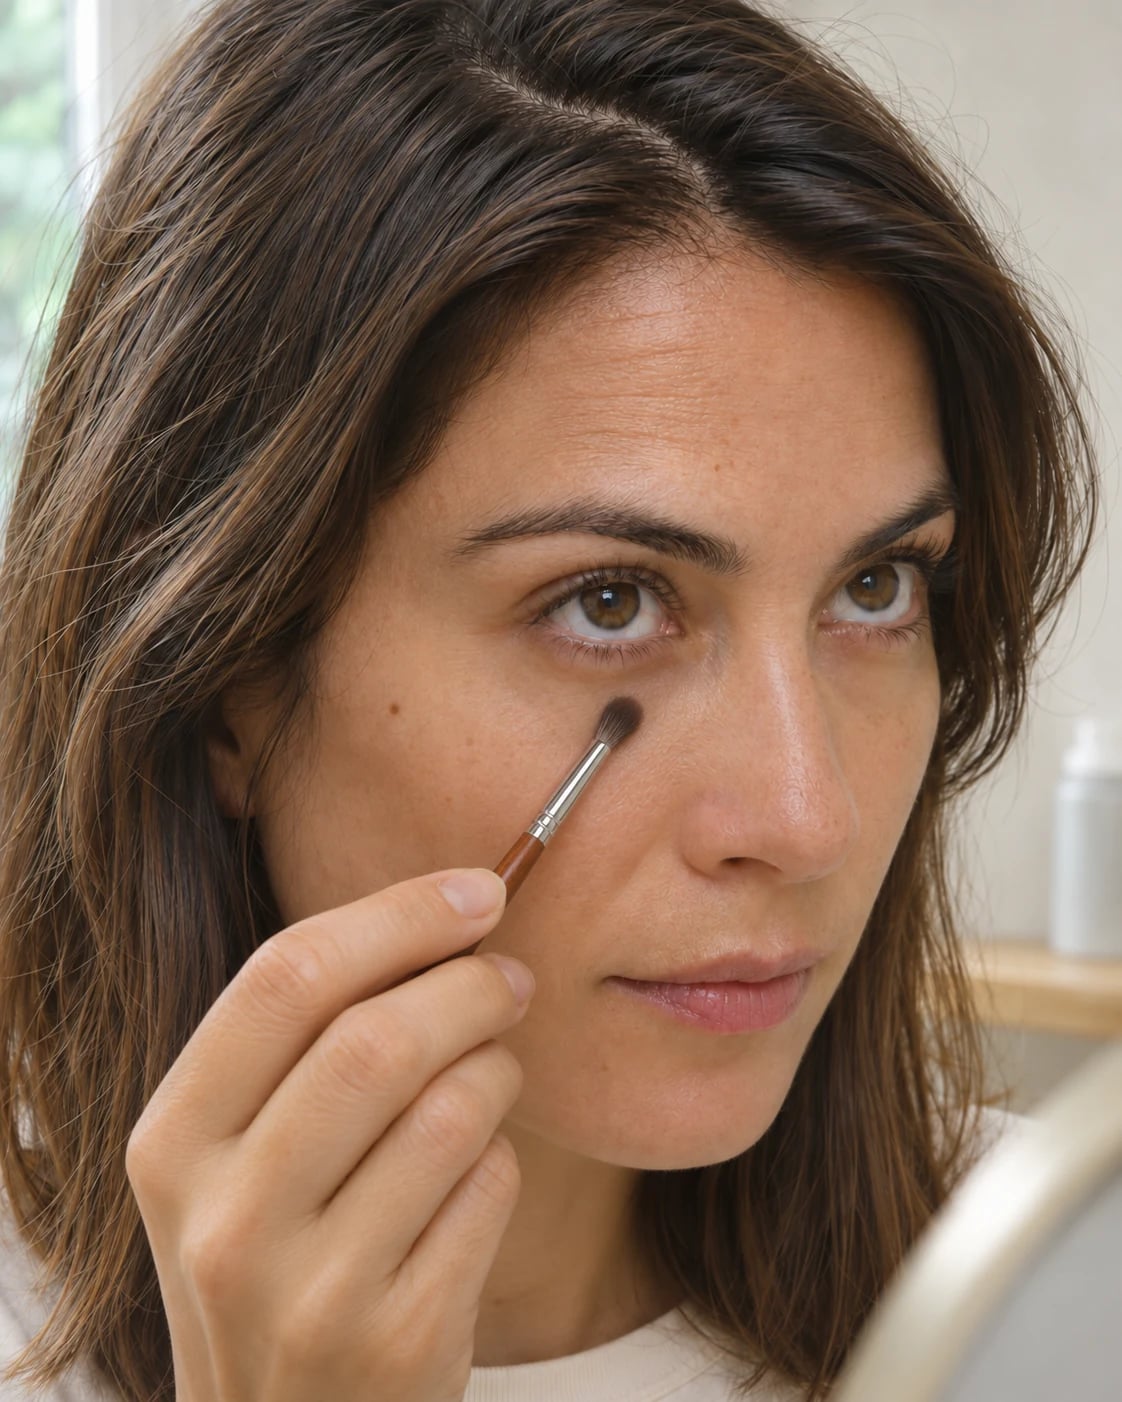
Set selectively. A thick layer of powder is not the starting point. Start with very little powder on a small brush or puff. MAKE recommends a light amount; e.l.f. also discusses setting as part of managing creasing. Keep it off the lash margin and avoid sending loose powder toward the eye.[1][3]
If powder makes your under-eyes look drier, try less on the next application. You can compare your usual method with a smaller amount without buying another product.
What to look forYou can still see normal skin texture, without a thick layer of powder covering it.
Make a small correction when needed
Later in the day, check whether the issue is gathered product, missing coverage or a finish you simply do not like. Start by gently redistributing a small gathered patch with a clean fingertip or tool. Then decide whether anything needs adding.
If you are repeatedly correcting the same problem, change one part of the next application: the prep, the amount, or the powder. A short note on what you changed is more useful than replacing all three at once.
What to look forThe correction deals with the patch that bothers you without building another full layer.
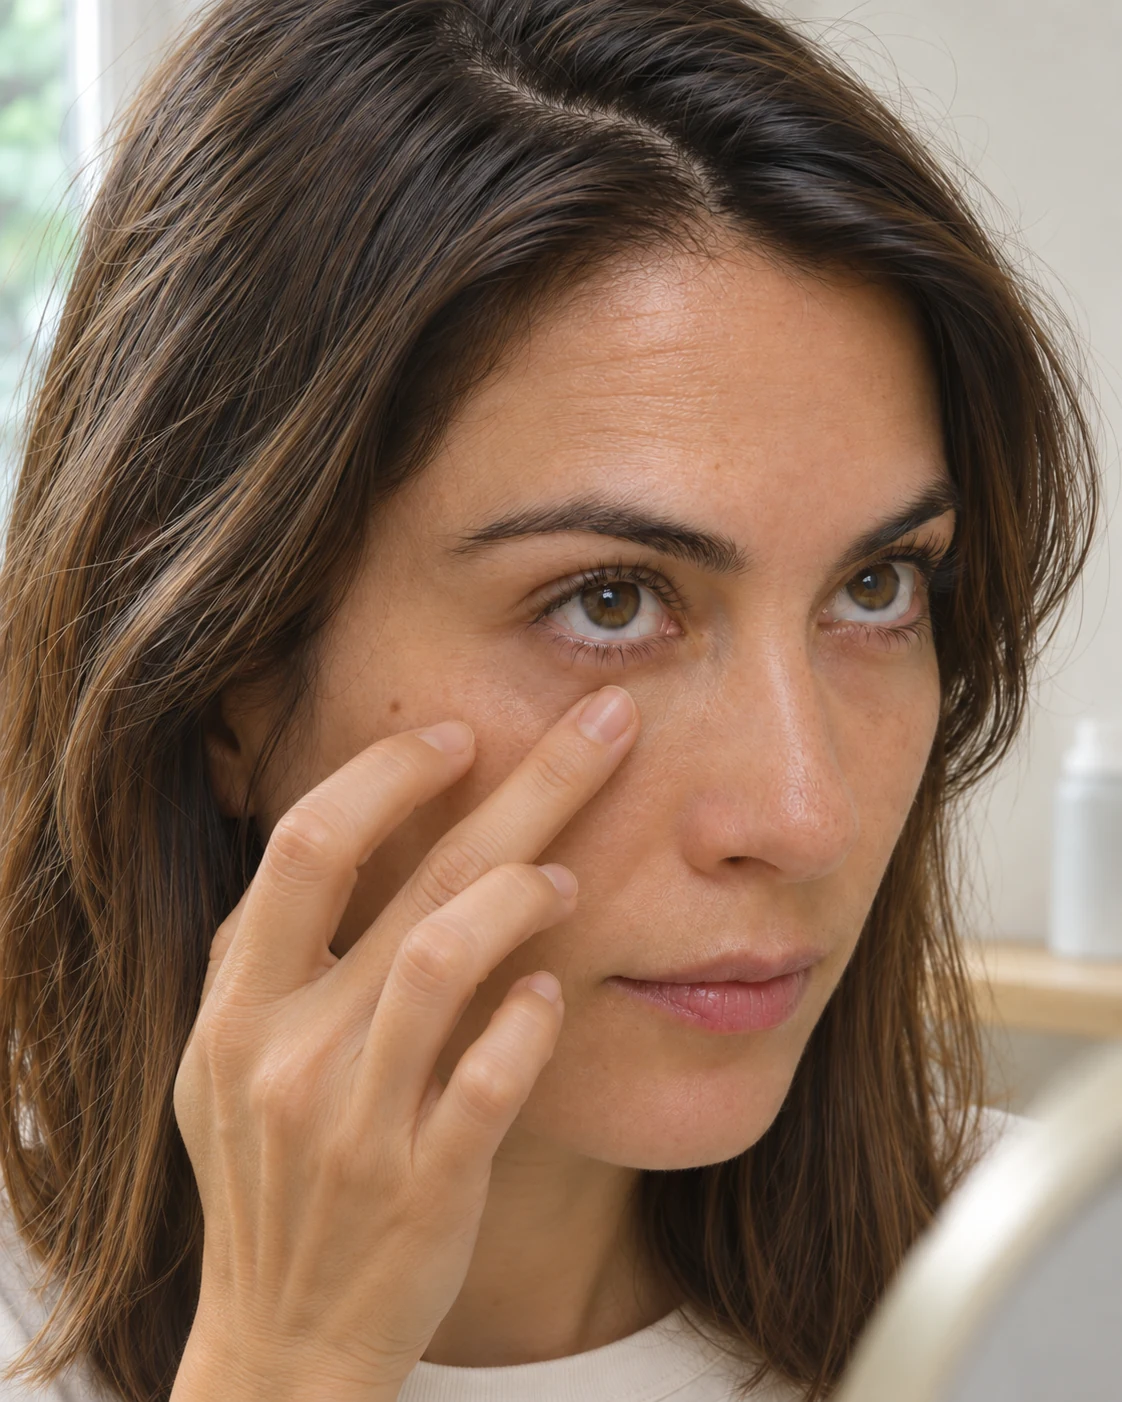
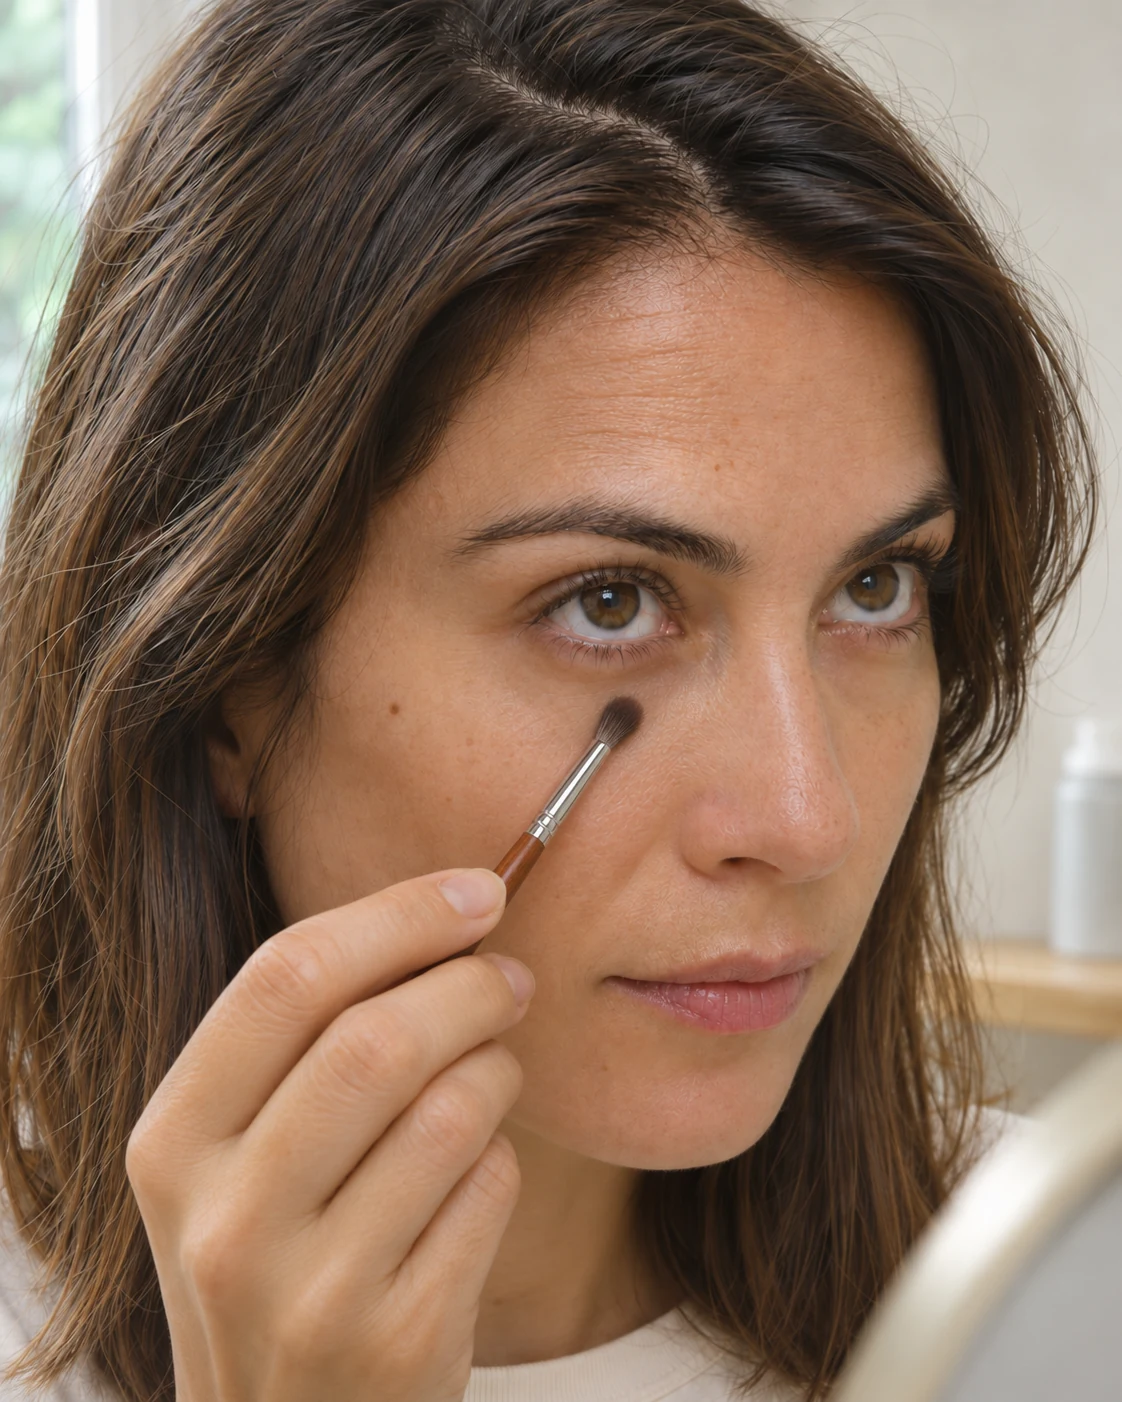
Adjust to the finish you see
Dry-looking or textured under-eyes
Try a thinner application and less powder first. e.l.f.’s guidance links heavy product and unsuitable texture with a cakey finish. Do not keep adding a matte layer just because the skin has visible lines.[3]
Slipping or breaking up
Check whether fresh prep is leaving a slippery base. Give the previous layer time to settle and change one step at a time. Do not assume the rest of your face and your under-eye area need identical preparation.[1]
Darkness is still visible
Check the shade and where the darkness sits before increasing thickness. A corrector is an option to investigate, not an automatic extra layer. e.l.f. distinguishes correcting colour from adding coverage; the right choice depends on what you are trying to change.[4]
If it’s not going to plan
Troubleshooting
It creases before I finish my makeup
On the next application, start with less product and inspect before setting. You are trying to find a workable amount for your formula, rather than copying a fixed number of dots.
It looks dry immediately after powder
Do not keep adding more to chase a smoother appearance. Compare a smaller amount on the next use, and consider whether you need to powder the entire area.
Should I wait exactly 30 or 60 seconds?
There is no universal waiting time established by these sources. Formulas and skin prep differ. Use the product’s instructions and its blendability as your guide; do not let it set so far that you have to pull the skin to blend it.[1]
Will a silicone formula always crease less?
Do not choose from one ingredient alone. Michelle Wong’s older comparison used particular concealers on a finger model and her own skin. It is useful context for how she compared products, not proof that every current silicone formula will suit you.[5]
Can I remove every line?
No technique in this guide promises that. Judge whether the coverage looks comfortable and whether product is collecting in a way you dislike. Normal movement and skin texture can remain visible.