What you’ll need
- A hairdryer with a suitable concentrator attachment
- A round brush small enough to control your fringe
- Two sectioning clips and a comb
- Heat protectant used according to its directions
- A mirror and a dry, clear place to set tools down
Before you start
This method is for a smooth, softly curved blow-dry on an existing curtain fringe. It is not a haircutting guide. If your fringe is too short to sit around the brush comfortably, do not force a full wrap.
Use the lowest heat setting that lets you style comfortably and limit repeated heat passes. The AAD recommends letting hair partly air-dry and reducing heat exposure. Keep electrical tools away from water and follow your dryer’s safety instructions.[2]
One step at a time
Here’s how to do it
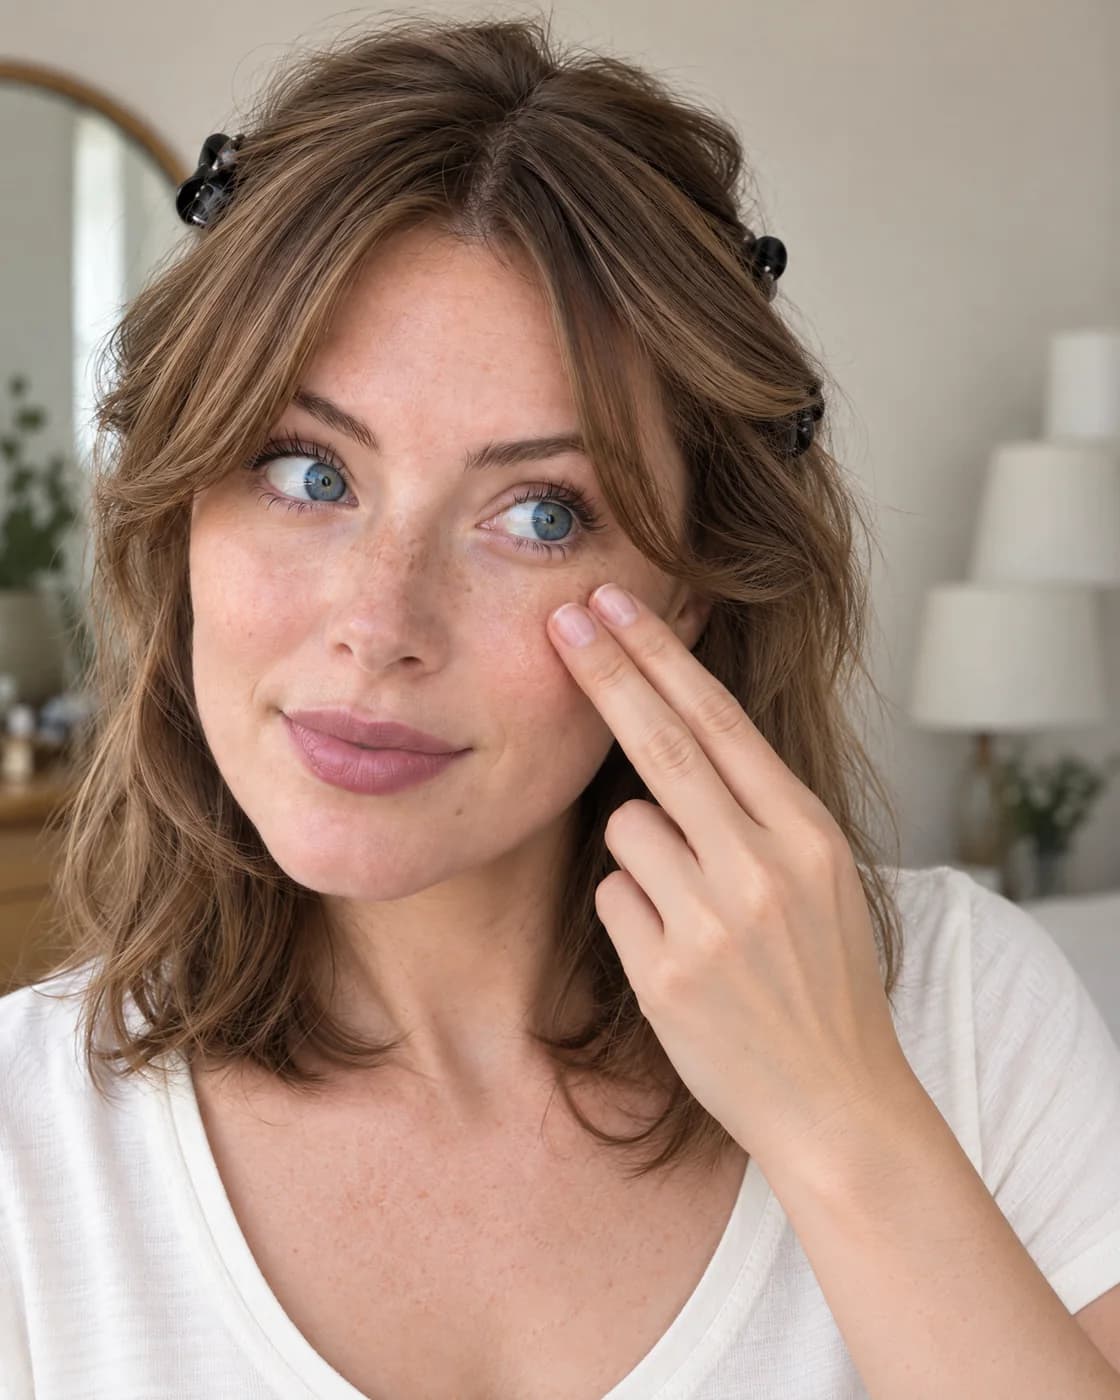
Prepare the fringe you want to style
Begin with damp bangs and apply heat protection as directed. This follows the starting point in ghd’s classic curtain-bangs method.[1]
You can keep the rest of your hair out of the way. Before switching the dryer on, check where its controls are and choose a grip you can maintain without twisting your wrist. Make room on the dry vanity for putting it down between sections.
What to look forThe fringe is manageable, and you can reach the dryer controls without changing your grip.
Separate the two sides
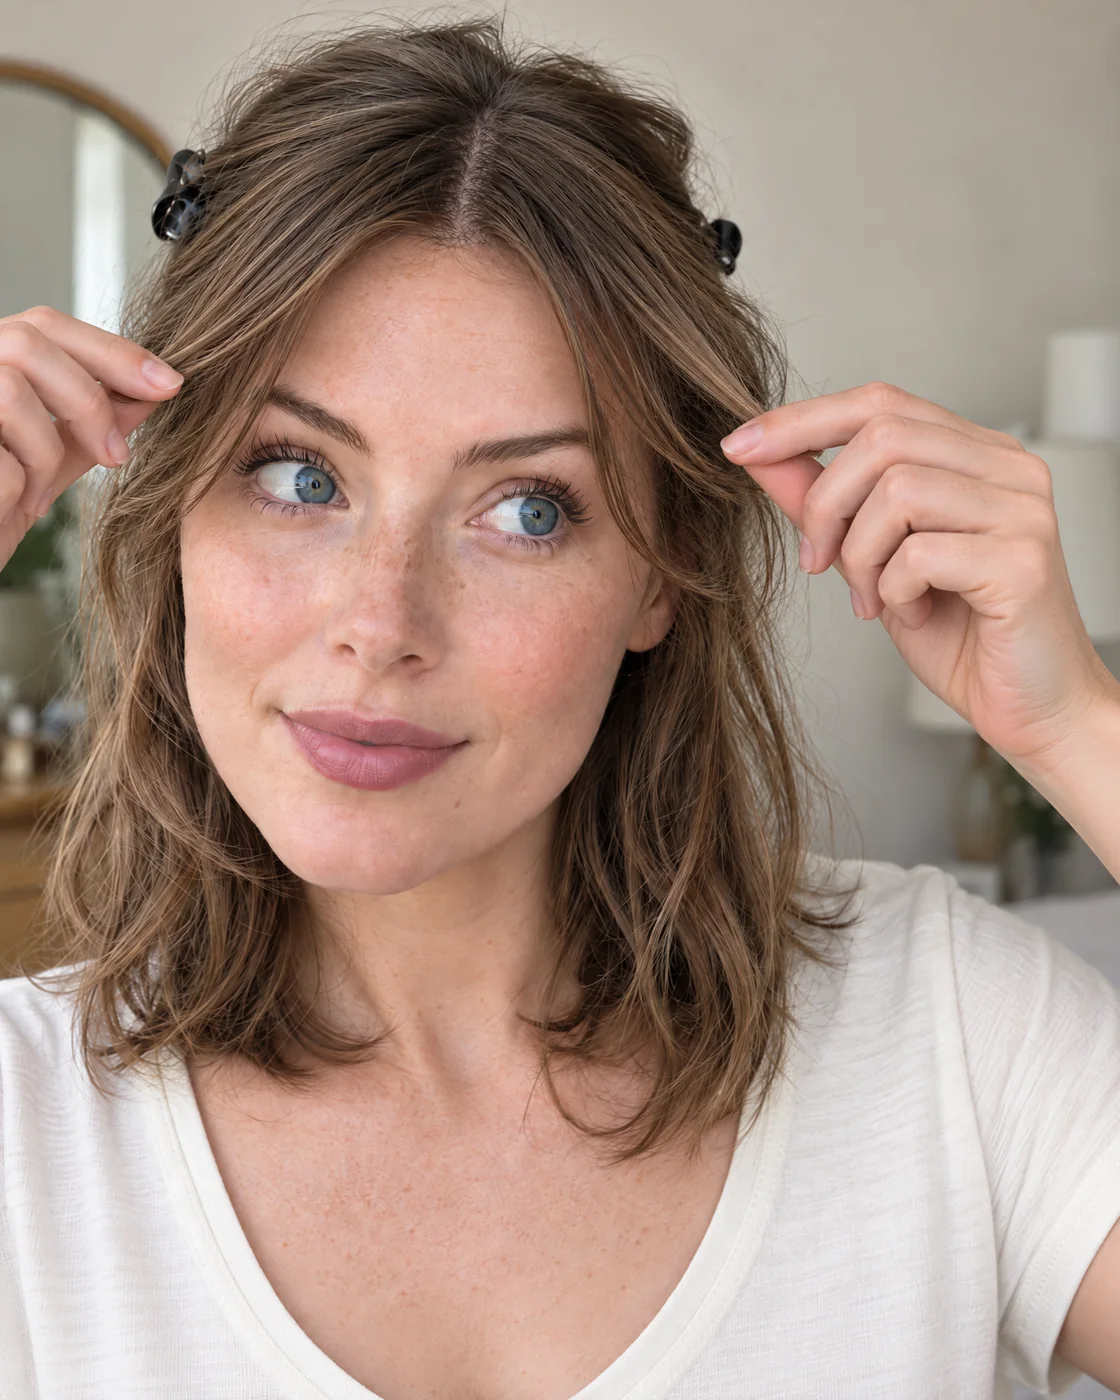
Find the centre part and clip the longer side hair back. Divide the fringe into two manageable sections. Keep the hair you are styling distinct from the longer pieces behind it.[1]
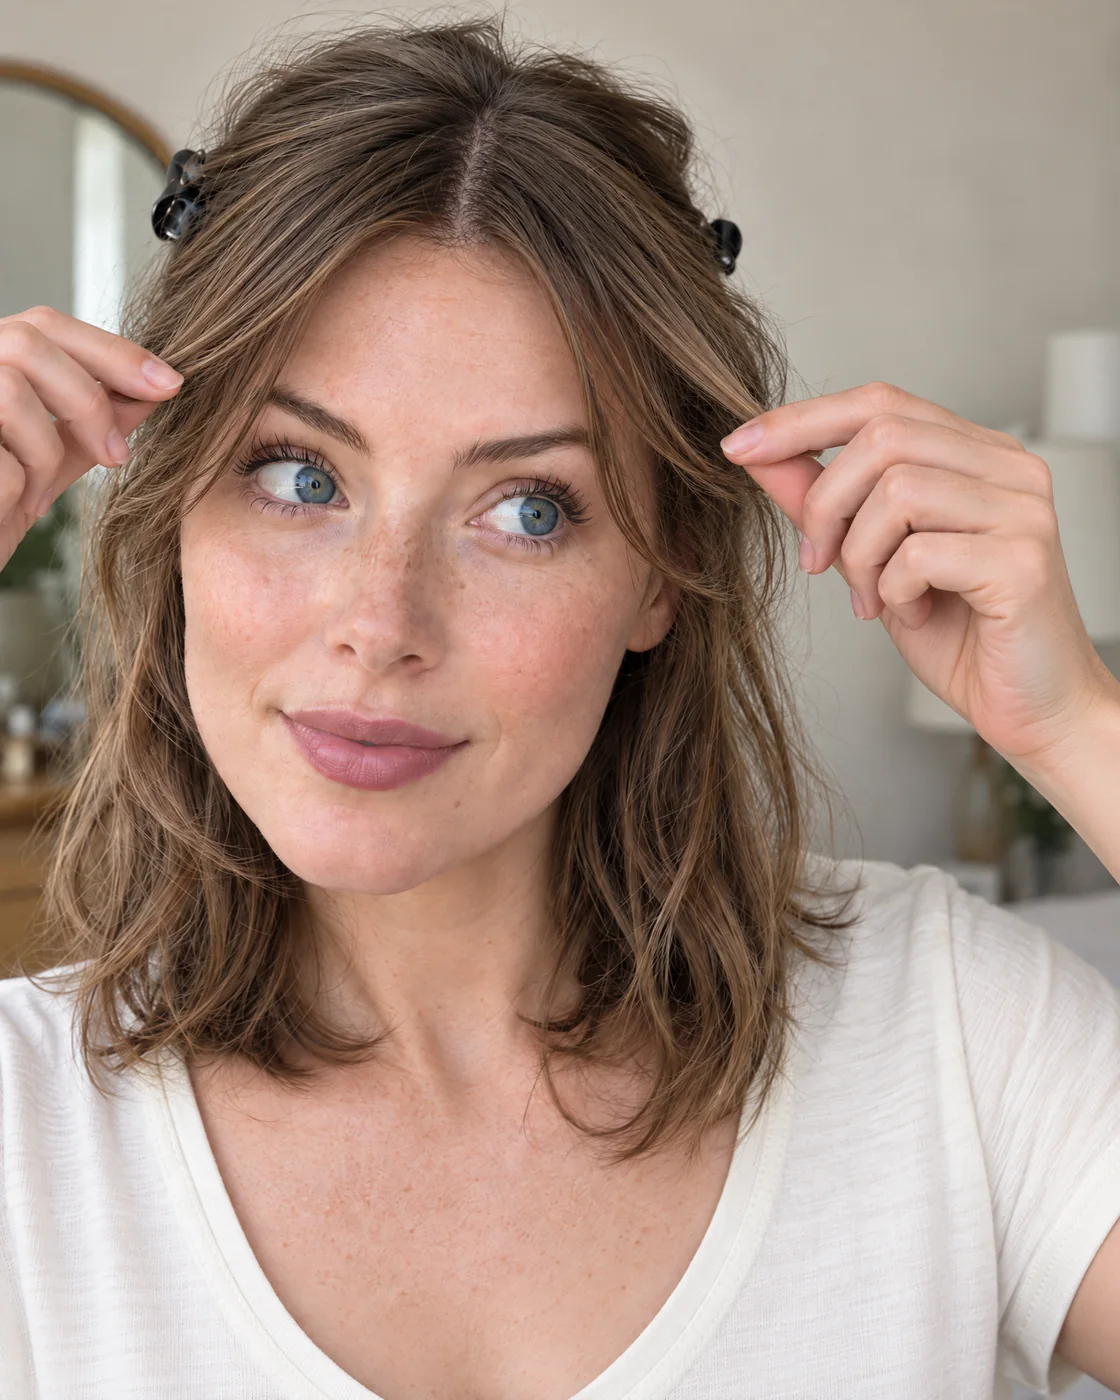
Keep the fringe separate so the brush picks up only the hair you mean to style. Look in the mirror before reaching for the brush. If one section contains a large piece of side hair and the other does not, release the clips and section again. You want to compare the fringe itself, without accidentally adding length on one side.
What to look forYou can see the part, both fringe sections and the longer hair held clear.
Put the brush underneath and follow with air
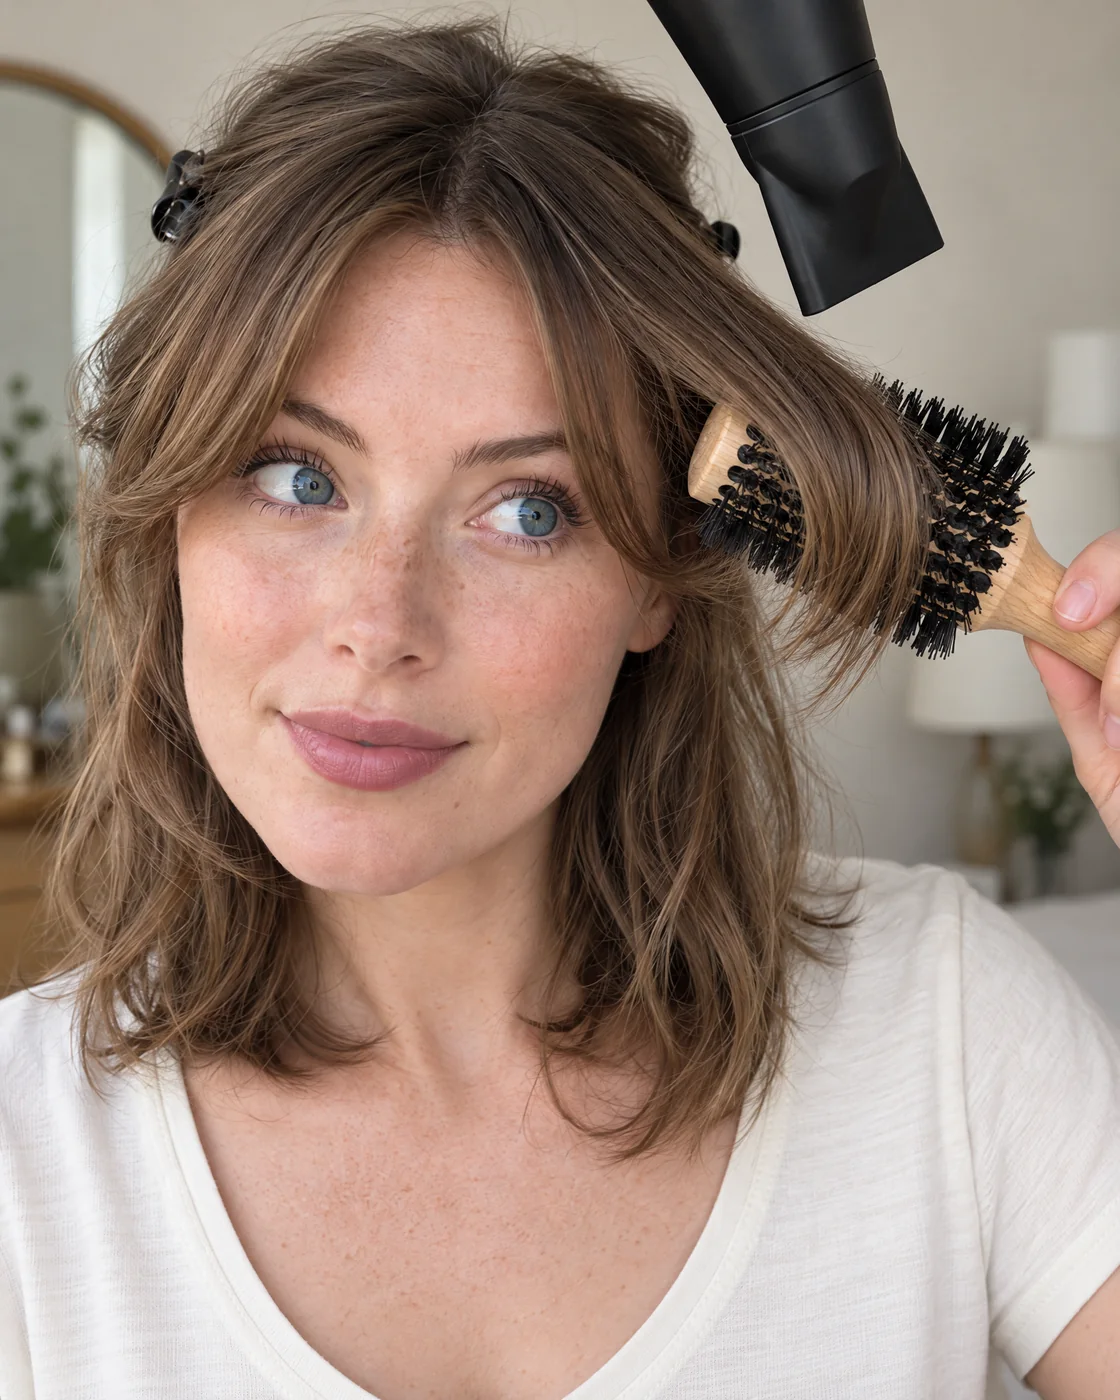
On one side, place the round brush under the fringe. Move it through the section with the dryer above, directing airflow along the hair towards the ends.[1]
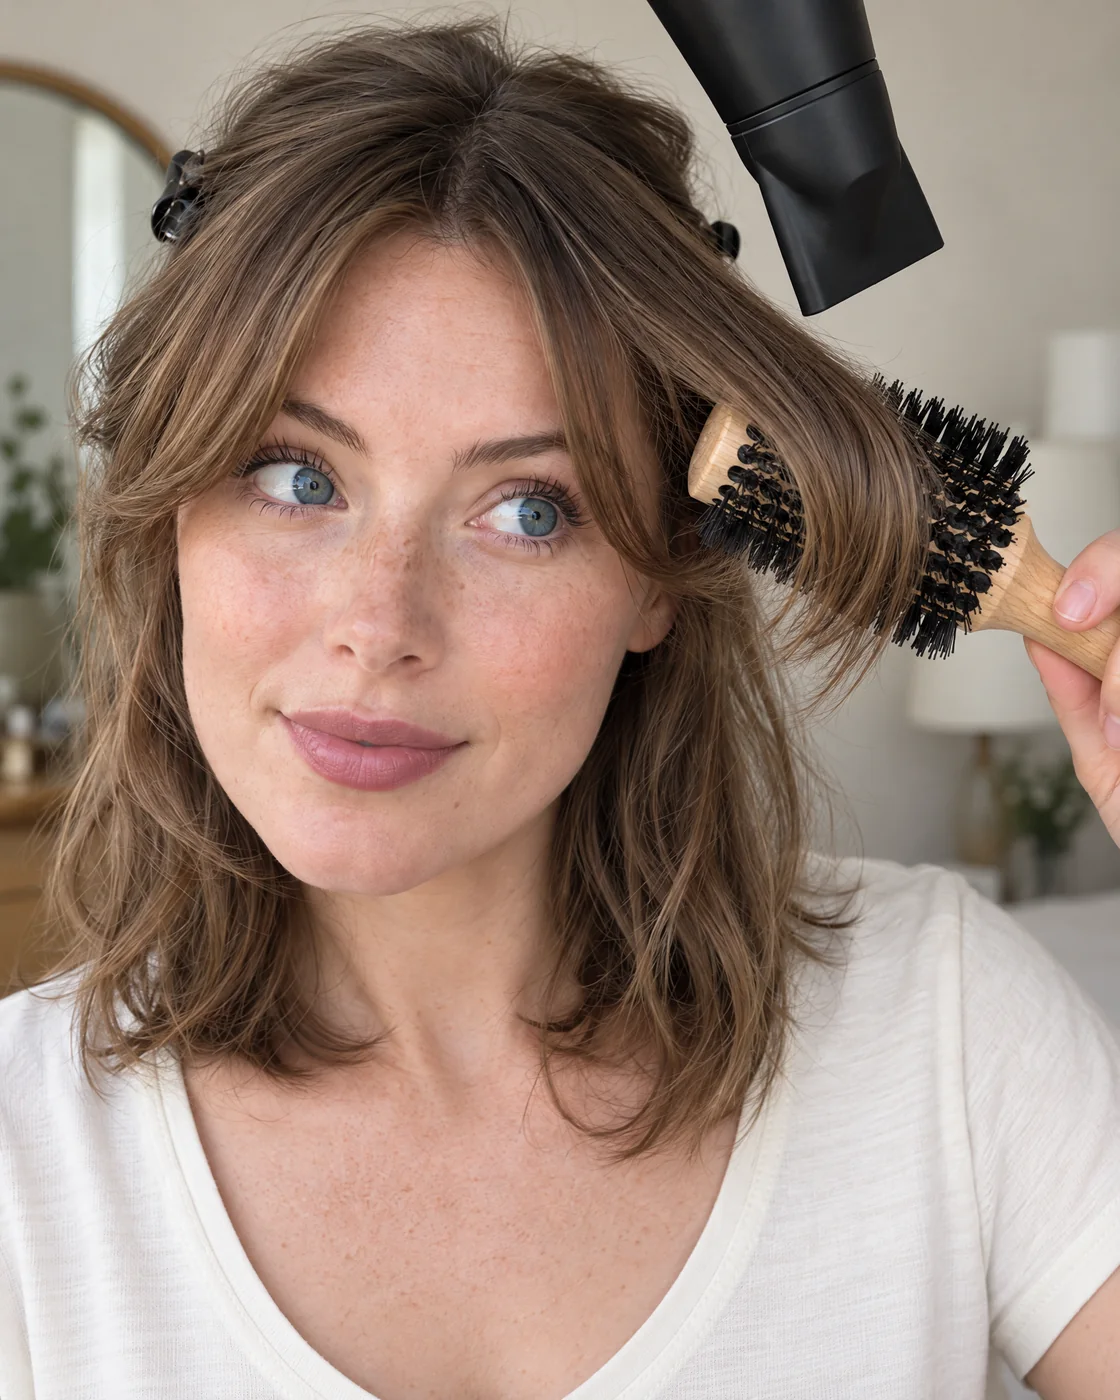
Work on one side at a time, with the brush underneath and airflow following the hair. Keep the nozzle clear of both brush and hair. Move the tools together without pressing them against each other, and keep the airflow away from your face. If the brush catches, switch the dryer off before freeing the section; pulling harder while heating it makes the task harder to control.
What to look forThe section travels over the brush smoothly, with no snagging or hot air on your skin.
Guide the ends away from your face
As the brush reaches the ends, turn it gently away from your cheek to create the outward bend. Release without winding the whole section tightly around the barrel.[1]
Practise that small turn with the dryer switched off if it feels awkward. Follow the movement in the mirror: the end of the fringe should travel away from your eye towards the side of your face. A soft bend only needs a small movement.
What to look forThe ends curve away from your cheek and release easily from the brush.
Repeat, then arrange and check
Put the dryer down, pick up the other section and repeat the same sequence. Reverse the outward direction for the other side. Let the fringe cool before arranging it with your fingers.
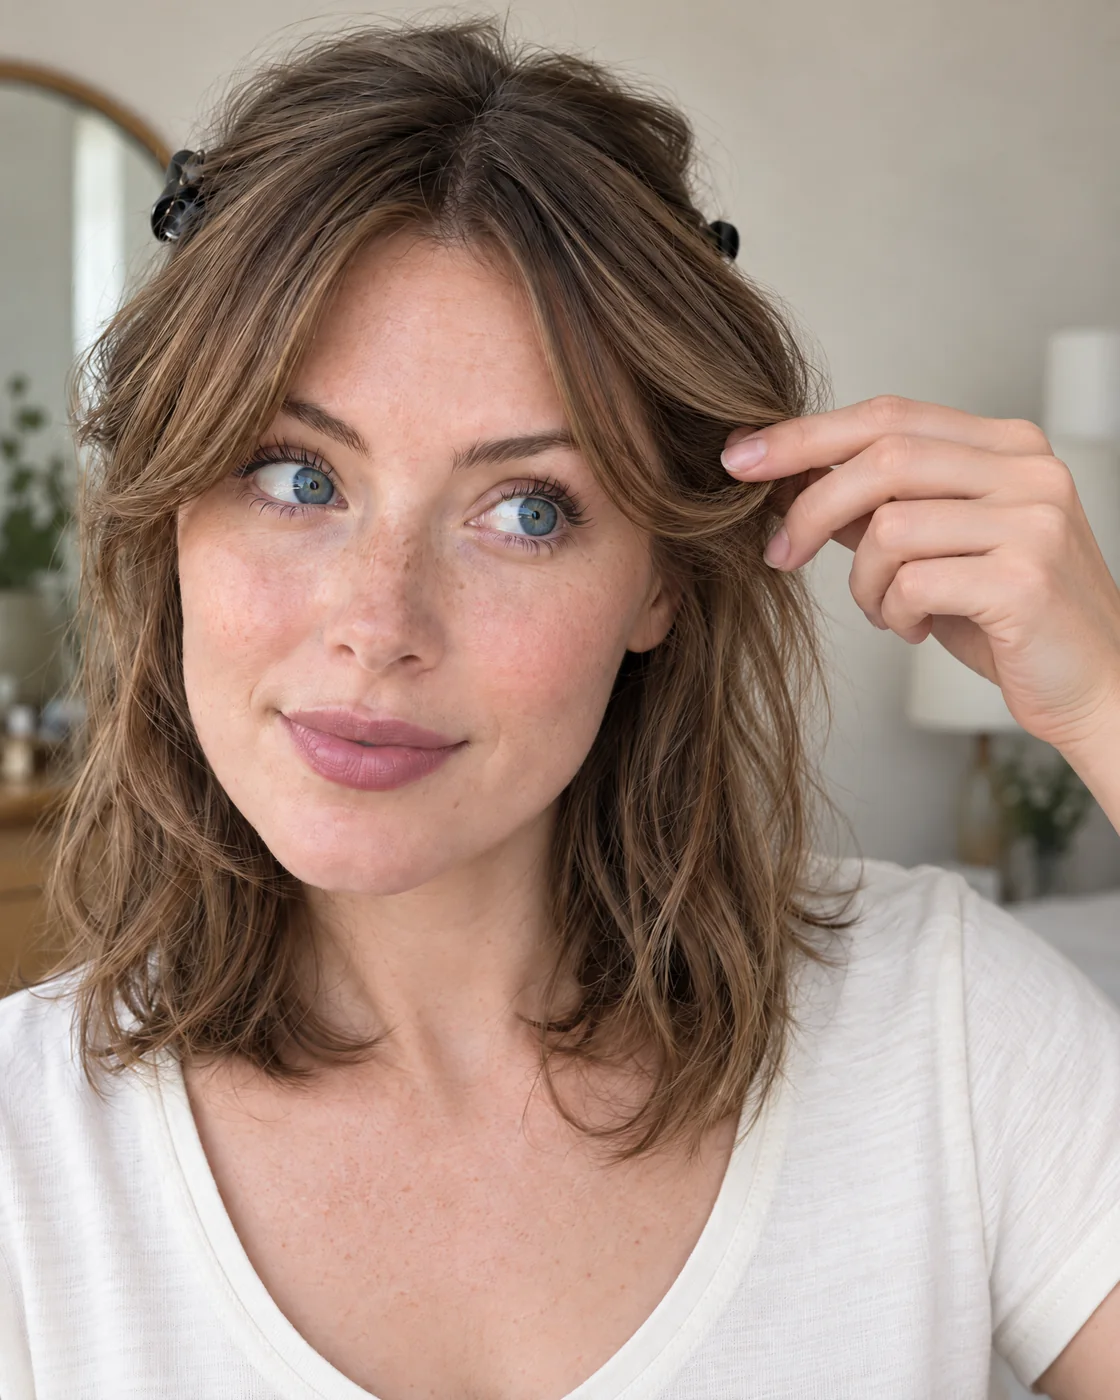
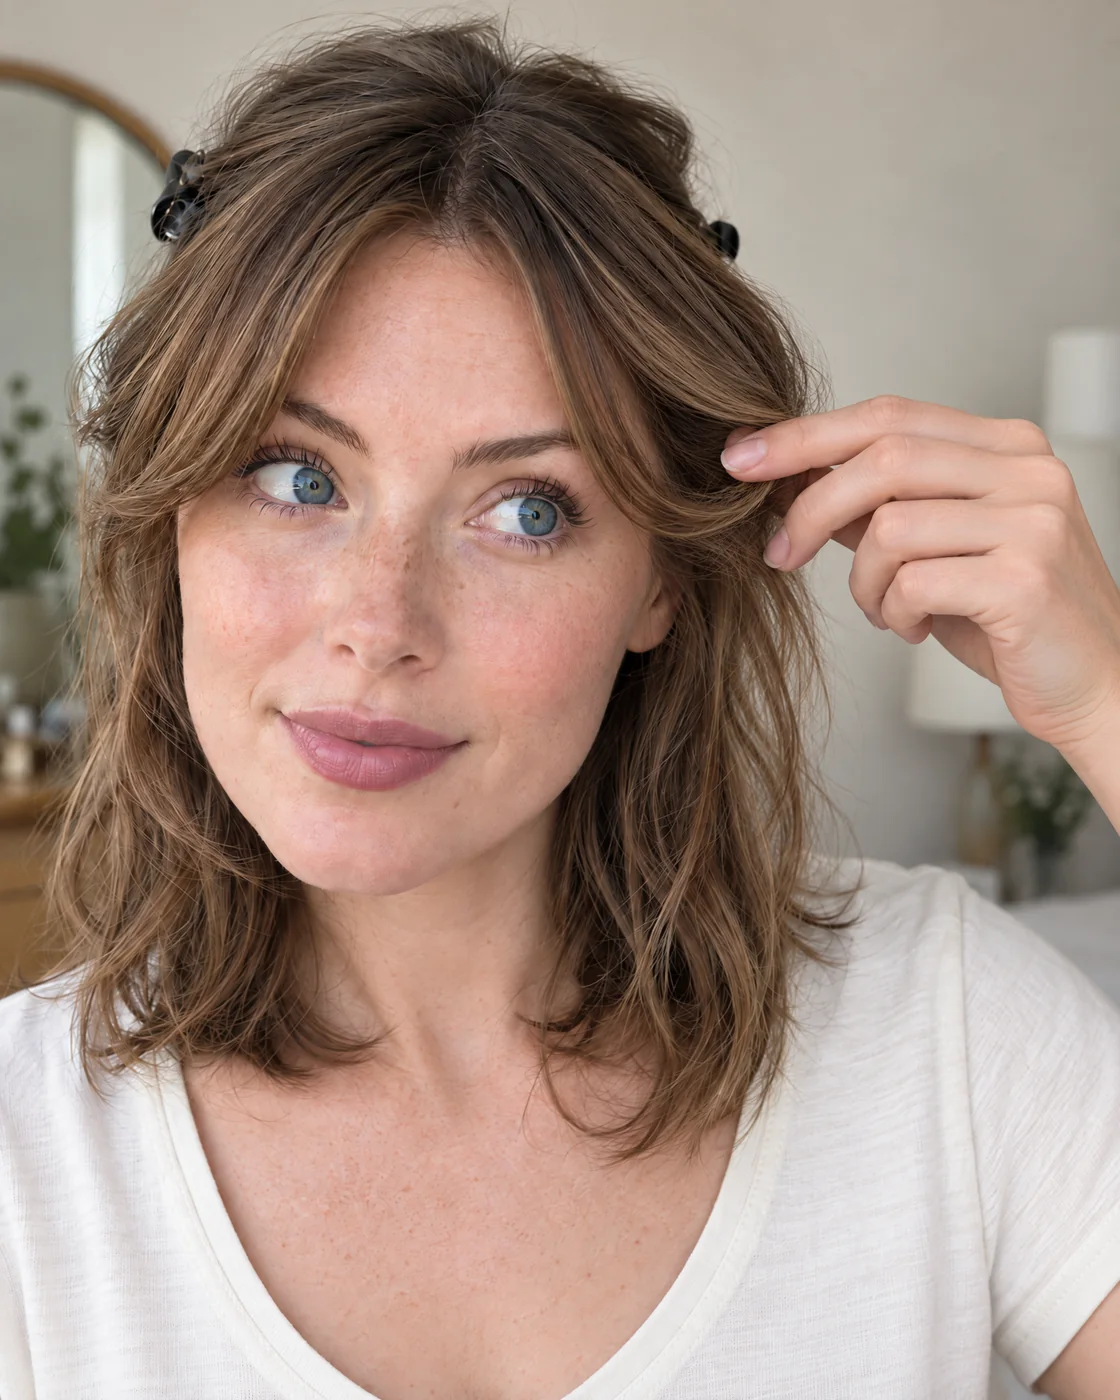
Put the tools down and arrange the cooled fringe gently with your fingertips. Remove the clips and look at how the fringe joins the rest of your haircut. Check at normal mirror distance, then turn your head slightly to each side. Adjust only the section that needs it instead of reheating both sides automatically.
What to look forBoth sides sit comfortably with your haircut; neither needs to be a perfect mirror image.
Adjust the finish to your hair
For a gentler bend
Stop the brush movement once the ends turn away. If you keep wrapping, it becomes harder to see where the ends have gone. Put the tools down and assess before deciding the fringe needs more shape.
If you want to keep your curls
Use a curl-focused method instead of copying the round-brush sequence. ghd’s curly-fringe guide works with damp hair and a diffuser. Choose products and a drying method that preserve the curl shape you want, following your diffuser’s instructions.[3]
If you prefer no heat
A parting and a clipped-back section can help you arrange the fringe while it dries, but do not expect the exact blow-dried bend pictured here. Keep the styling goal realistic for your natural texture and cut. You do not need to add heat solely to make both sides look identical.
If it’s not going to plan
Troubleshooting
One side flicks out and the other turns in
Check the direction of your final brush movement on the awkward side. In a mirror it is easy to copy your hand movement instead of reversing it. Practise with the dryer off, watching the hair’s ends rather than the handle.
The roots look flat
Check whether the brush is supporting the fringe or whether you are only turning its tips. Also check that the clips have not pulled the roots flat while you worked. Change that handling before adding another layer of styling product.
The brush keeps getting stuck
Turn off the dryer and stop winding. Gently unwind in the direction you came from; do not yank the brush through a tight wrap. On the next attempt, take a smaller section and keep the ends visible. Choose a brush you can handle easily.
A cowlick keeps opening the part
Do not keep escalating the heat to force a different growth direction. A hairdresser can check how the cut and part sit with that cowlick. Styling can change how a fringe lies temporarily; this sequence is not a promise to permanently train the roots.
My fringe is oily but the shape is fine
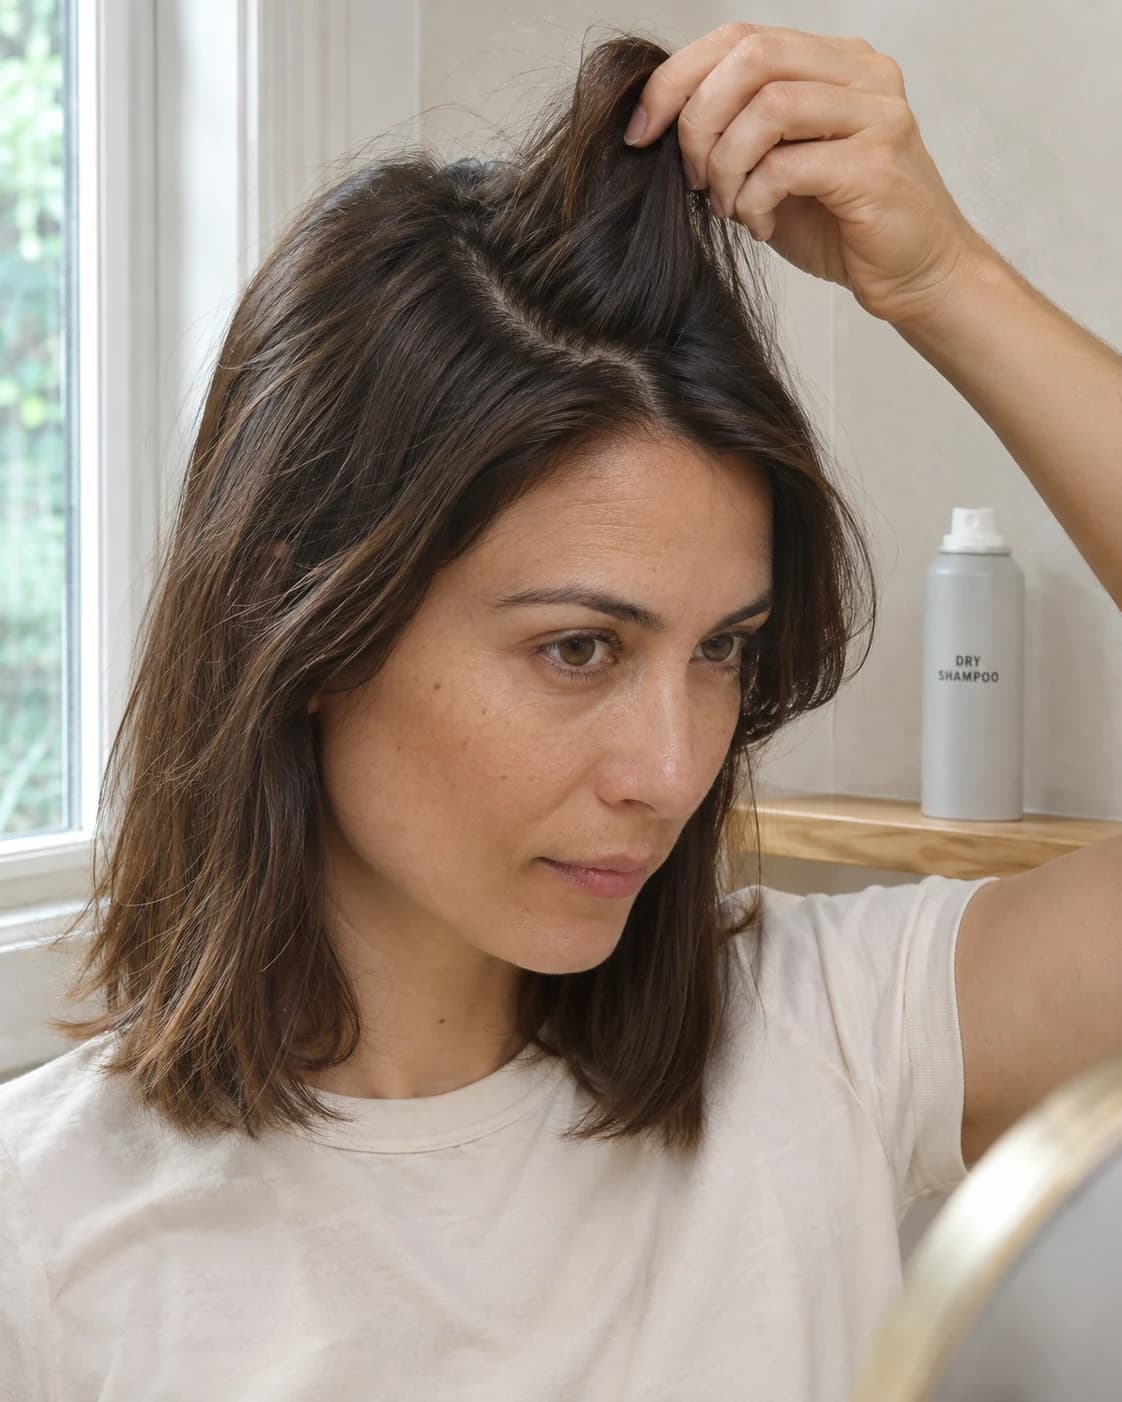
Treat the root issue separately from the blow-dry. If you use dry shampoo, follow its own application and safety directions; do not spray an aerosol beside a hot styling tool. You may only need a fringe wash or a targeted refresh, not another full styling session.