
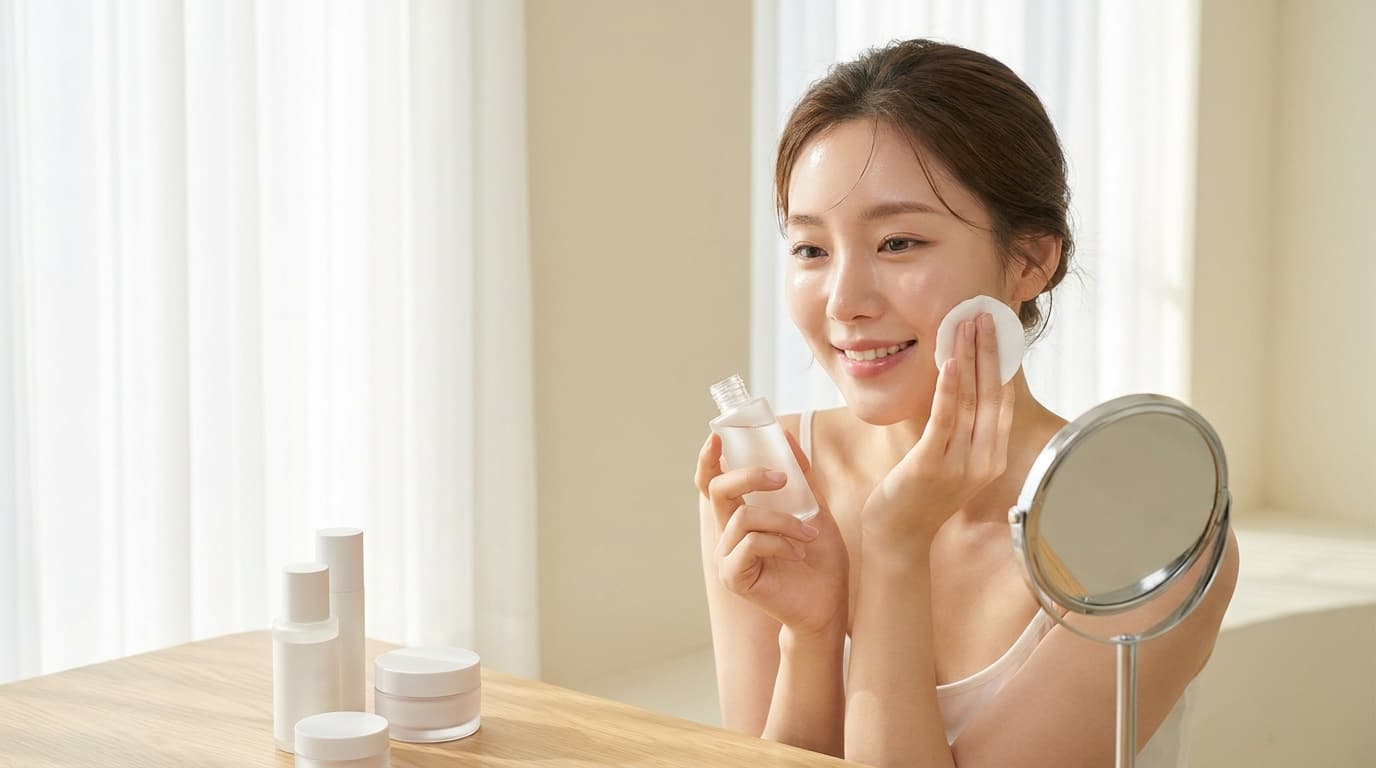
The easiest way to learn how to find your skin type at home is to wash your face with a gentle cleanser, leave it completely bare for 30 to 60 minutes, and observe how it looks and feels. Your oil distribution, tightness, flaking, and pore visibility can help identify whether your skin is oily, dry, combination, or balanced.
I punti essenziali
- Wash and wait: Cleanse gently, apply nothing, and observe your skin after 30 to 60 minutes.
- Check oil placement: Shine everywhere often suggests oily skin, while an oily T-zone with drier cheeks points to combination skin.
- Separate dryness from dehydration: Dry skin lacks oil; dehydrated skin lacks water and can still look shiny.
- Repeat the test: Weather, hormones, stress, and harsh products can temporarily change how your skin behaves.
- Treat sensitivity separately: Sensitive and acne-prone skin are usually conditions that can occur alongside any skin type.
How Do You Test Your Skin Type at Home?

For the clearest result, test your skin on a fairly normal day. Avoid doing it right after a facial, exfoliating treatment, sweaty workout, or long stretch outdoors in extreme heat or cold. Those factors can temporarily throw off oil production and hydration.
Here’s the simple bare-face method:
- Wash your face with lukewarm water and a gentle, low-foaming cleanser.
- Pat your skin dry with a clean towel instead of rubbing it.
- Leave your face completely bare—no toner, serum, moisturizer, facial oil, or sunscreen.
- Wait 30 minutes, then notice whether your skin feels tight, comfortable, itchy, or greasy.
- Check again at the 60-minute mark, looking closely at your forehead, nose, chin, and cheeks.
- Record where you see shine, flaking, roughness, redness, or more visible pores.
Don’t deliberately leave your skin bare all day. An hour is plenty for most people, and anyone with eczema, rosacea, or a damaged skin barrier may want to skip this test if going without moisturizer causes discomfort.
I've found that taking a makeup-free photo near a window can make shine and dry patches easier to spot. Just avoid direct sunlight, which can exaggerate texture.
You can also use a blotting paper test. Two to three hours after cleansing, gently press separate sheets onto your forehead, nose, chin, and cheeks. Don’t rub.
- Oil on every sheet: Your skin may be oily.
- Oil mainly from the forehead, nose, and chin: Your skin may be combination.
- Little or no oil with tightness or flaking: Your skin may be dry.
- A small, even amount of oil without discomfort: Your skin may be balanced or normal.
Blotting paper isn’t perfect on its own, so compare its results with how your skin actually feels.
What Do Your At-Home Skin Test Results Mean?
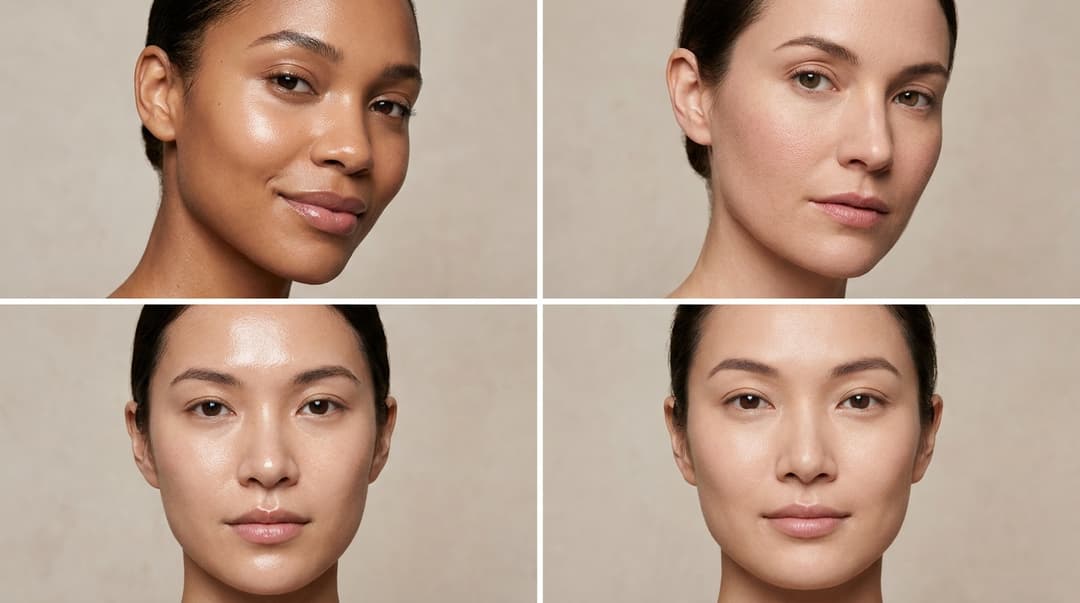
Most people fall into one of four basic skin types. Your skin can shift between them over time, especially with hormonal changes, seasonal weather, medication, and age.
- Oily skin: Your face becomes shiny across the forehead, nose, cheeks, and chin. Pores may look more noticeable, and you may be prone to clogged pores, though oily skin doesn’t automatically mean acne-prone skin.
- Dry skin: Your face feels tight, rough, or uncomfortable after cleansing. You may notice dullness, fine flaking, or dry patches, and your pores may appear less visible.
- Combination skin: Your T-zone becomes oily while your cheeks stay balanced, dry, or tight. This is extremely common and may require different textures on different areas of the face.
- Balanced or normal skin: Your face feels comfortable and has mild, even oil production. You may still experience an occasional breakout or dry patch—normal skin isn’t flawless skin.
Look, pore size alone can’t diagnose your skin type. Genetics strongly influence pores, and sun damage, congestion, and loss of skin elasticity can also make them appear larger.
Sensitivity is a little different. Sensitive skin is generally considered a skin condition or tendency, not one of the four basic oil-production types. You can be oily and sensitive, dry and sensitive, or combination and sensitive. Frequent burning, stinging, itching, or redness may signal sensitivity or a compromised barrier.
Is Your Skin Dry or Just Dehydrated?
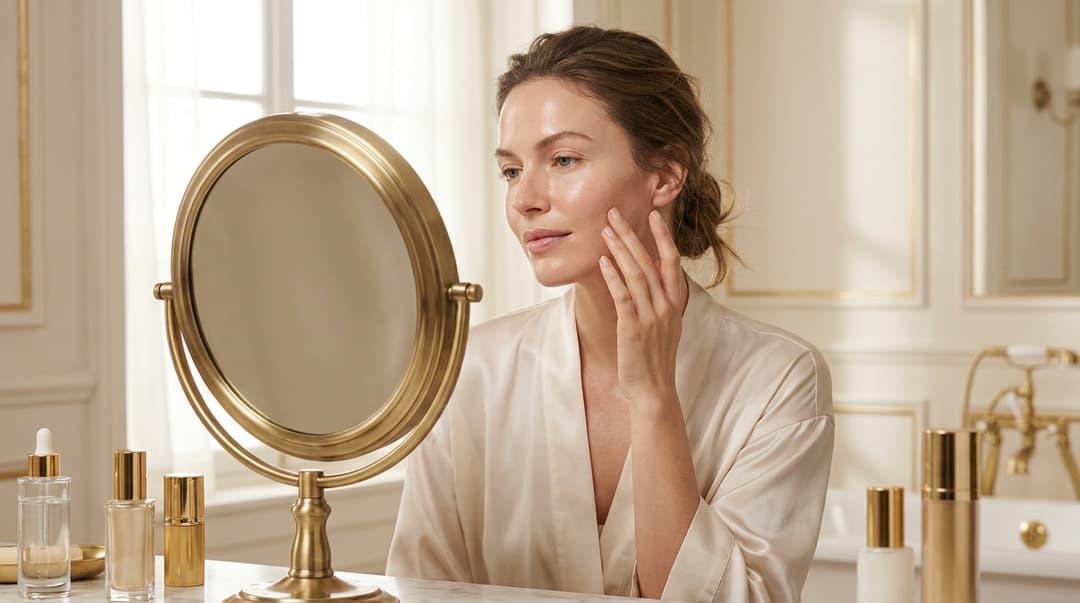
Dry and dehydrated skin can look similar, but they’re not the same. Dry skin produces less sebum, while dehydrated skin lacks sufficient water. Dehydration is temporary and can affect every skin type, including oily skin.
Signs of dry skin may include:
- Persistent tightness and flaking
- A rough or dull appearance
- Low oil production throughout the day
- Better comfort with richer creams
Signs of dehydration may include:
- Fine surface lines that become more noticeable when smiling
- Skin that feels tight but still becomes oily
- A papery, less bouncy appearance
- Sudden sensitivity after over-cleansing or exfoliating
Honestly, I’ve seen plenty of people assume extra shine means they need a stronger cleanser. Sometimes the opposite is true. Over-cleansing can strip surface lipids, worsen water loss, and leave skin feeling tight while it still produces oil.
If dehydration seems likely, pause scrubs and strong exfoliating acids for several days. Use a gentle cleanser, a hydrating serum on slightly damp skin, and a moisturizer to reduce water loss.
Which Ingredients Suit Each Skin Type?
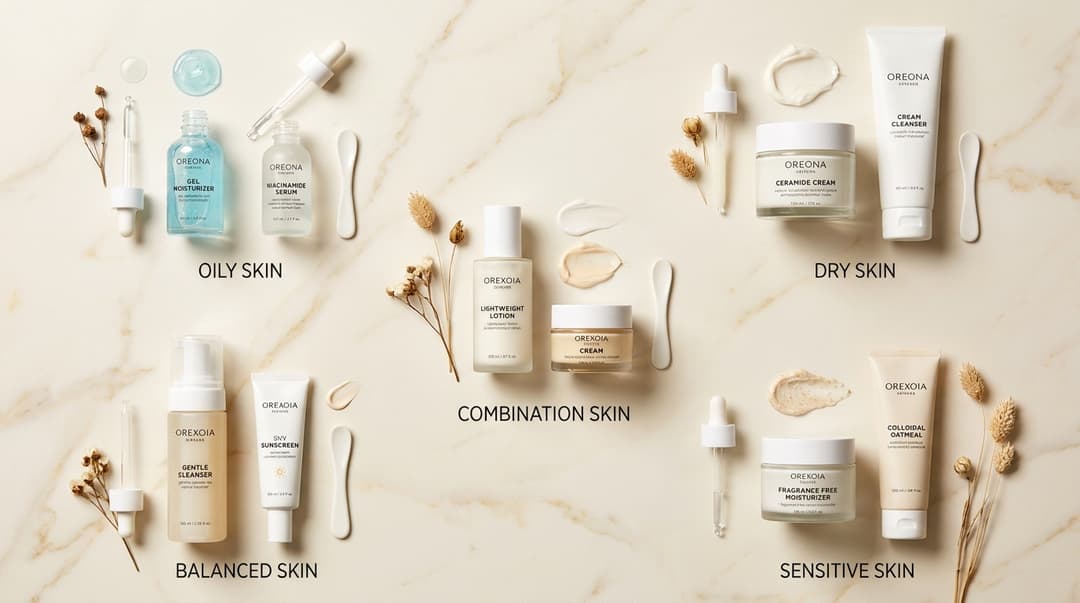
Once you understand how to find your skin type at home, choose formulas by texture and ingredient profile rather than relying only on labels such as clean, natural, or oil-free. Plant-based ingredients can still irritate skin, and synthetic ingredients aren’t automatically harsh.
For oily skin: Look for lightweight gel moisturizers containing glycerin, hyaluronic acid, niacinamide, or squalane. Salicylic acid can help clear oil-soluble buildup inside pores, but start two or three times weekly rather than using it aggressively every day.
For dry skin: Choose cream cleansers and richer moisturizers with ceramides, shea butter, squalane, glycerin, or colloidal oatmeal. These ingredients help soften the skin and support its protective barrier.
For combination skin: A light lotion may work across the whole face, with a richer cream pressed only onto dry cheeks. You don’t necessarily need two complete routines. That gets expensive and creates extra packaging, too.
For balanced skin: Keep things simple with a gentle cleanser, a comfortable moisturizer, and broad-spectrum sunscreen. There’s no need to chase every trending active when your skin is already happy.
For sensitive skin: Prioritize short ingredient lists and fragrance-free products. Soothing ingredients such as colloidal oatmeal, panthenol, allantoin, and centella asiatica may help, although every botanical still deserves a patch test.
Apply a new product to a small area near the jaw or behind the ear once daily for several days before using it across your face. Patch testing can’t predict every reaction, but it lowers the chance of a full-face surprise. Been there, and no thanks.
What Can Make a Skin Type Test Inaccurate?
A single test gives you a snapshot, not a permanent label. For a more reliable result, repeat the bare-face or blotting test two or three times over one to two weeks.
Common factors that can skew the result include:
- Using a stripping cleanser or very hot water
- Exfoliating shortly before the test
- Testing during unusually humid, cold, or windy weather
- Starting or stopping hormonal medication
- Experiencing menstrual-cycle changes, pregnancy, or menopause
- Wearing heavy makeup or occlusive skincare earlier that day
- Having an irritated or sunburned skin barrier
Try not to diagnose skin conditions through an oil test. Persistent redness, painful acne, cracking, swelling, severe itching, or a rash deserves advice from a board-certified dermatologist or another qualified clinician. Sudden changes in your skin can also be worth checking, especially if they don’t improve after simplifying your routine.
Il nostro consiglio
The most practical method for how to find your skin type at home is to cleanse gently, wait 30 to 60 minutes, and evaluate where oil, tightness, or flaking appears. Use blotting paper as a second clue, repeat the test on a few normal days, and remember that dehydration and sensitivity can affect any skin type.
So, let your results guide your product textures—not box you into a permanent category. A gentle cleanser, well-formulated moisturizer, and daily broad-spectrum sunscreen are a solid base for nearly everyone, while targeted ingredients can be added slowly as needed.
Want thoughtful skincare finds without sorting through endless product pages? Sign up for Insider Beauty’s weekly deals for curated beauty offers, ingredient-conscious picks, and practical tips delivered to your inbox.
Vuoi altri consigli e offerte beauty esclusive nella tua casella di posta? Inserisci l’e-mail qui sotto e unisciti alle migliaia di lettori che ogni settimana trovano occasioni per risparmiare.