
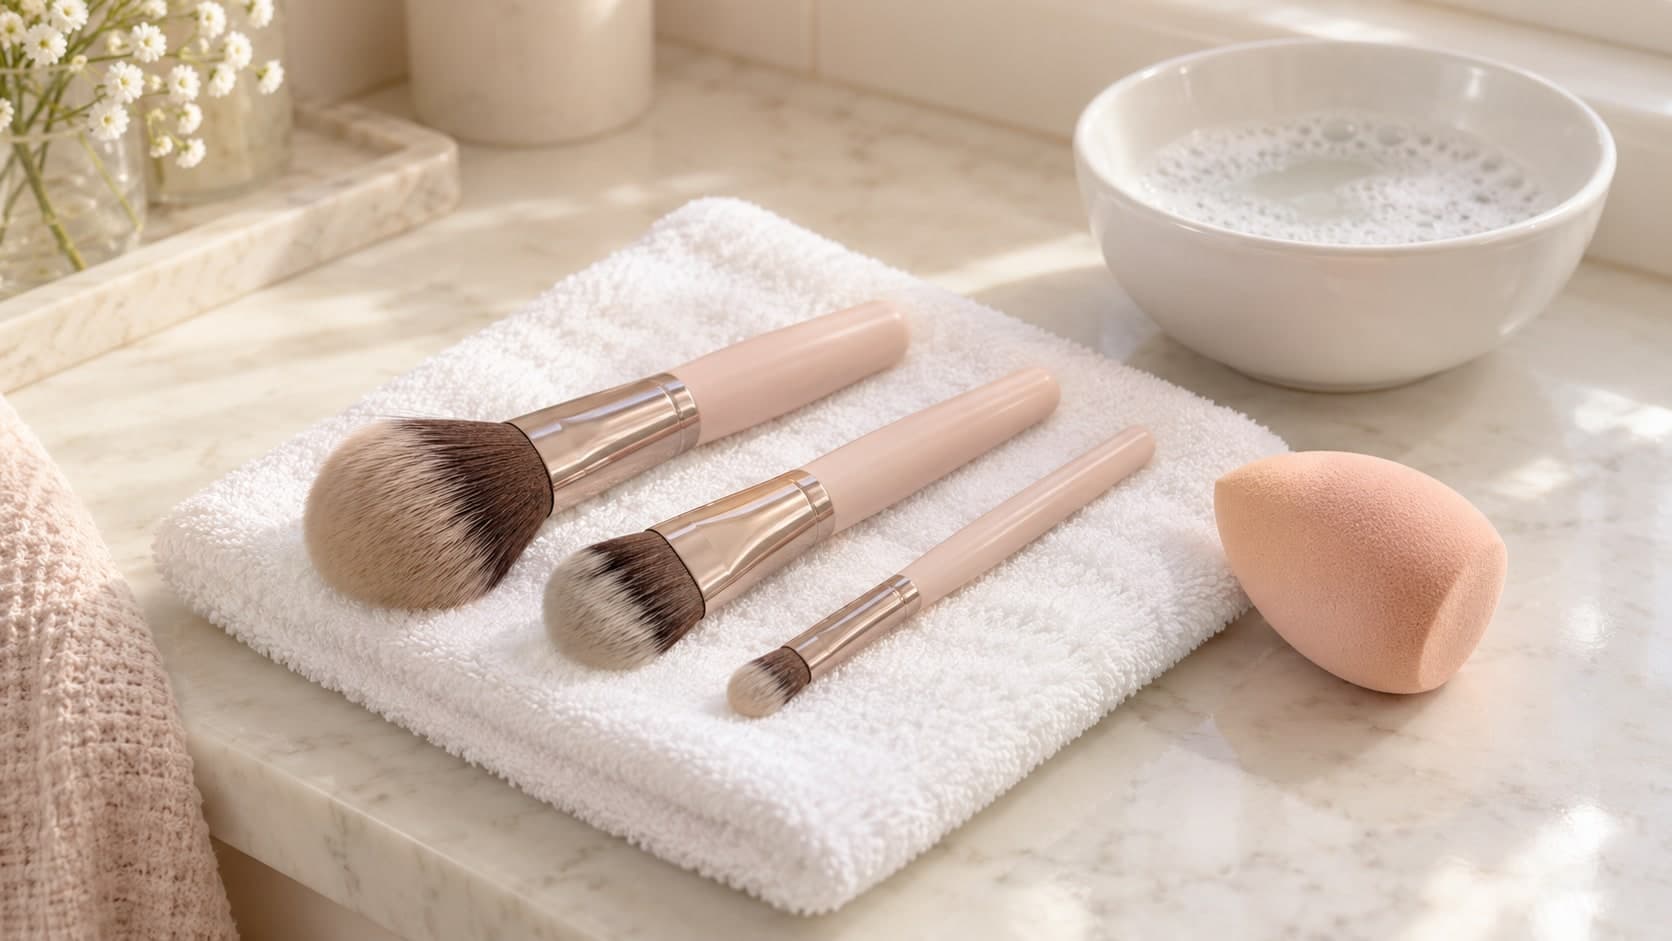
Wash makeup brushes regularly, clean sponges after use, and give both somewhere to dry before putting them away. The part that's easiest to overlook is the last one. Washing every tool you own just before packing a makeup bag leaves you with a collection of wet tools and nowhere suitable to put them.
A bowl, an appropriate cleanser and clean towels are enough to start. Save the shopping for later if those are already in the cupboard.
Set a cleaning schedule for each tool
The American Academy of Dermatology recommends washing makeup brushes every seven to ten days. Its separate guidance on makeup care advises cleaning sponges after every use. Put those on different schedules instead of leaving everything for an occasional bathroom clear-out. AAD brush guidance, AAD sponge guidance.
Choose a regular evening for brushes, with enough time for them to dry before you need them. For a sponge, make cleaning part of putting your makeup away. Keep the cleanser near the sink and a clean drying surface ready; a routine with fewer things to fetch is easier to repeat.
Check the maker's instructions if a tool has an unusual construction or a removable head. A puff, silicone applicator and bristled brush aren't necessarily meant to be cleaned in the same way.
Wash brush tips without soaking the handles
The AAD's method uses lukewarm water and gentle or clarifying shampoo. The aim is to clean the bristles while keeping the glued joint out of a prolonged soak.
- Rinse the bristle tips under lukewarm running water.
- Add a tablespoon of shampoo to a bowl of lukewarm water. Swirl each tip in the mixture, gently working it against your palm if needed.
- Rinse, and repeat the shampoo step until the water coming through the bristles is clear.
- Press out excess moisture with a clean paper towel.
- Lay the brushes flat with their tips extending beyond the edge of the counter. Keep them secure so they cannot fall.
Avoid drying them upright in a cup. Water can run toward the glued joint and loosen it. These steps follow the AAD's brush-cleaning instructions.
Set aside enough counter space before starting. If you wash a large collection at once, check that the brush heads have room rather than piling them together. You can also wash a smaller group on consecutive evenings if that fits the space you have.
Give sponges a gentle squeeze and a full rinse
The AAD's sponge method starts with warm water and a few drops of liquid cleanser or soap. Work that through the sponge for 15 seconds, then rinse under running water until clear. Squeeze out excess water and air-dry it on a clean paper towel. AAD sponge-cleaning steps.
Beautyblender also recommends cleaning after each use. Its instructions emphasize gentle squeezing to avoid tearing the foam, followed by rinsing and complete drying in a ventilated place. Use a cleanser suitable for your sponge and follow its directions on how much to apply. Beautyblender's cleaning guide.
Work patiently around areas carrying visible foundation. Scraping at the surface with your nails makes it harder to keep the sponge intact. If you find yourself repeatedly increasing the force because the sponge won't come clean, inspect its condition before deciding it deserves another round.
Choose a cleanser before buying a cleaning gadget
A textured mat can give you a surface to work against, but you don't need to buy one to follow the brush method above. Start with the appropriate cleanser and enough rinsing time. Then decide if an accessory would make your routine easier.
Real Techniques Miracle Deep Cleansing Gel is one product intended for brushes, sponges and puffs. The brand directs users to put a drop on the wet tool, work up a lather, rinse thoroughly, reshape and lay flat to dry. That is an example of a dedicated cleanser, rather than a requirement to buy this brand. Real Techniques cleanser directions.
Beautyblender distinguishes its quick-cleaning spray for spot cleaning from its washing routine. Read a spray's instructions before treating it as a complete replacement for washing. The brand also advises against microwave and vinegar cleaning hacks; its regular method is straightforward enough without either.
Dry tools before packing them
Beautyblender advises against putting a damp sponge in a makeup pouch or using a hairdryer to speed up drying. Leave it in a clean, ventilated space instead. Beautyblender's storage and care advice.
For travel, plan the last wash around departure time. If your usual sponge won't have time to dry, choose a different clean applicator for that final makeup application. Buying a second sponge only helps if the first one still gets washed and dried.
Keep the drying area separate from the place you put used tools. A simple division of the counter or two clearly different containers is enough. Once everything is dry, return it to a clean storage space rather than dropping it onto loose powder and old residue in the bottom of a bag.
Follow the replacement advice for your sponge
Replacement guidance varies. Beautyblender recommends around three months, sometimes sooner depending on use and condition. Real Techniques says to replace its Miracle Complexion Sponge every 30 days. These are the manufacturers' schedules for their own products, so keep the instructions for the one you use. Beautyblender replacement guidance, Real Techniques sponge care.
Record the first-use date when you open a new sponge. Inspect it while cleaning, too: Beautyblender advises replacement for damage or signs of mold rather than waiting for the calendar reminder.
If you're changing applicators as well as foundation, keep a note of both. Our foundation guide covers formula choices; cleaning and caring for the tool remains a separate part of getting a repeatable application.
Research checked October 1, 2026. This guide follows published care instructions; it does not report an Insider Beauty cleaning-product test.
Cover image: AI-generated editorial illustration.
Get Insider Beauty's weekly email for more product comparisons and beauty deals.