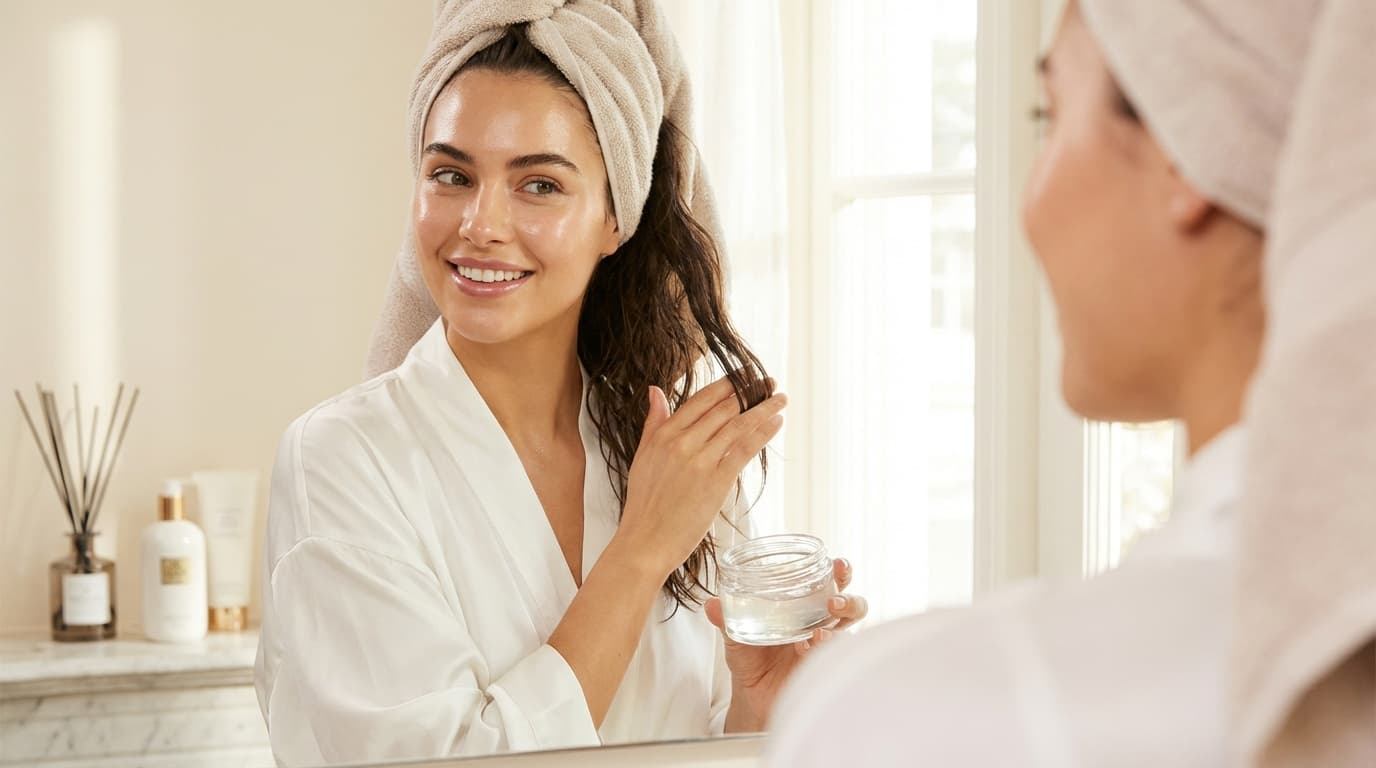
The easiest way to do a hair glossing treatment at home is to use a semi-permanent gloss or clear gloss mixed with conditioner, applied to clean, damp hair for 10–20 minutes. This boosts shine, smooths frizz, and refreshes color without the damage of permanent dye. Here's exactly how to do it safely and get that salon-like sheen in your bathroom.
I’ve tested a lot of at-home glosses as a beauty editor, and when you get the formula and timing right, the results are shockingly close to a pro treatment. So let’s break down what hair glossing actually is, who it’s best for, and the step-by-step routine you can copy tonight.
Quick Takeaways
- Hair glossing treatment at home adds shine, smooths frizz, and lightly tones color using semi-permanent formulas
- You can use clear gloss, tinted gloss, or a pigmented conditioning mask depending on your hair goals
- Always apply gloss to clean, towel-dried hair and leave it on for 10–20 minutes unless the packaging says otherwise
- Results usually last 2–4 weeks, depending on how often you shampoo and your hair’s porosity
- Avoid at-home gloss if your hair is very damaged, over-processed, or you’re unsure of your current color level
What Is a Hair Glossing Treatment At Home, Really?
A hair glossing treatment at home is a semi-permanent, shine-boosting treatment you apply yourself instead of going to a salon. Most formulas are either clear (no color) or tinted (adds or refreshes tone), and they work by smoothing the hair cuticle and lightly depositing pigment or conditioning agents.
Think of it as a top coat for your hair:
- It boosts shine by filling in tiny gaps in the cuticle
- It can neutralize brassiness (for blondes, highlighted hair, or brunettes with warmth)
- It helps refresh faded color between salon visits
- It can make hair feel softer and smoother, especially on mid-lengths and ends
Honestly, if you like your current color but it looks dull, a clear hair glossing treatment at home can make it look like you just walked out of a salon without actually changing your base shade.
Hair Gloss vs Glaze vs Toner: What’s the Difference?
These terms get thrown around a lot, and brands don’t always use them consistently, but here’s the general breakdown:
- Hair gloss: Semi-permanent treatment that adds shine, some conditioning, and sometimes low-level pigment. Usually lasts around 4–6 weeks with gentle washing.
- Hair glaze: Often more of a shine + conditioning treatment with very minimal or no pigment. Typically coats the outside of the hair and can wash out a bit faster (2–3 weeks).
- Toner: A more targeted color-correcting formula, often used on blondes to cancel yellow, orange, or red tones. Can be demi-permanent and sometimes requires developer.
For an easy hair glossing treatment at home, most people do best with either:
- A clear gloss (no color, just shine and smoothness)
- A tinted gloss that matches your current hair color or slightly adjusts tone
Look, if you’re nervous about changing your color, start with a clear gloss. It’s the lowest-commitment option and still makes hair look healthier.
Who Should (and Shouldn’t) Do Hair Glossing at Home?
Best candidates for at-home hair gloss
Hair glossing at home works especially well if you:
- Have color-treated hair that looks dull or flat
- Are blonde, highlighted, or balayaged and want to tone brassiness
- Have natural hair (no dye) and just want extra shine and smoothness
- Want a soft, temporary color boost without fully committing to permanent dye
I’ve found that brunettes and redheads get a lot of mileage out of tinted glosses because they can revive that rich, expensive-looking tone between salon visits.
When to be cautious or skip it
You might want to see a pro first if:
- Your hair is very damaged, breaking, or over-processed
- You’ve recently bleached your hair and it feels gummy or stretchy when wet
- You have multiple layers of old color and don’t know what’s underneath
- You’re trying to go significantly lighter or darker (that’s beyond gloss territory)
A hair glossing treatment at home is more about enhancing what you already have, not making huge color changes.
Types of At-Home Hair Gloss Products to Look For
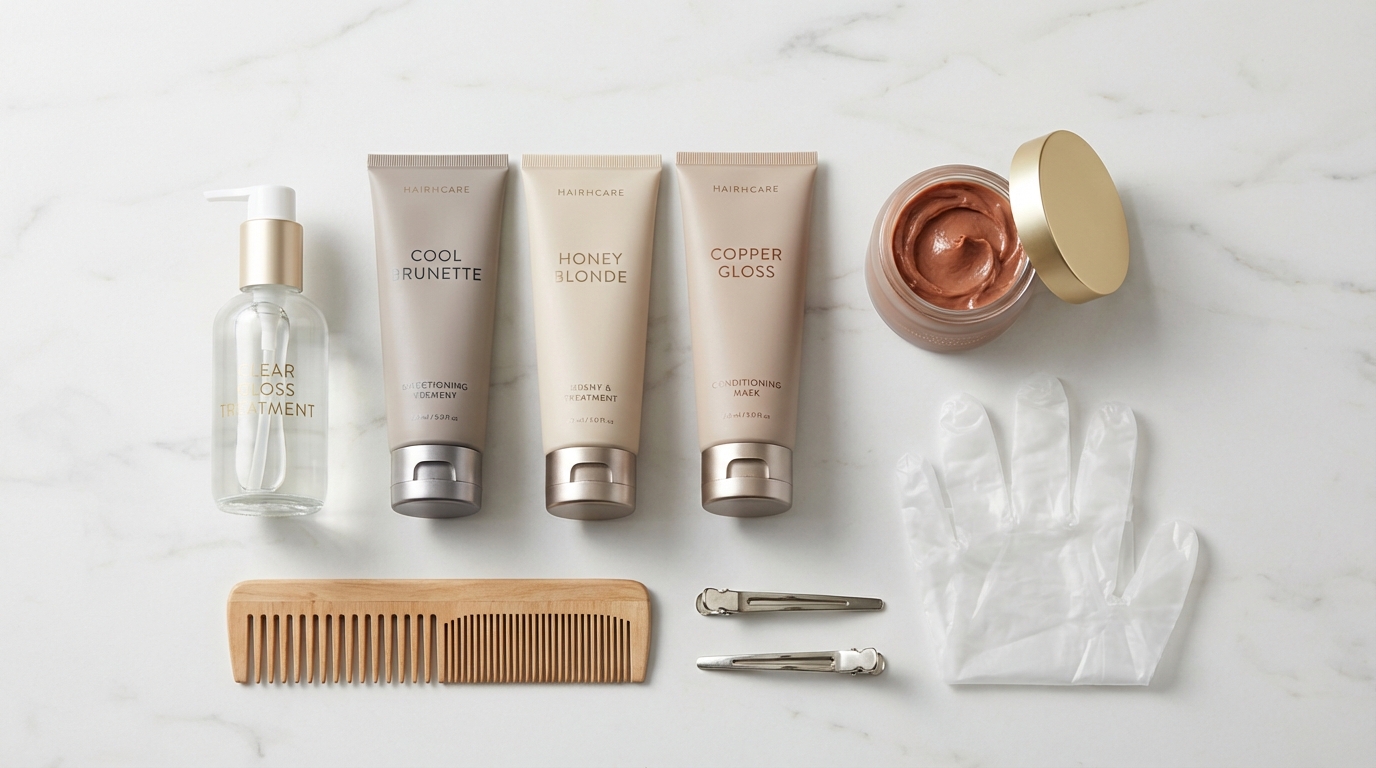
When you’re standing in the aisle or scrolling online, you’ll mostly see three main product types for hair glossing treatment at home:
Clear hair gloss
- Great if you like your current color
- Adds shine, smoothness, and can slightly improve the look of split ends
- Works for all hair colors and textures
Tinted hair gloss
- Comes in shades like cool brunette, warm brown, honey blonde, icy blonde, copper, etc.
- Helps cancel brass or boost richness
- Best if you know your basic color level (dark brown vs light brown vs dark blonde, etc.)
Pigmented conditioning mask / color-depositing mask
- Creamy, mask-like formula you use once a week or every few washes
- Deposits a sheer veil of color while conditioning the hair
- Good for maintaining vivid tones (copper, red, chocolate brown) or keeping blondes cool
You don’t need anything super fancy. A simple clear gloss or a color-depositing mask in your tone is enough to get started.
Step-by-Step: How To Do Hair Glossing Treatment at Home
Here’s a simple routine you can follow with most at-home gloss products. Always read your specific instructions, but this is the general flow I use on my own hair.
Choose the right gloss
Pick a clear gloss if you just want shine, or a tinted gloss that matches your current shade (or slightly cooler/warmer depending on your goal). If you’re between shades, err lighter and cooler; going too dark or too warm is harder to correct.Start with clean hair
Shampoo your hair and skip heavy conditioners or masks before applying gloss. Product build-up can block the formula from fully coating the hair. Towel-dry so your hair is damp but not dripping.Protect your skin and clothes
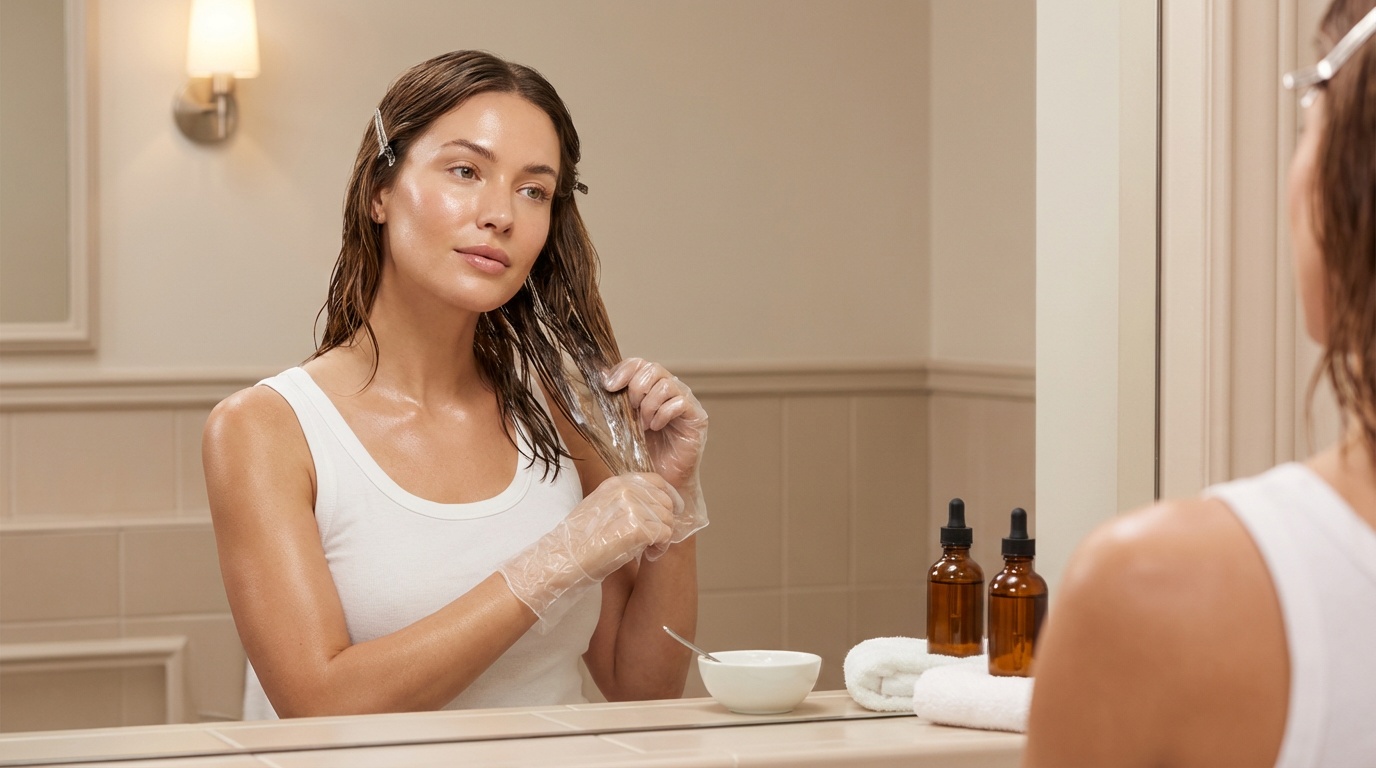
Throw on an old T-shirt or towel, and if you’re using a tinted product, apply a thin layer of petroleum jelly around your hairline, ears, and neck to prevent staining.Section your hair
Use clips to divide your hair into 4 sections (two in front, two in back). This makes it much easier to apply the gloss evenly, especially if your hair is thick or curly.Apply the gloss from mid-lengths to ends
Start where your hair looks the dullest – usually mid-lengths and ends. Use a comb or your fingers to saturate each section. If the product is safe for use at the roots (most are), you can pull it up toward the scalp at the end for even shine.Comb through for even coverage
Use a wide-tooth comb to gently distribute the gloss. This step is key; it prevents patchiness and ensures every strand gets some love.Set a timer and chill
Most hair glossing treatments at home need 10–20 minutes. Don’t guess – set a timer. Leaving it on longer doesn’t automatically mean more shine, especially with tinted formulas.Rinse thoroughly with lukewarm water
Rinse until the water runs clear. Skip shampoo. You can use a light conditioner on your ends if your instructions allow it, but many glosses already have conditioning agents built in.Dry and style as usual
Blow-dry or air-dry and check your results in natural light. You should see more reflection, smoother texture, and, if it’s tinted, a subtle tone shift or refreshed color.
How Often Should You Do a Hair Glossing Treatment at Home?
Most at-home hair gloss results last 2–4 weeks, depending on:
- How often you shampoo (more washing = faster fade)
- Water hardness and hot water use
- How porous or damaged your hair is
General guidelines:
- Color-treated or porous hair: Every 2–3 weeks
- Normal to low-porosity hair: Every 3–4 weeks
- First time trying gloss: Start once a month and adjust
I usually tell people to sync their hair glossing treatment at home with a bigger hair day – like before an event, vacation, or a fresh haircut. It makes everything look more polished.
Pro Tips to Make Your At-Home Hair Gloss Last Longer

If you’re going to the trouble of glossing your hair at home, you want that shine to stick around. A few small tweaks really help:
Switch to a sulfate-free shampoo
Sulfates are strong detergents and can strip semi-permanent color and gloss faster. A gentler formula keeps the cuticle smoother and the gloss intact.Wash less often if you can
Aim for 2–3 wash days a week instead of daily. Dry shampoo is your friend here.Turn down the water temperature
Super hot water roughs up the cuticle and fades color. Lukewarm to cool water keeps hair shinier.Use a heat protectant before styling
Flat irons and curling wands can dull the hair over time. A lightweight heat protectant spray or cream creates a barrier and helps maintain that reflective finish.Sleep on a silk or satin pillowcase
This reduces friction and frizz overnight, so your hair stays smoother and shinier.
I’ve noticed that when I pair a gloss with a sulfate-free shampoo and a heat protectant, I can stretch the results to almost five weeks.
Common At-Home Hair Gloss Mistakes to Avoid
So, a few things I see people do that can sabotage their hair glossing treatment at home:
Using the wrong shade
Going too dark or too warm can make hair look muddy or flat. When in doubt, pick a lighter, more neutral or slightly cool gloss.Applying to dirty, oily hair
Oils and styling products can block absorption. Always start with freshly shampooed hair.Overusing protein-heavy products at the same time
If your gloss already has strengthening ingredients, layering it with a strong protein mask in the same week can make hair feel stiff. Alternate moisture and strength.Leaving it on way longer than recommended
More time doesn’t always mean better. It can deepen the tone too much or make hair feel coated.Skipping strand tests if you’re nervous
If you’re using a tinted gloss for the first time, test a small section underneath your hair so you can see how it grabs.
When To See a Pro Instead of Glossing at Home
Even though a hair glossing treatment at home is pretty low-risk compared to permanent color, there are times a colorist is just the better move:
- You want to go several shades lighter or darker
- You’re dealing with banding (different colors/tones in different parts of your hair)
- Your hair has been repeatedly bleached or relaxed and feels fragile
- You’ve had a recent color mishap and are trying to fix it
A stylist can use professional glosses and toners, plus adjust the formula to your hair’s porosity and history. Then you can maintain that look with at-home glossing in between visits.
The Bottom Line
A hair glossing treatment at home is one of the easiest ways to get shinier, healthier-looking hair without a full salon appointment. With the right clear or tinted gloss, clean damp hair, and 10–20 minutes of patience, you can boost shine, soften frizz, and gently refresh your color.
Start simple: pick a gloss that matches or slightly enhances your current shade, follow the instructions closely, and support it with gentle shampoo and heat protection. Once you see how much better your hair looks in natural light, you’ll probably want to make at-home glossing part of your regular routine.
If you love this kind of practical beauty breakdown, you’ll probably like Insider Beauty’s weekly deals too – I round up the best sales on hair, skin, and makeup so you don’t have to doom-scroll for hours. Consider signing up so you never miss a good hair day in your inbox.
Want more tips and exclusive beauty deals delivered to your inbox? Pop your email in the box below and join thousands of insiders who save big every week.