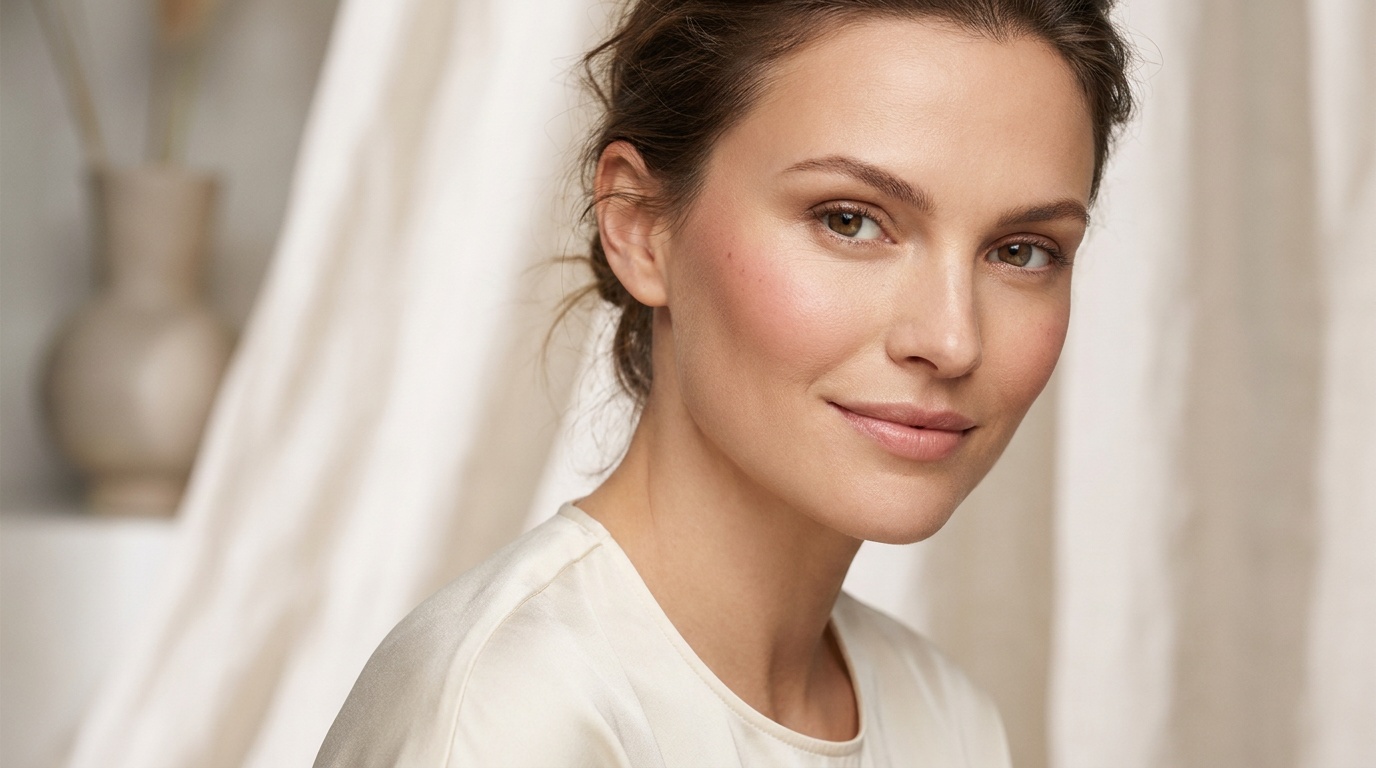
Contouring for beginners is easiest when you use a cool-toned product, light placement, and lots of blending. The goal isn't to draw harsh stripes—it's to softly mimic natural shadows so your face looks a little more defined. Here's exactly how to contour for beginners without making your makeup look muddy.
Quick Takeaways
- Use the right tone: Choose a contour that's cool or neutral, not orange, to imitate a real shadow.
- Place it sparingly: For beginners, contour usually goes under the cheekbones, along the temples, and lightly on the jawline.
- Blend upward: Blending up helps lift the face and keeps contour from dragging your features down.
- Cream is often easier: A cream stick or cream compact tends to melt into skin more naturally than a very pigmented powder.
- Start light: It's much easier to build contour than to fix a heavy, muddy application.
What is contour makeup for beginners?
Contour makeup creates the illusion of depth by adding shadow to areas you want to recede slightly. For anyone learning how to contour for beginners, think of it as subtle shaping—not changing your whole face.
Honestly, that's where a lot of people get tripped up. They see dramatic social media contour and assume that's the goal. In real life, especially in daylight, less looks better. I've found that a soft contour placed well can do more than a heavy one blended for ten minutes.
A few common areas people contour:
- Under the cheekbones for definition
- Around the temples to softly frame the face
- Along the jawline to add structure
- Sides of the nose for a slimmer look
- Crease of the eye for extra depth
How do beginners choose the right contour product?
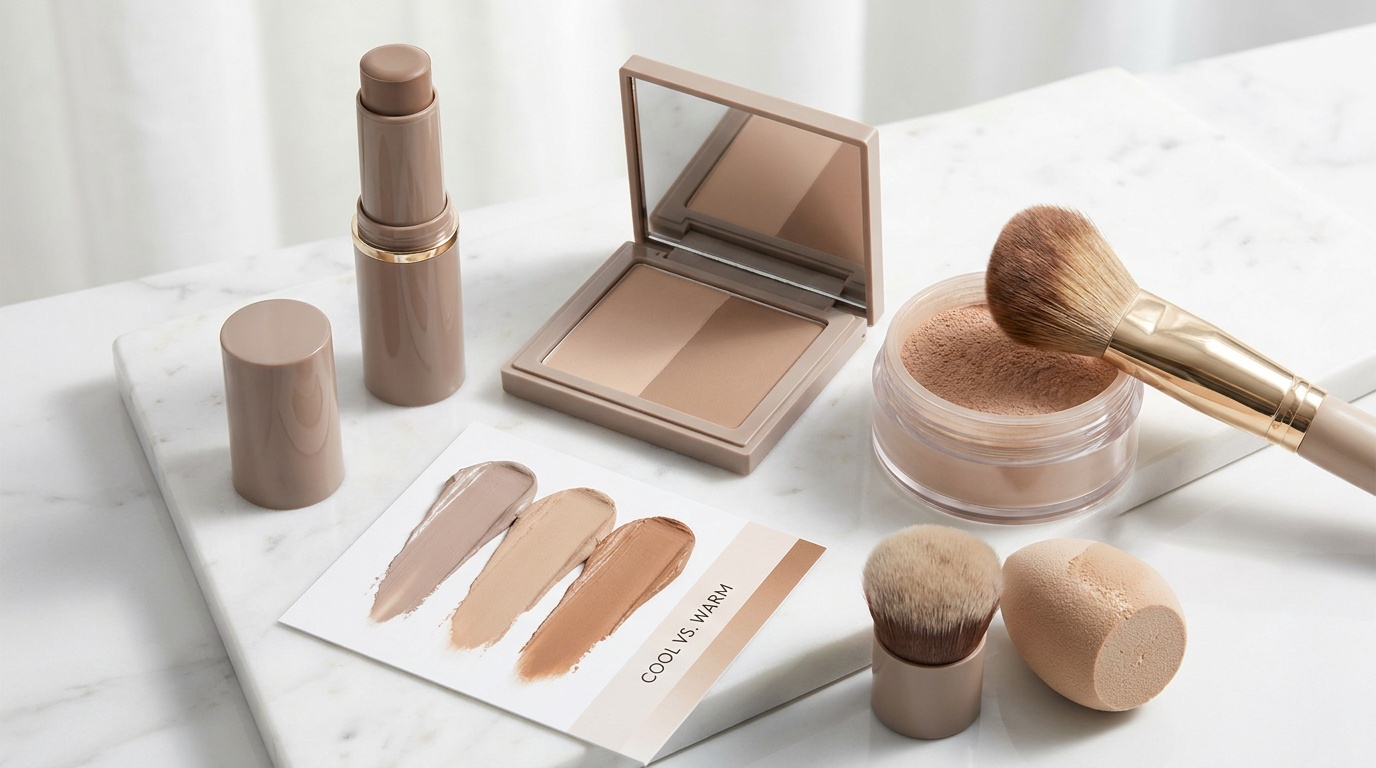
The best contour product for beginners is one that's easy to control and easy to blend. You do not need a giant palette with ten shades.
Here are the simplest product types to start with:
- Cream contour stick: Great for precise placement and usually beginner-friendly.
- Cream contour compact: Good if you like using a brush or sponge and want a skin-like finish.
- Powder contour: Best for oily skin or for layering over foundation that's already set.
So, what shade should you pick? Go for a color that's about 1 to 2 shades deeper than your skin tone with a cool or neutral undertone. If it looks reddish or very warm, it'll read more like bronzer than contour.
A quick cheat sheet:
- Contour = cooler, shadow-like
- Bronzer = warmer, sun-kissed
That difference matters a lot. If you're trying to learn how to contour for beginners, using bronzer where contour should go is one of the easiest ways to end up looking muddy.
Where do you put contour on your face?
Contour placement depends a bit on your face shape, but beginners should keep it simple. Start with just three zones: cheeks, temples, and jawline.
Use this step-by-step placement guide:
- Apply contour just under your cheekbone, starting near the top of the ear and stopping around halfway toward the mouth.
- Add a small amount at the temples and slightly around the outer forehead.
- Lightly trace under the jawline if you want more definition.
- If you want, add a tiny bit down the sides of the nose—but only after you've practiced the basics.
- Blend everything upward and outward for the most natural finish.
Look, one trick that helps a ton is to avoid bringing cheek contour too close to your mouth. Stop around the outer iris line or just before. Bringing it too far in can make the face look heavy instead of sculpted.
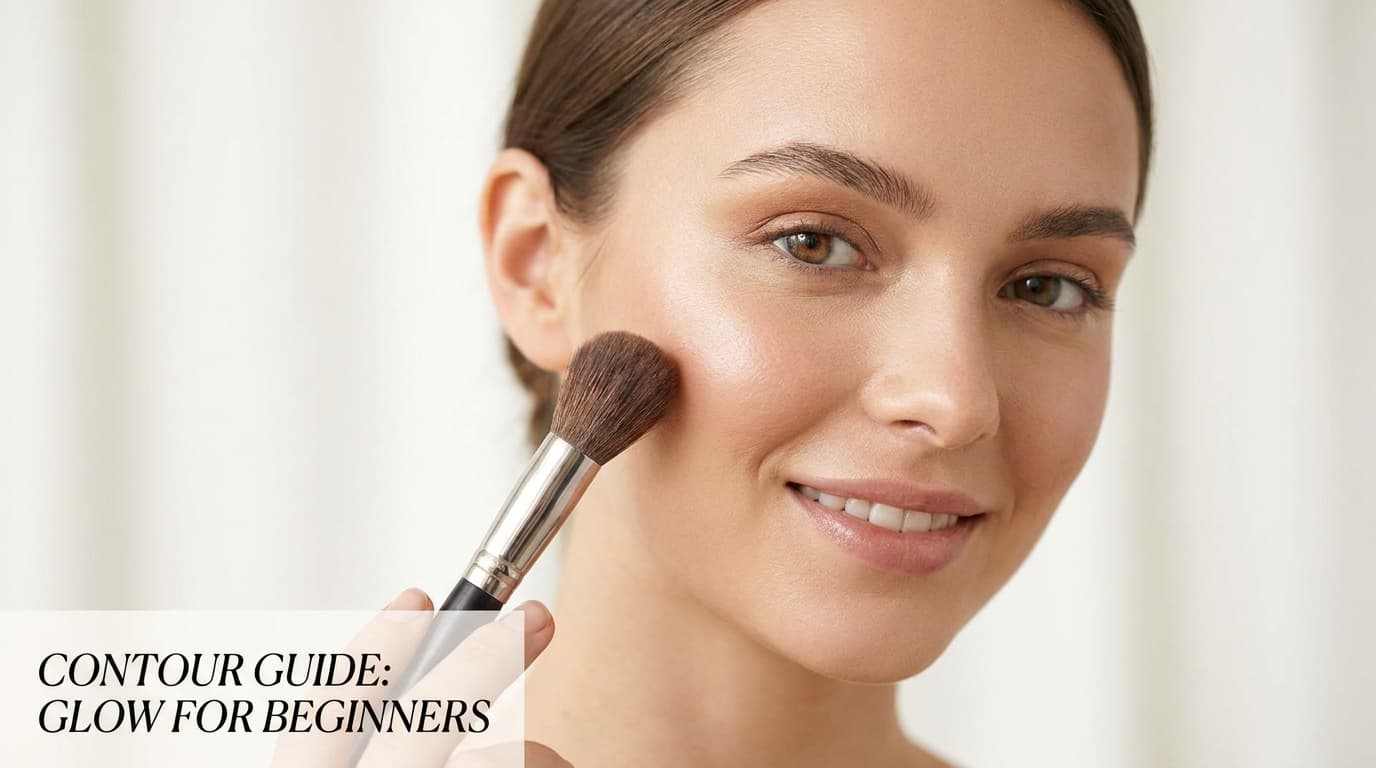
How to contour for beginners step by step
If you want the easiest routine possible, this is it. You can do it in under five minutes once you get the hang of it.
- Start with your base makeup. Apply skincare, sunscreen, and foundation or skin tint if you're wearing it.
- Leave the skin slightly fresh. If you're using cream contour, don't fully set your face with powder first.
- Pick up a small amount of contour product. Seriously, less than you think.
- Place contour under cheekbones, on temples, and along the jawline.
- Blend with a dense brush, makeup sponge, or clean fingertips using small tapping or buffing motions.
- Build slowly only where you want more depth.
- Add concealer or a little brightening product above the contour if you want extra contrast.
- Finish with blush and, if needed, a light dusting of powder.
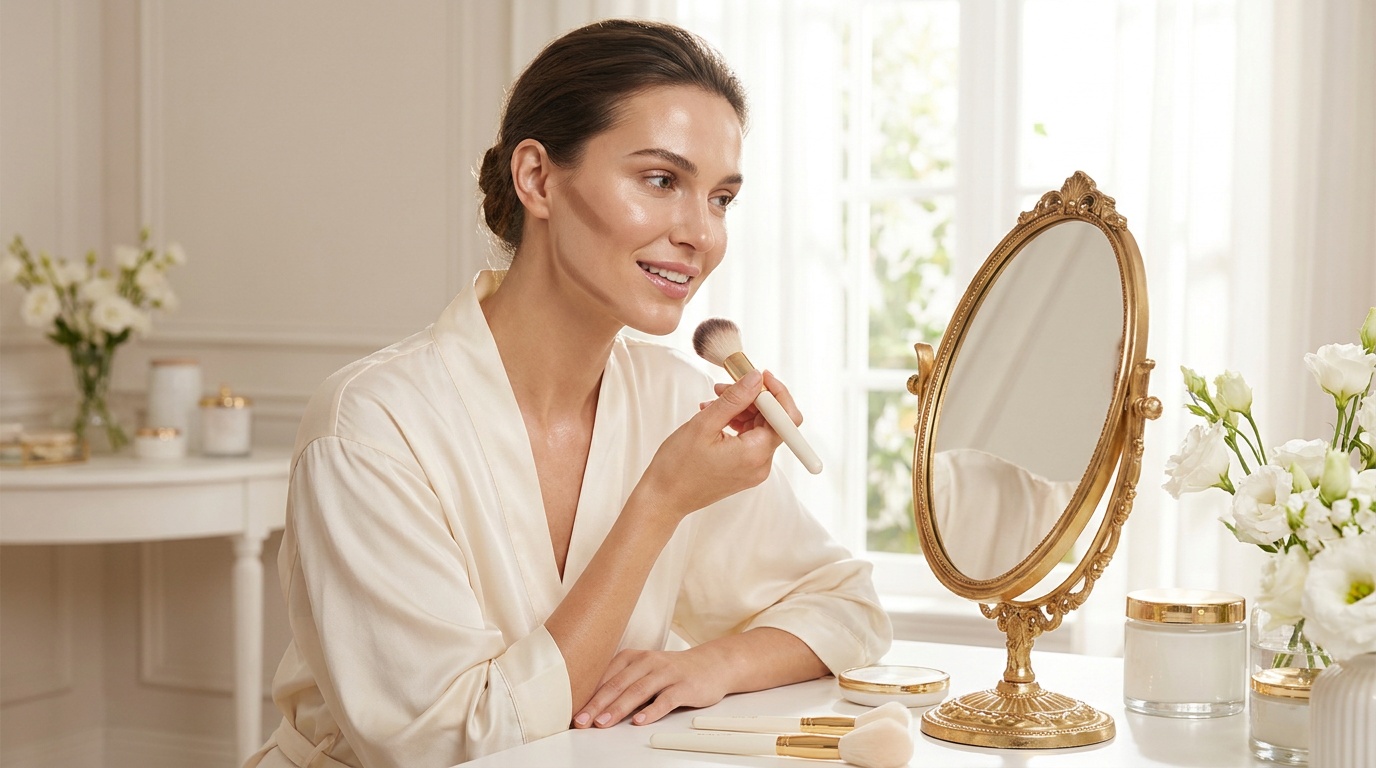
I've found that blush makes contour look more believable. Without it, contour can sit on the face kind of oddly. A soft blush on the upper cheek helps everything melt together.
What tools work best for blending contour?
The best blending tool is the one that gives you control. For beginners, that usually means a small dense brush or a slightly damp makeup sponge.
Here are the pros of each:
- Dense contour brush: Great for buffing cream or powder into the skin with more precision.
- Angled brush: Helpful for cheeks and jawline because it follows the shape of the face.
- Damp sponge: Best if you tend to apply too much product, since it softens edges fast.
So, if your contour keeps looking patchy, the issue may not be the product. It might be that your base is too dry, your brush is too stiff, or you're dragging instead of tapping. I used to over-blend in big sweeping motions, and weirdly that made things streakier. Small circular or tapping motions work better.
What are the biggest contour mistakes beginners make?
If you're learning how to contour for beginners, avoiding a few common mistakes will save you a lot of frustration.
- Using a shade that's too warm: This makes the face look bronzed, not sculpted.
- Applying too much product first: Heavy contour is harder to blend and fix.
- Drawing harsh lines: Placement should be soft and strategic, not super graphic.
- Blending downward: This can pull the face down visually.
- Contouring every area at once: Start with cheeks and temples before trying nose or forehead contour.
- Ignoring lighting: Always check your makeup in natural light if you can.
Honestly, the biggest one is trying to copy someone with a totally different face shape. Your contour map doesn't need to look identical to anyone else's. Use your bone structure as the guide.
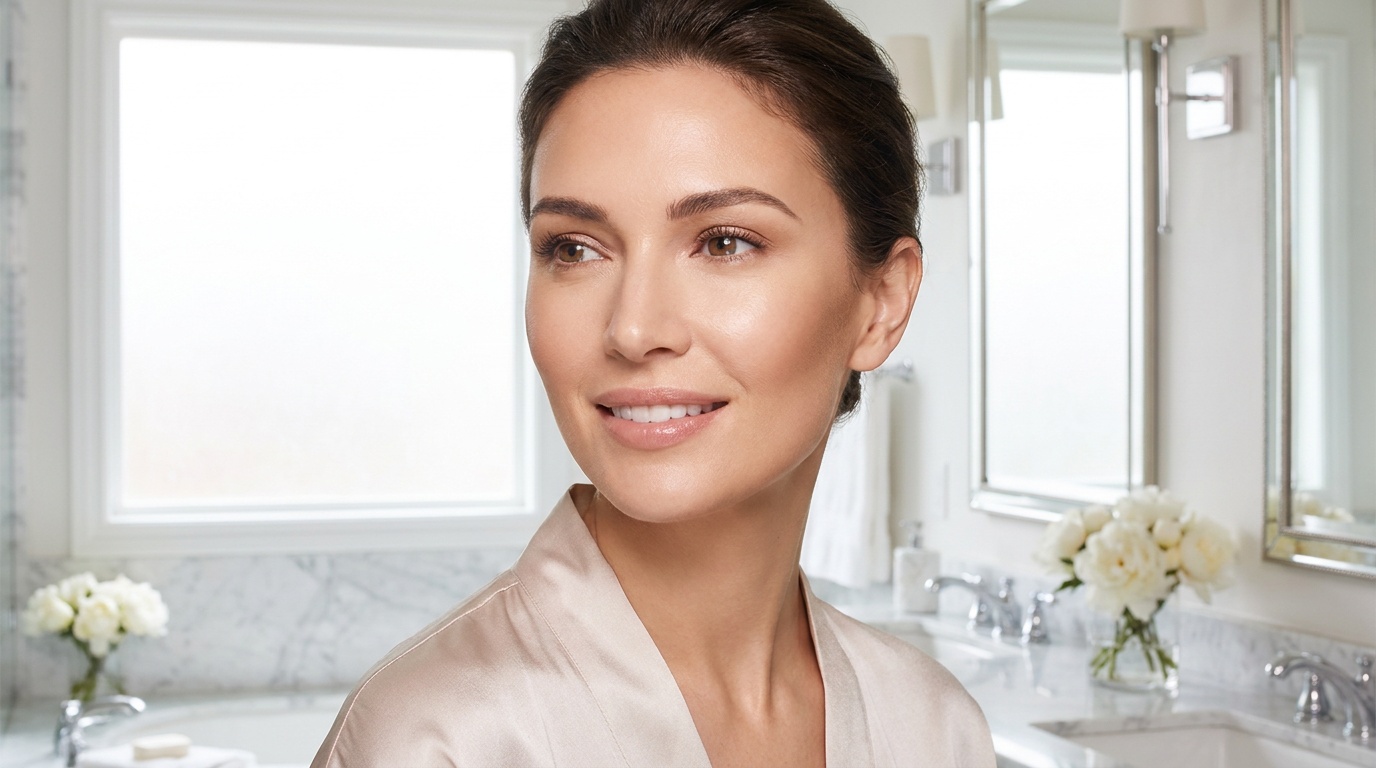
How can beginners make contour look natural?
Natural contour comes down to product texture, placement, and restraint. If you want that soft, everyday sculpted look, focus on these details:
- Prep skin well: Hydrated skin helps cream formulas blend more evenly.
- Use thin layers: Sheer layers look more skin-like than one thick swipe.
- Pair contour with bronzer carefully: If you wear both, contour first for shape and bronzer second for warmth.
- Diffuse edges: The center of the contour should be slightly deeper, with blurred edges.
- Match your makeup finish: Dewy base with ultra-dry powder contour can look disconnected.
One little trick I love is applying contour on the back of my hand first, then picking it up with a brush. That gives you way more control than drawing a full stripe directly on the face. It's less intimidating too.
If your contour still looks obvious, try this easy fix: go over the edges with whatever is left on your foundation brush or sponge. That softens the lines without erasing the shape.
Do you contour before or after foundation?
For most beginners, contour goes after foundation and before setting powder if you're using a cream formula. If you're using powder contour, apply it after foundation and after lightly setting the skin.
Here's the simple rule:
- Cream contour: After liquid or cream base products, before powder
- Powder contour: After base is set with powder
This order helps the product blend smoothly instead of skipping across the skin. And yeah, makeup doesn't always follow strict rules, but this is the easiest method when you're still figuring out how to contour for beginners.
The Bottom Line
Learning how to contour for beginners is really about using the right shade, light placement, and patient blending. Start with the cheeks, temples, and jawline, choose a cream contour stick or soft powder contour in a cool-toned shade, and build slowly. You don't need a complicated routine—just a few smart steps and a light hand.
So, if you're practicing this week, keep it simple and check your makeup in natural light. That alone will teach you a lot faster than following overly dramatic contour charts.
If you want more easy makeup tips, ingredient-conscious beauty picks, and fresh finds, sign up for Insider Beauty's weekly deals.
Want more tips and exclusive beauty deals delivered to your inbox? Pop your email in the box below and join thousands of insiders who save big every week.