The best no makeup makeup look steps are simple: prep your skin well, use light layers of complexion products, softly define your features, and keep everything blended. This works because natural-looking makeup mimics healthy skin rather than covering it, so the finish looks fresh, believable, and easy to wear.
Quick Takeaways
- Start with skincare first: Hydrated skin makes every lightweight product sit better and look more natural.
- Use thin layers: A skin tint, creamy concealer, and cream blush usually look more realistic than full-coverage formulas.
- Focus on strategic definition: Brush up brows, curl lashes, and add subtle lip color instead of piling on product.
- Cream textures help: Cream blush, liquid highlighter, and tinted balm melt into skin more seamlessly than heavy powders.
- Blend in natural light when possible: It helps you catch harsh edges before your makeup starts looking too done.
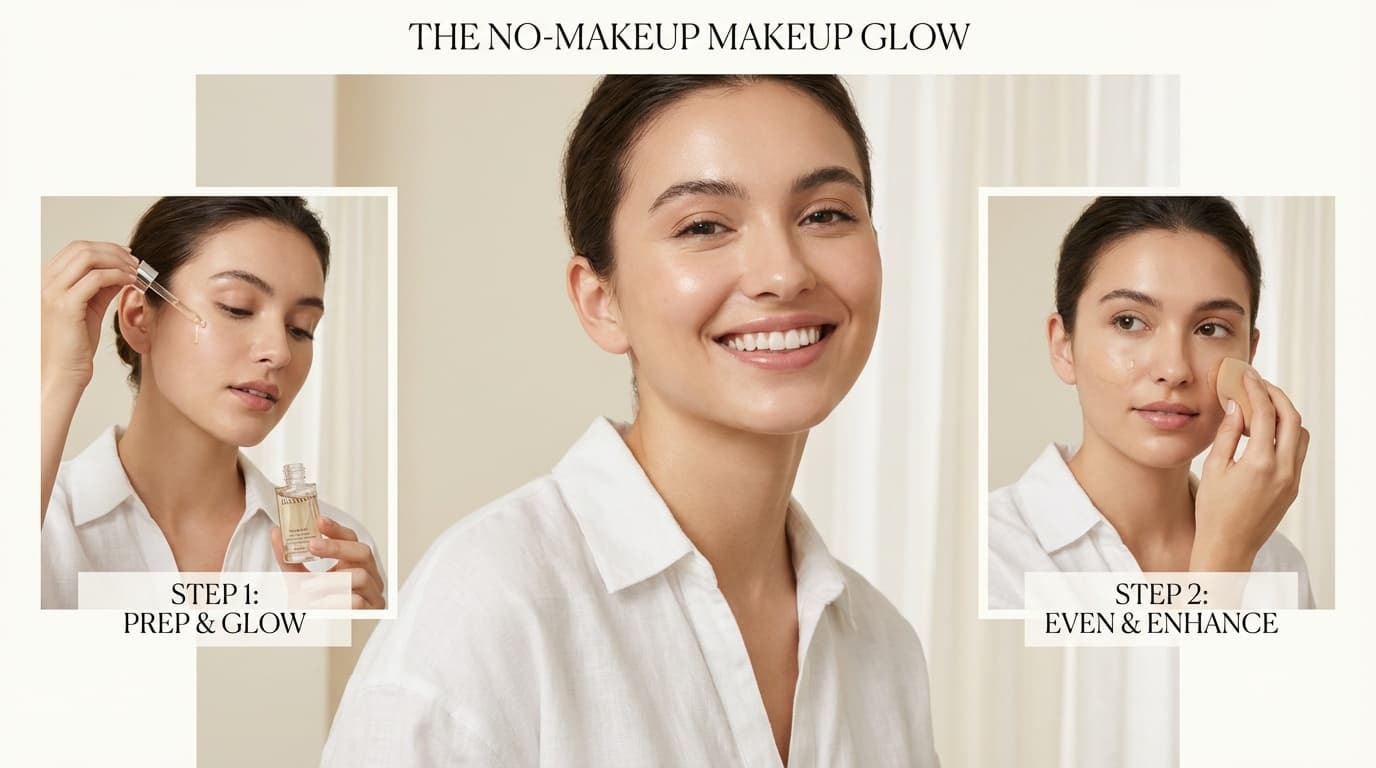
What are the no makeup makeup look steps?
If you want the short answer, here are the core no makeup makeup look steps in order:
- Prep skin with moisturizer and SPF.
- Apply a sheer base like tinted moisturizer or skin tint.
- Conceal only where you need extra coverage.
- Add cream blush or bronzer for soft dimension.
- Groom brows with a pencil or tinted gel.
- Curl lashes and apply a light coat of mascara.
- Finish with tinted lip balm or a your-lips-but-better shade.
- Set only where needed to keep skin looking alive.
I've found that most people overcomplicate this look. The whole point is to look like yourself on a really good skin day, not like you're wearing a full face and pretending otherwise.
How do you prep skin for a natural makeup look?
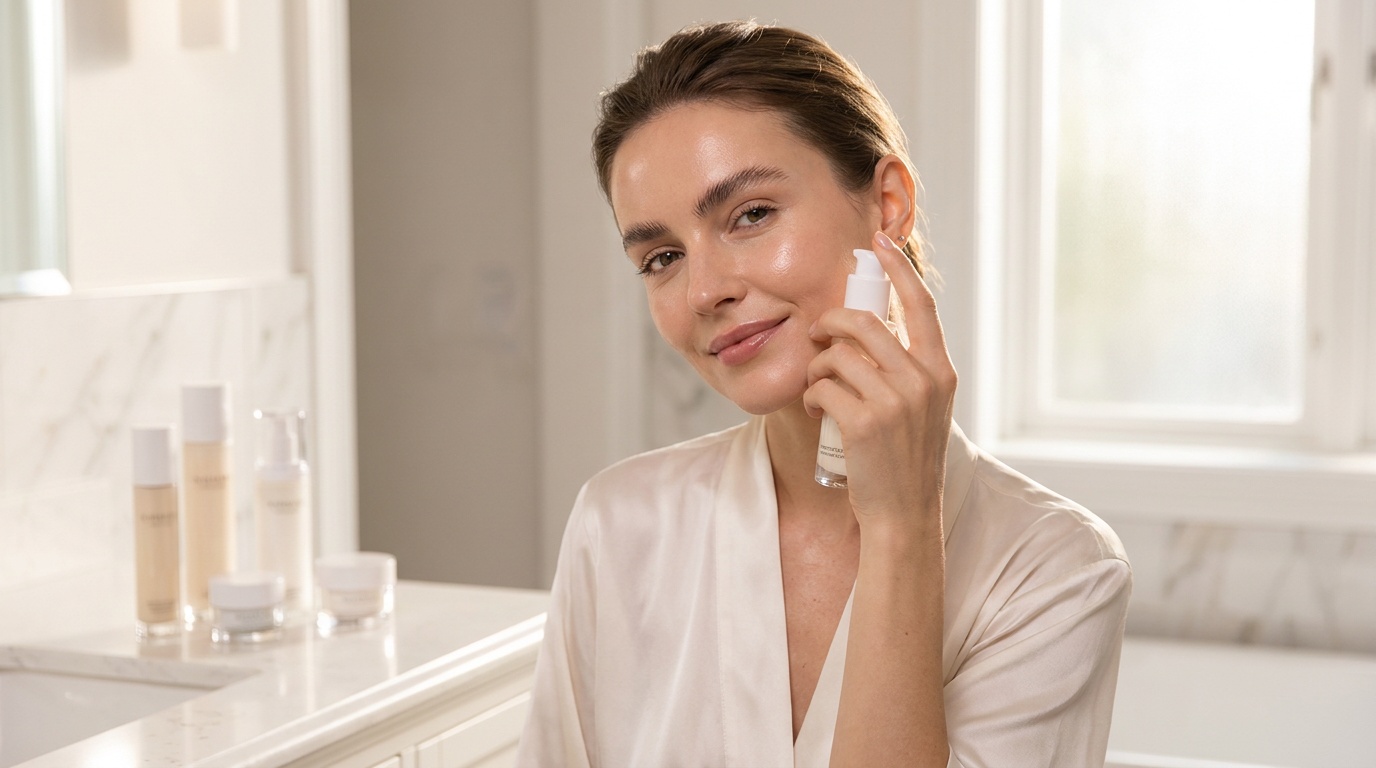
Honestly, skin prep does half the work. If your skin is dry, textured, or overloaded with too many products, even the best makeup technique can start looking patchy fast.
For a natural finish, keep prep straightforward:
- Cleanse gently: You want clean skin, not that tight stripped feeling.
- Use a lightweight moisturizer: This helps smooth flaky areas and gives makeup something to grip.
- Apply SPF: A broad-spectrum sunscreen is non-negotiable for daytime. Let it settle for a minute or two before makeup.
- Add glow strategically: If you like a dewy finish, use a luminous primer only on the high points of the face instead of all over.
Look, one small trick that helps a lot is waiting 3 to 5 minutes after skincare before applying your base. That little pause gives products time to settle so your skin tint doesn't slide around.
If you get oily, don't skip moisturizer. Just choose a gel-cream texture and use less around the T-zone. Dehydrated skin can actually make makeup look heavier.
What base products look most natural?
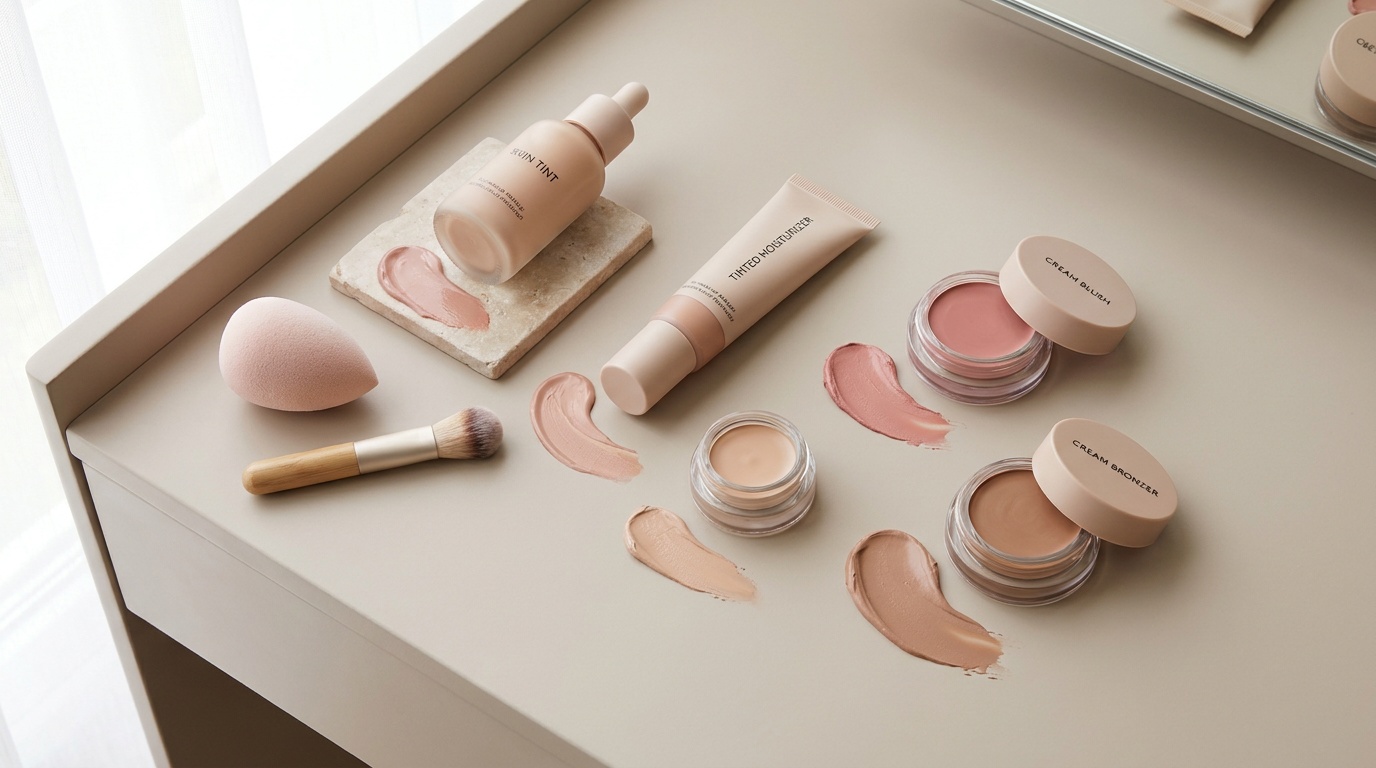
The most natural base products are usually skin tint, tinted moisturizer, and creamy concealer. Full-coverage foundation can work, sure, but it takes more effort to sheer out and blend seamlessly.
Here are the best product types for this look:
- Skin tint or tinted moisturizer: Gives light, flexible coverage and lets your real skin show through.
- Creamy concealer: Better for spot-concealing around the nose, under the eyes, or on a breakout.
- Cream blush or cream bronzer: Adds believable color because it melts into skin instead of sitting on top.
Apply your base where you actually need it, not automatically everywhere. So, maybe that's redness around your nose, a little darkness under the eyes, or a few spots on the chin. Use your fingers, a damp sponge, or a small brush, then blend outward until the edges disappear.
A good rule: if you can still see some freckles or natural skin texture, you're probably in the sweet spot. That's what makes the no makeup effect work.
How do you apply concealer without it looking heavy?
This is where a lot of natural makeup looks go sideways. Too much concealer under the eyes or over blemishes can make the whole face look more made-up than intended.
Try this method:
- Dot concealer only on darkness, redness, or spots.
- Let it sit for about 20 to 30 seconds for extra coverage.
- Blend the edges first, then tap over the center.
- Stop when the area looks better, not completely erased.
For under-eyes, keep the concealer close to the inner corner instead of painting a giant triangle. That trend photographs well sometimes, but in real life it can look dry and obvious. I've found that a tiny amount right where the darkness is gives a much fresher result.
If you're covering a blemish, use a pinpoint brush or even a clean fingertip. Tap, don't rub. Then leave it alone for a second. Constant blending usually removes the product you just applied.
How do you add color and definition naturally?
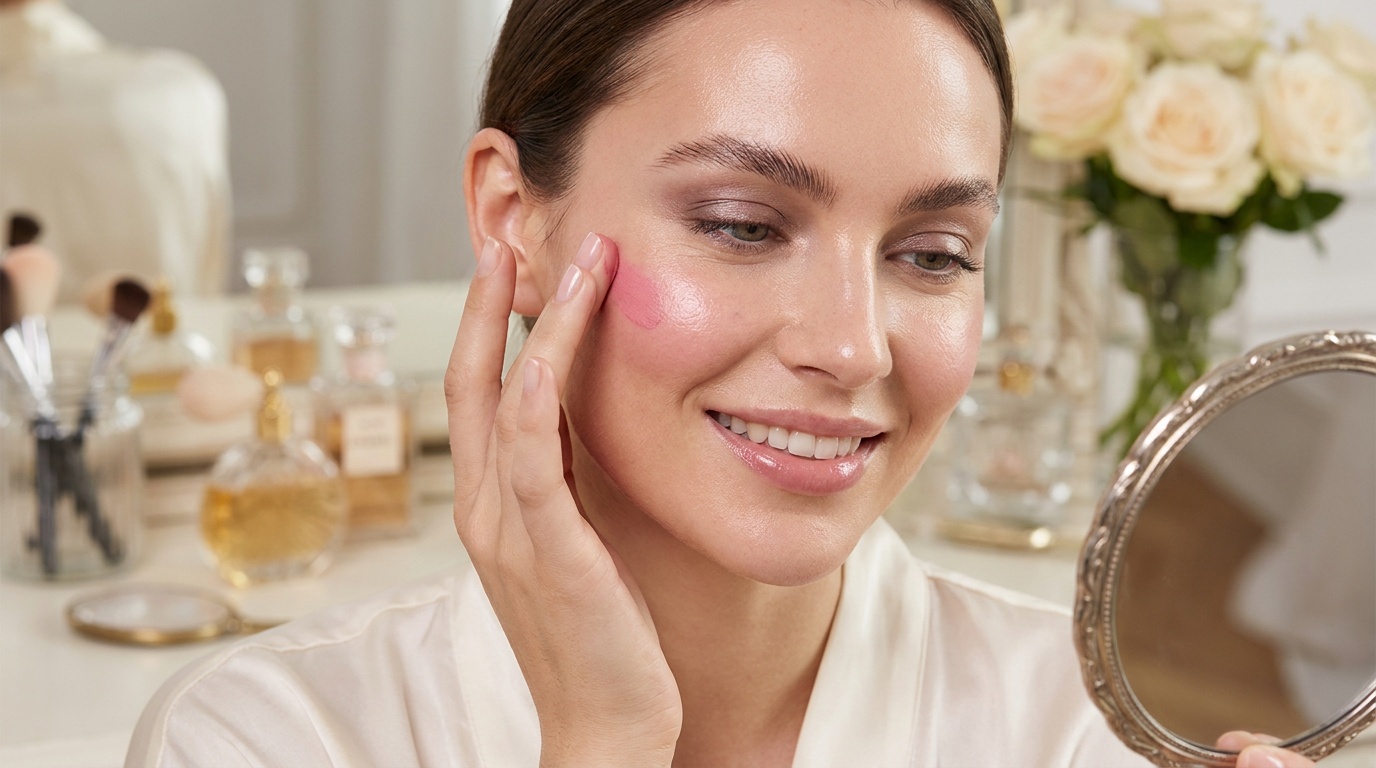
The secret to believable color is placement and restraint. You want your blush, bronzer, and highlight to look like they're part of your skin, not layered over it.
For a soft, everyday finish:
- Blush: Apply cream blush high on the cheeks and blend slightly inward. A little across the bridge of the nose can look cute and fresh, but keep it subtle.
- Bronzer: Use cream or a very sheer powder bronzer on the outer forehead, temples, and just under the cheekbones.
- Highlighter: Skip chunky shimmer. A liquid or balm highlighter on the tops of the cheekbones gives a healthy-skin effect.
So, if you're new to this, start with less than you think you need. You can always add more, but taking away excess cream product gets messy fast.
For eyes, keep things simple. A wash of taupe, beige, or soft brown cream shadow can add quiet definition. Then curl your lashes and add one light coat of mascara, mostly at the roots. That opens the eyes without screaming mascara.
How do you do brows for the no makeup makeup look?
Brows can make or break this look because they frame the whole face. The goal isn't a sharp Instagram brow. It's a softly groomed, slightly fuller version of your natural shape.
Here's what works best:
- Brush brow hairs upward with a spoolie.
- Fill sparse areas with tiny hair-like strokes using a brow pencil.
- Focus on the arch and tail, not a heavy block at the front.
- Set with clear or tinted brow gel.
A good brow rule for natural makeup: define the gaps, not the entire brow. When the front of the brow is too dark or too squared off, the whole look instantly feels more obvious.
If your brows are already full, you may only need brow gel. Honestly, that one step can make you look more polished in about 10 seconds.
How do you finish the look so it stays natural?
Finishing touches matter because they pull everything together without making the face look flat or over-set.
Use this final checklist:
- Powder only where needed: Usually around the nose, center of the forehead, and chin.
- Choose a natural lip: Tinted balm, sheer lipstick, or a lip oil in a rosy nude or soft berry works well.
- Set with mist if you like: A light facial mist can help cream products melt together.
- Check in daylight: Harsh lines around the jaw, brows, or blush show up fast in natural light.
For lips, I love a tinted balm because it adds moisture and just enough color without the precision of a full lipstick. If you want a little more shape, dab color in the center of the lips and blur the edges with your finger.
One last thing: resist the urge to mattify everything. Real skin has dimension. A bit of shine on the cheeks or bridge of the nose can make the whole look feel more alive.
Common mistakes that make natural makeup look too heavy
Even when you follow all the right no makeup makeup look steps, a few habits can make the result look less effortless.
Watch out for these:
- Using too much base product: Start sheer and build only where needed.
- Choosing the wrong finish: Ultra-matte formulas often look more obvious on skin.
- Over-concealing under the eyes: Keep product minimal and targeted.
- Skipping brow grooming: Undone brows can make the rest of the face look unfinished.
- Applying too much powder: This can flatten glow and emphasize texture.
- Ignoring blending around the nose and jawline: These areas give away makeup fast.
I've also found that trying to cover every little thing usually backfires. A tiny bit of redness, a freckle, or some natural texture actually helps sell the look.
The Bottom Line
The best no makeup makeup look steps are all about light layers, strategic placement, and letting your real skin show through. Prep well, use a sheer base, define brows and lashes softly, and stick to cream textures when you want that fresh, barely-there finish.
Look, this isn't about chasing perfect skin. It's about enhancing what you've already got in a way that feels easy and wearable. Once you get your routine down, the whole thing can take 10 minutes or less.
If you want more smart beauty tips and a heads-up on Insider Beauty's weekly deals, sign up for our newsletter. It's the easiest way to catch the good stuff before it sells out.
Want more tips and exclusive beauty deals delivered to your inbox? Pop your email in the box below and join thousands of insiders who save big every week.