
The easiest way to do winged eyeliner is to map the angle first, draw a thin flick, then connect it back to your lash line in small strokes. This works because a guide keeps the wing even and helps you control thickness before the liner sets. Here’s exactly how to do winged eyeliner without the usual mess.
Quick Takeaways
- Start with a guide: Use the lower lash line angle to place your wing so it looks lifted, not droopy.
- Choose the right formula: Felt-tip pens are easiest for beginners, while gel liner gives more control with a brush.
- Build in thin layers: It’s much easier to thicken a wing than erase one that got too big.
- Clean up with concealer: A tiny angled brush and a bit of concealer can sharpen the edge fast.
- Keep your eyes relaxed: Looking straight into the mirror helps you place the wing where it actually shows.
What is the easiest way to do winged eyeliner?
Honestly, the simplest method is this: draw the tail first, connect it to the lash line, then fill in the shape. I’ve found that people struggle most when they try to line the whole eye in one swipe. A wing looks fancy, but it’s really just a small triangle at the outer corner.
If you want a quick breakdown of how to do winged eyeliner, follow these basic steps:
- Prep your eyelid so liner grips better.
- Look straight ahead and mark the wing angle.
- Draw a short upward flick from the outer corner.
- Connect the tip of the flick back to your upper lash line.
- Fill in the triangle.
- Line the lashes with thin, short strokes.
- Check both eyes with your face relaxed, then clean up edges.
So, yes, that’s the cleanest beginner-friendly method. Keep the first pass tiny. You can always go bolder.
What products work best for winged eyeliner?
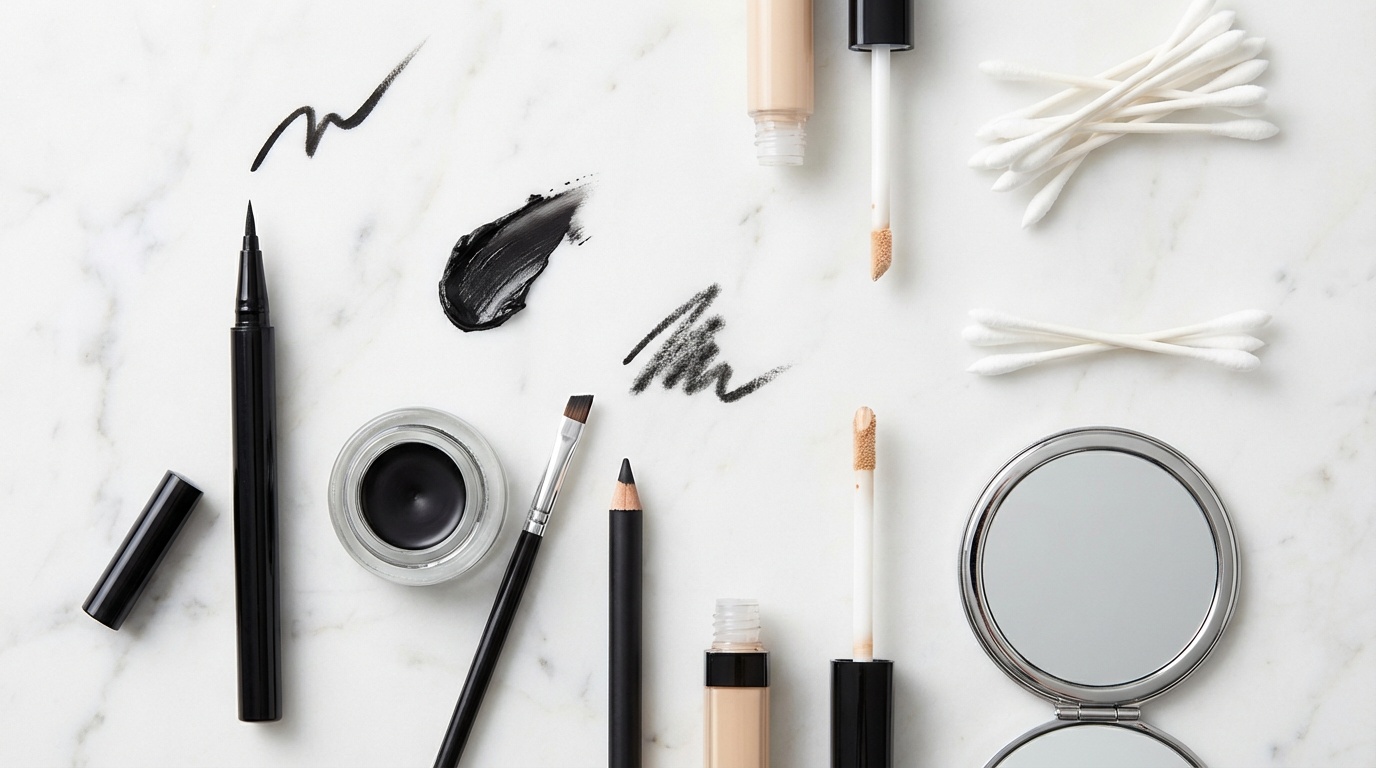
The best product depends on your skill level, eyelid shape, and how sharp you want the line to look. For most people learning how to do winged eyeliner, these are the easiest options:
- Felt-tip liquid liner: Great for beginners because it works almost like a marker. It’s easy to hold and gives a crisp edge.
- Gel liner with an angled brush: Amazing for control. If your hands get shaky, gel can be more forgiving than liquid.
- Pencil liner: Best for a softer wing or a smudged look. Not usually the sharpest, but very beginner-friendly.
I also like paying attention to ingredients, especially around the eye area. Look for formulas without added fragrance if you’re sensitive, and if your lids get oily, a water-resistant formula usually lasts longer. Honestly, simple formulas tend to behave better. Too many emollients can make liner transfer, especially on hooded eyes.
A few tools help a lot too:
- Angled brush for gel or cleanup
- Cotton swab for quick corrections
- Concealer to sharpen the edge
- Eyelid primer if your liner smudges by noon
How do you prep your eyes before winged eyeliner?
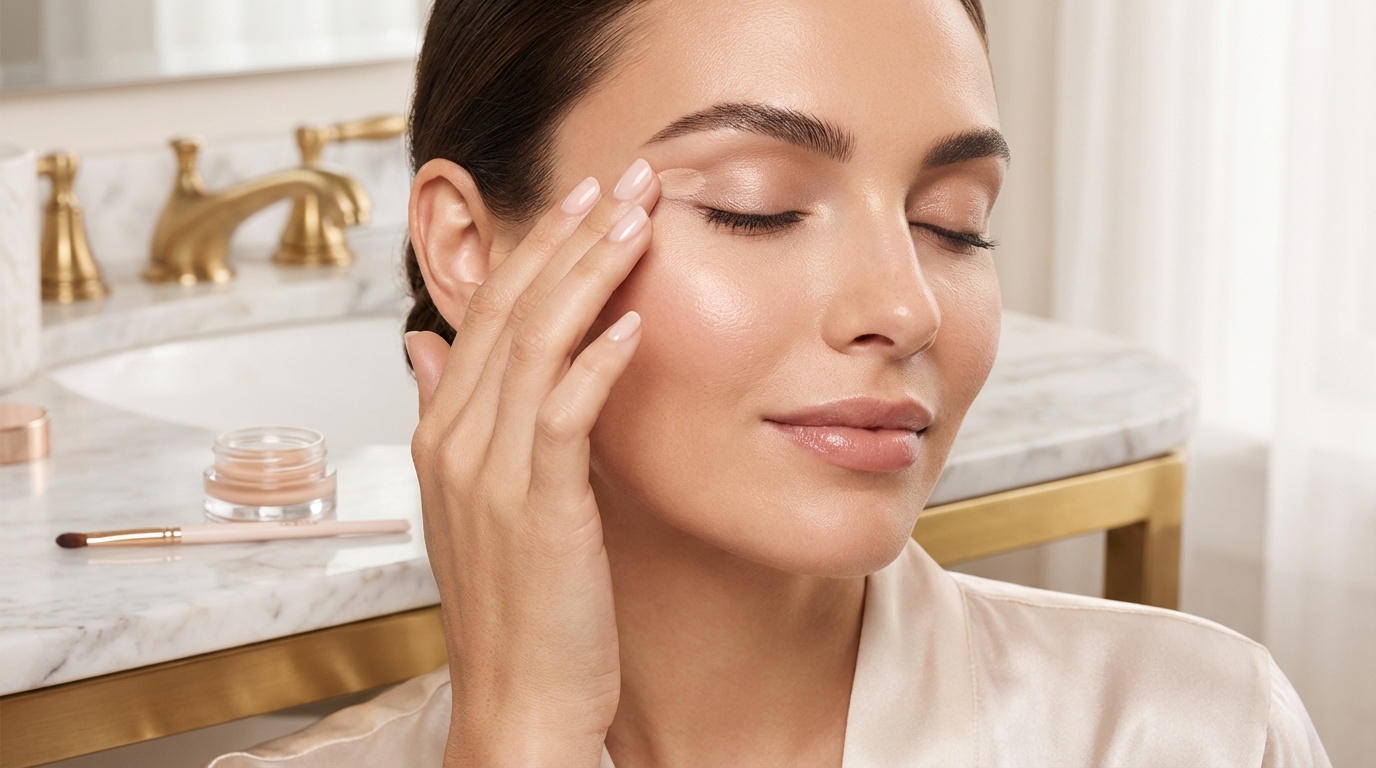
Prep is the part people skip, then wonder why the wing melts or stamps onto the lid. Look, if your eyelids are oily, liner needs a smoother, drier base.
Here’s what to do before applying liner:
- Clean the eyelid to remove skincare or oil.
- Apply a very thin layer of eye primer or a little translucent powder.
- If you use eyeshadow, keep the outer corner smooth and not too creamy.
- Curl lashes before liner, not after.
I’ve found that heavy eye cream too close to the lash line can make even a good liquid liner slide around. So if you’re doing your skincare first, give it a few minutes to absorb. A matte base almost always makes winged eyeliner easier.
How to do winged eyeliner step by step
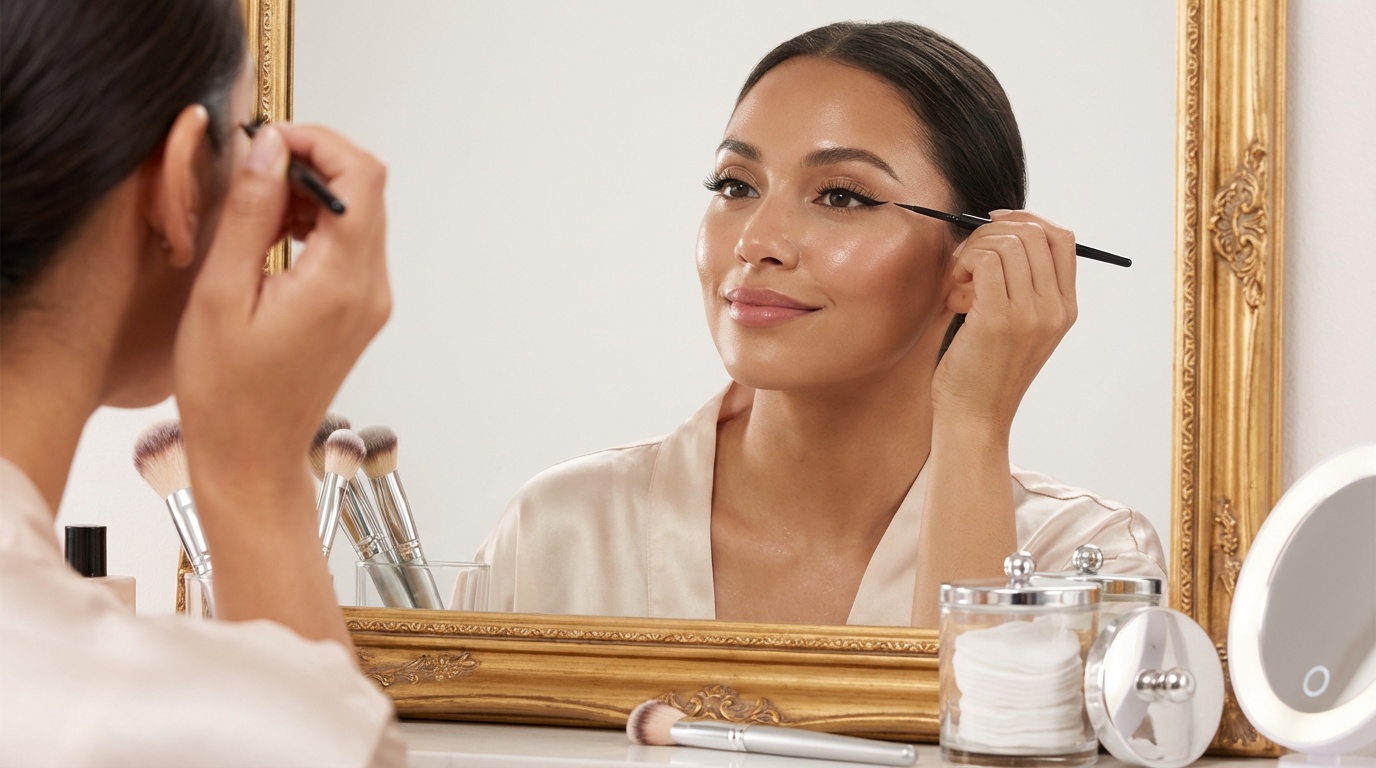
Here’s the full method I recommend if you want a clean, wearable wing.
Position your mirror correctly Hold your mirror slightly below eye level. That way, you can look down a bit without closing your eye completely.
Find your wing angle Use the angle of your lower lash line as your guide. Imagine it extending upward toward the end of your brow. That’s usually the most flattering direction.
Draw the flick first Make a short line from the outer corner upward and outward. Start with a small flick, around 0.25 to 0.5 inch depending on your eye shape.
Create the triangle From the tip of the flick, draw a line back toward the upper lash line. Stop around the outer third of the eye for an easy everyday wing.
Fill in the shape Color in the little triangle you made. Use light pressure so the line stays smooth.
Line the upper lash line Work from the center outward, then from the inner corner inward if needed. Keep the line thinner near the inner corner and slightly thicker at the outer edge.
Check symmetry with eyes open This matters more than people think. Don’t compare wings with your eyes closed only. Look straight ahead and adjust the visible shape.
Clean and sharpen Use a tiny bit of concealer on an angled brush to crisp up the bottom edge. This is the fastest fix for uneven wings.
So, that’s the practical version of how to do winged eyeliner. It doesn’t need to be one perfect stroke. Small strokes are usually better.
How do you do winged eyeliner for hooded eyes?
Hooded eyes need a slightly different approach because the fold can hide part of the wing. The trick is to draw the wing with your eyes open, so you can see where the liner will actually show.
Try these tips:
- Keep the flick higher and shorter: A long straight wing can disappear into the fold.
- Make the line thin across the lid: Save thickness for the outer corner.
- Draw in a relaxed, open-eye position: This prevents the wing from looking bent when you open your eye.
- Use waterproof or water-resistant formulas: Hooded lids are more prone to transfer.
I’ve found that a small batwing-style shape works really well on hooded lids. It may look slightly unusual when the eye is closed, but open? Super lifted and clean.
Why does my winged eyeliner look uneven?
Honestly, uneven wings are usually caused by one of three things: different eye shapes, rushing, or making one wing bigger while trying to match the other. Most faces aren’t perfectly symmetrical, so your liner won’t be either, and that’s normal.
Common mistakes and fixes:
- Starting too thick: Begin with a thin line. Thickness is easier to add than remove.
- Pulling the skin too much: This can warp the shape once you let go.
- Using one long stroke: Short strokes give more control.
- Matching with eyes closed: Always compare wings with eyes open.
- Skipping cleanup: Concealer can make almost any wing look sharper.
A little trick I like: do both flicks first before filling anything in. That way you can compare the angle early, before the liner gets too committed.
How can you make winged eyeliner last all day?
If your wing fades, smudges, or transfers, the formula and prep matter more than technique. Here’s how to keep it in place:
- Use primer or a light dusting of powder on oily lids
- Choose a long-wear liquid or gel liner
- Layer a matching powder shadow on top if needed
- Avoid applying thick skincare right on the lid
- Let each eye dry for a few seconds before blinking fully
Look, sometimes the issue isn’t your skill. It’s just that your lids are oily, watery, or a little hooded. That’s not you doing anything wrong. You just need a formula with better staying power and a cleaner base.
What’s the fastest way to fix a bad wing?
The fastest fix is not wiping everything off and starting over. That usually makes things worse.
Try this instead:
- Dip an angled brush or cotton swab into micellar water.
- Clean just the lower edge of the wing.
- Rebuild the flick in small strokes.
- Sharpen with a touch of concealer.
- Set the area lightly if your skin is oily.
Honestly, cleanup is part of the process. Even makeup artists correct liner after applying it. A crisp edge usually comes from refining, not from getting it perfect on the first try.
The Bottom Line
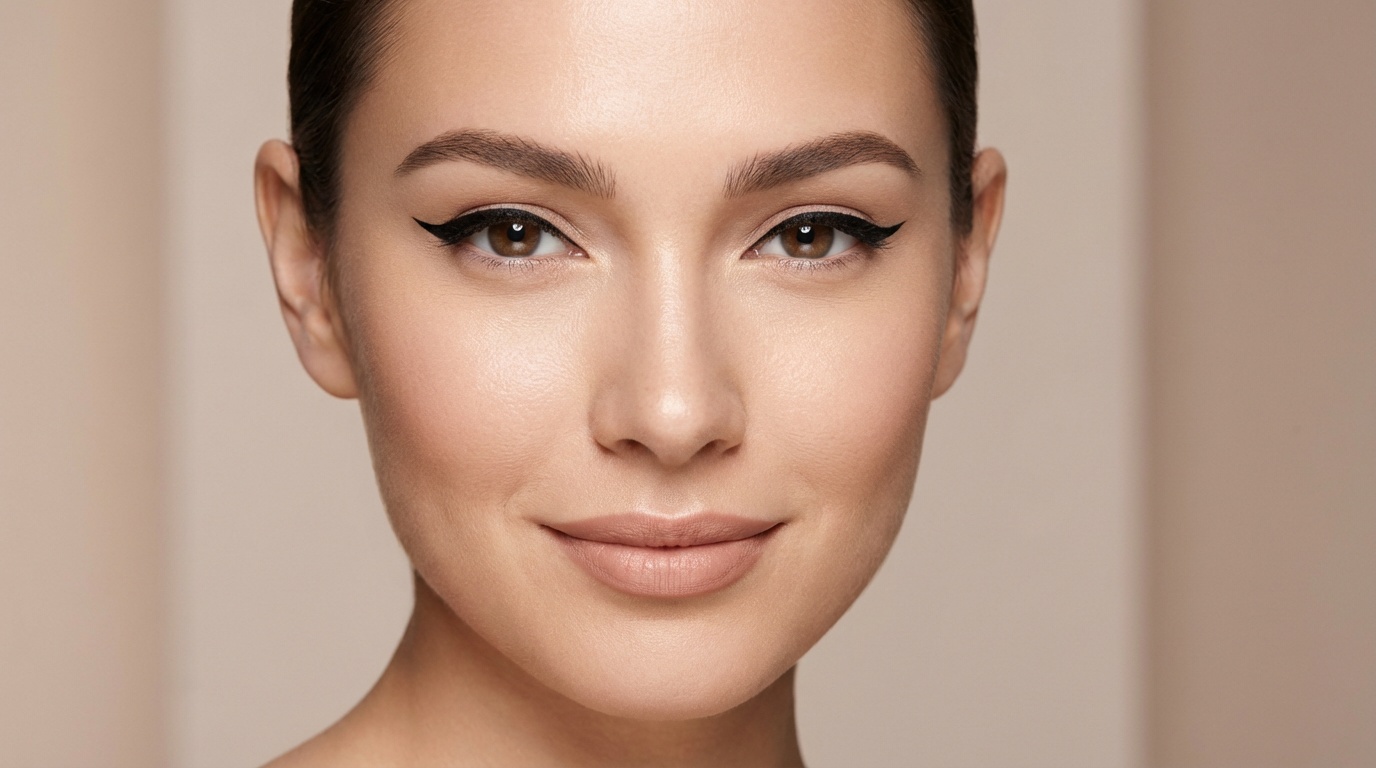
The best way to learn how to do winged eyeliner is to keep the shape small, map the angle before drawing, and build the line slowly. Felt-tip liquid liner, gel liner, and pencil liner each have their place, but technique matters most: flick first, connect second, then clean up the edge. Once you stop trying to make both eyes identical and focus on balance instead, it gets way less stressful.
So, practice on a low-pressure day, keep a cotton swab nearby, and don’t judge the wing until your eyes are open and relaxed. If you want more beauty tips, ingredient-conscious picks, and weekly deals, sign up for Insider Beauty’s newsletter.
Want more tips and exclusive beauty deals delivered to your inbox? Pop your email in the box below and join thousands of insiders who save big every week.