

Contouring for beginners is easiest when you use a shade 1-2 tones deeper than your skin, place it where natural shadows fall, and blend until there are no harsh lines. The goal isn't to draw new features on your face—it's to softly define cheekbones, jawline, and forehead in a way that still looks like skin. Here's exactly how to contour for beginners without ending up muddy or overdone.
Quick Takeaways
- Pick the right tone: Choose a contour shade that looks slightly cool or neutral, not orange.
- Start small: Use less product than you think you need, then build slowly.
- Place before blending: Focus on the hollows of the cheeks, temples, jawline, and sides of the nose if you want subtle definition.
- Cream for natural, powder for oily skin: Both work, but texture matters.
- Blend upward: This keeps your face looking lifted instead of dragged down.
What is contour makeup and where does it go?
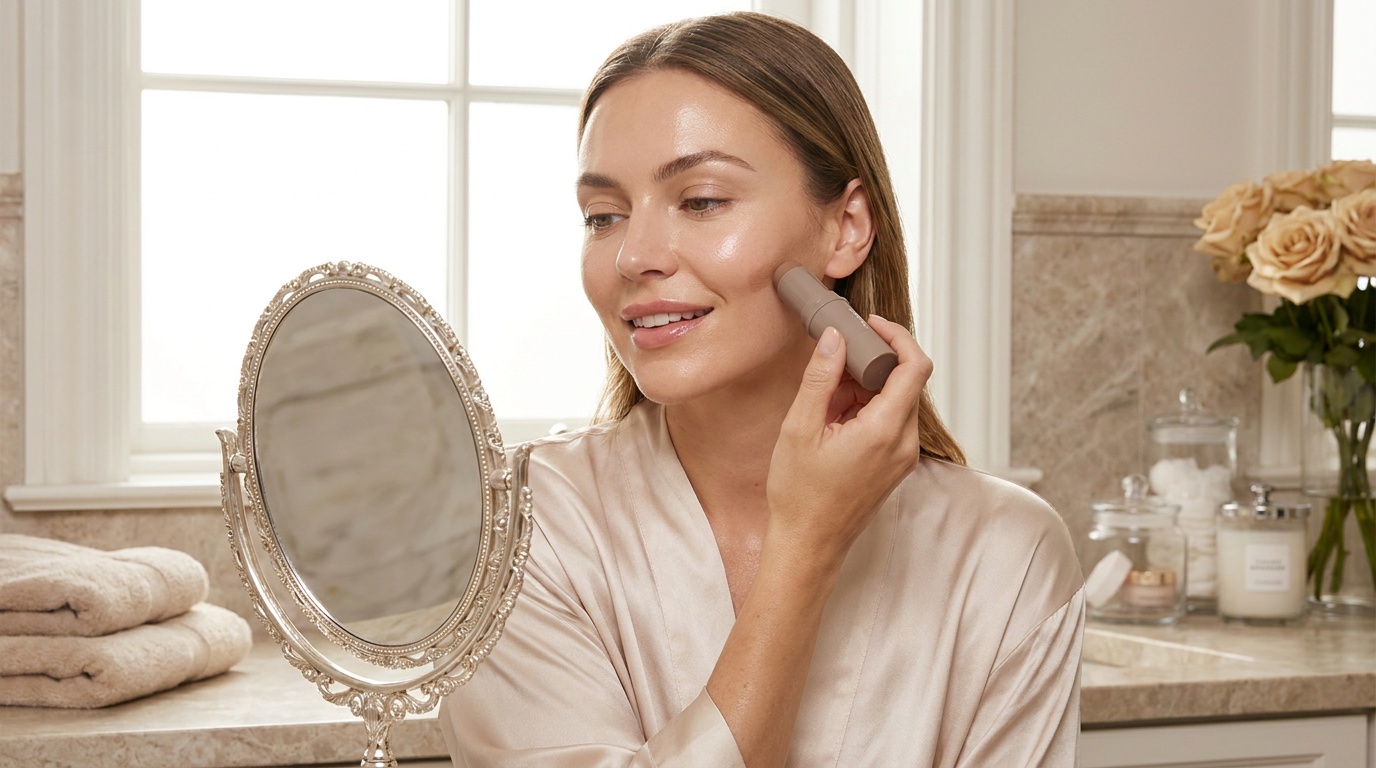
Contour makeup creates the look of natural shadow. That's really all it is. When you're learning how to contour for beginners, the biggest thing to remember is that contour should mimic the areas your face naturally recedes.
The most common places to apply contour are:
- Under the cheekbones
- Around the temples and hairline
- Along the jawline
- Down the sides of the nose
- Just under the lower lip for a fuller-looking pout
I've found that most beginners use way too much product on the cheeks first, then try to fix it with frantic blending. Been there. A lighter hand gives you way more control, and your makeup looks fresher.
How do you choose the right contour shade?
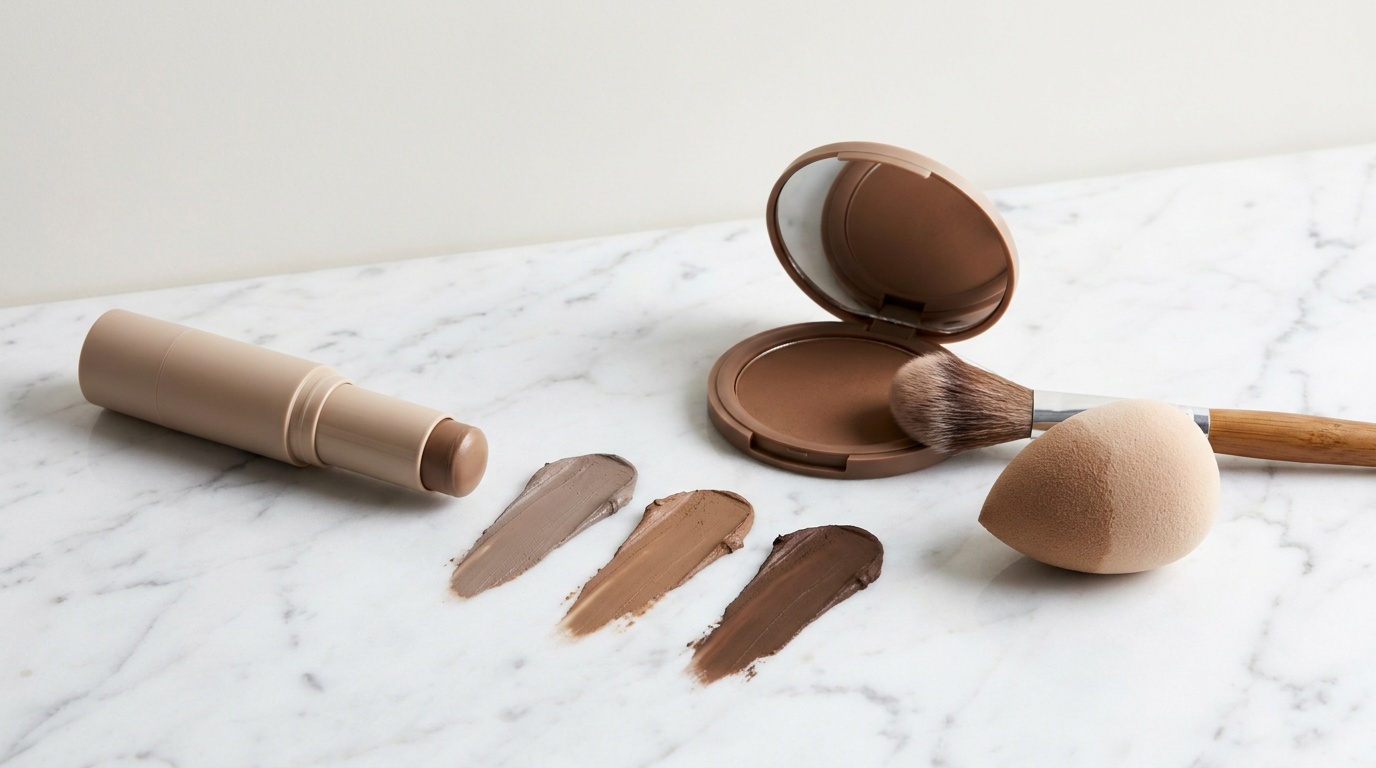
This is where a lot of contour tutorials go off the rails. Bronzer and contour are not the same thing.
Contour should look like a shadow, so the shade usually needs to be cool-toned or neutral. Bronzer adds warmth and sun-kissed color. If your contour pulls orange, it can make your face look muddy instead of sculpted.
Here are a few simple rules:
- Choose a shade 1-2 tones deeper than your skin tone
- Fair skin usually looks best with soft taupe or light neutral brown
- Medium skin can wear neutral brown or muted cool brown
- Deep skin often looks best with rich neutral espresso or cool deep brown
- Test the color in natural light if you can
Honestly, undertone matters more than people think. If you care about ingredients too, cream contour formulas with plant oils or waxes can blend beautifully, but watch for heavy fragrance if your skin is sensitive. Powder contour is often easier if you get shiny throughout the day.
What products do beginners need to contour?
You do not need a giant makeup kit. For how to contour for beginners, a few basics are enough.
The most beginner-friendly product types are:
- Cream contour stick: Easy to place directly on the skin and great for dry or normal skin
- Powder contour: Good for oily or combination skin and simple to layer lightly
- Liquid contour: Can look seamless, but use a tiny amount because it spreads fast
Helpful tools:
- An angled brush for cheek contour
- A damp makeup sponge for soft blending
- A small fluffy brush for nose contour
So, if your skin is textured or on the dry side, cream formulas usually melt in better. If you want something low-maintenance, powder can be more forgiving. I've found that beginners often do best with a cream contour stick and a sponge because it gives that soft, skin-like finish without much fuss.
How to contour for beginners step by step
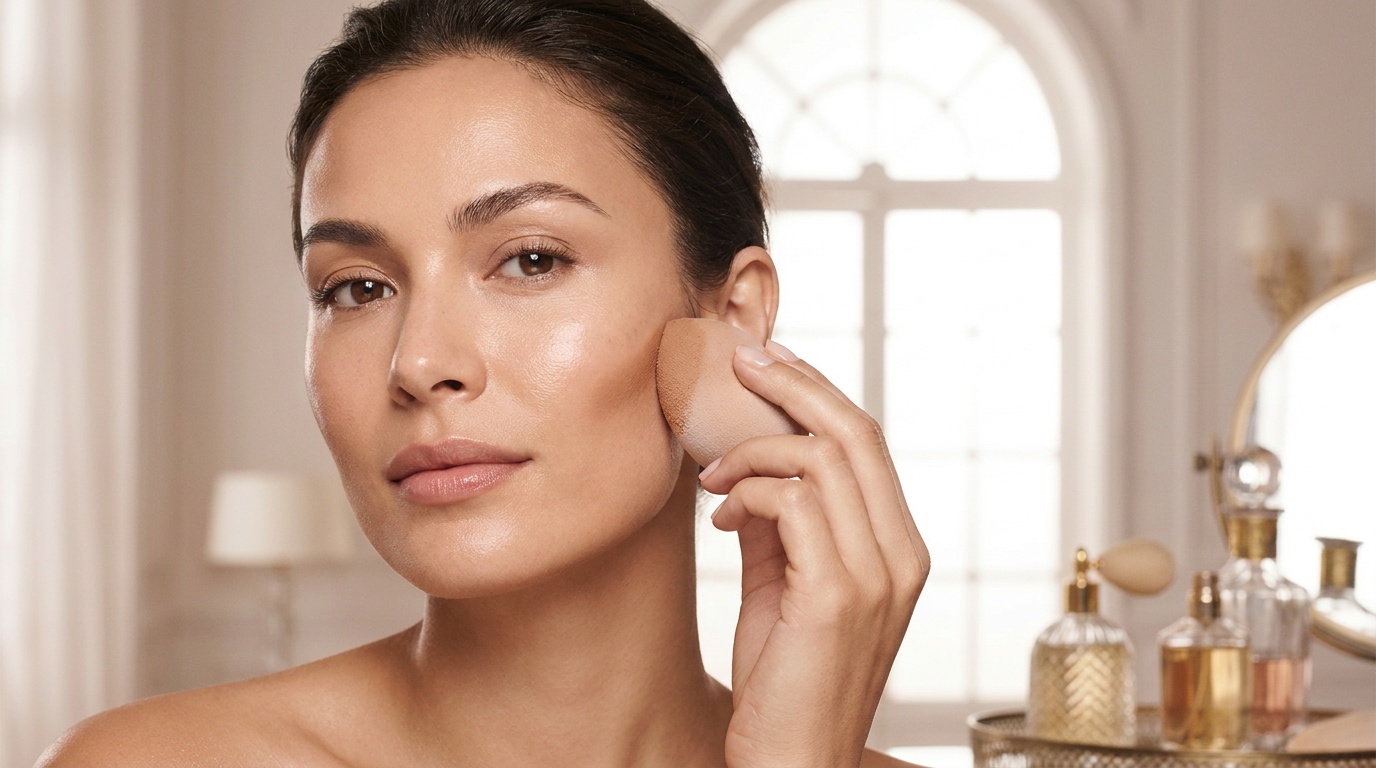
Follow this simple routine the first few times. It works whether you're using cream or powder.
- Start with your base makeup.
- Lightly apply contour at the temples and along the hairline.
- Place contour under the cheekbones, starting near the ear and stopping halfway toward the mouth.
- Add a small amount along the jawline if you want more definition.
- For nose contour, draw very thin lines down the sides of the nose.
- Blend upward and outward with a brush or sponge.
- Check both sides in natural light and soften any edges.
- Add concealer or highlighter to the high points of the face if you want more contrast.
- Set with a light dusting of powder if needed.
A good placement trick: suck in your cheeks very gently to find the hollow, but don't follow it all the way down. Stop around the outer half of the cheek. Bringing contour too close to the mouth is one of the fastest ways to make it look obvious.
How do you blend contour so it looks natural?
Blending is where contour goes from stripey to believable. And yeah, this part matters more than the actual product.
Here are the easiest ways to make contour look natural:
- Use less product first: It's much easier to add than remove
- Blend upward: Especially on the cheeks, so the face looks lifted
- Use tapping motions: Swiping can move your foundation underneath
- Diffuse the edges: Keep the center of placement deepest, then soften outward
- Work one area at a time: Cheeks, then forehead, then jawline
Look, if your contour suddenly looks too dark, don't panic. Go over the edges with your foundation brush or sponge—without adding more product—and it usually softens right up. A tiny bit of translucent powder can also help tone down excess cream contour.
Where should beginners avoid contouring?
Not every part of the face needs sculpting. When you're learning how to contour for beginners, doing less almost always looks better.
Areas to be careful with:
- The very front of the cheeks
- Too much on the jaw if your skin is dry or textured
- Thick nose contour lines
- The entire perimeter of the face in one dark ring
- The forehead if you already have a smaller forehead
I've found that face shape advice can get weirdly rigid online. You don't need a map made for someone else's bone structure. Start with light contour on the temples and under the cheekbones, then see if you actually want more. Most people don't need full-on jaw and nose contour for everyday makeup.
What are the most common contour mistakes?
Honestly, nearly everyone makes the same beginner mistakes at first. The good news is they're easy to fix.
- Using bronzer as contour: Warm shades can turn orange or muddy
- Applying too much product: Heavy contour is harder to blend and can look patchy
- Blending downward: This can drag the face down visually
- Choosing the wrong formula for your skin type: Dry skin may cling to powder; oily skin may break down cream faster
- Ignoring lighting: Bathroom lighting can hide harsh lines
- Skipping skin prep: Smooth, hydrated skin helps contour blend better
If your contour keeps separating, check your base products. Silicone-heavy makeup layered over very emollient skincare can sometimes pill or slide. Let skincare sink in for a few minutes before makeup. Little things like that make a difference.
How can beginners make contour look soft for everyday wear?

For everyday makeup, subtle contour is usually the prettiest option. You want definition, not obvious stripes.
Try this easy routine:
- Use a light hand and one small dab of product per area
- Focus on cheeks and temples only for a quick sculpted look
- Skip the nose contour unless you really enjoy it
- Pair contour with a soft cream blush for a healthy finish
- Blend everything together so there are no isolated patches of color
So, if you're rushing in the morning, just contour the outer cheek and temple area, blend up, and call it a day. That alone adds shape and warmth without feeling like full glam.
The Bottom Line
Learning how to contour for beginners comes down to three things: the right shade, strategic placement, and patient blending. Keep the color slightly cool or neutral, use a small amount, and blend upward for a soft, natural result. Once you get the hang of cheeks and temples, you can experiment with jawline or nose contour—but you really don't need to do everything at once.
If you want more easy beauty tips and fresh picks, sign up for Insider Beauty's weekly deals and get the good stuff sent straight to your inbox.
Want more tips and exclusive beauty deals delivered to your inbox? Pop your email in the box below and join thousands of insiders who save big every week.