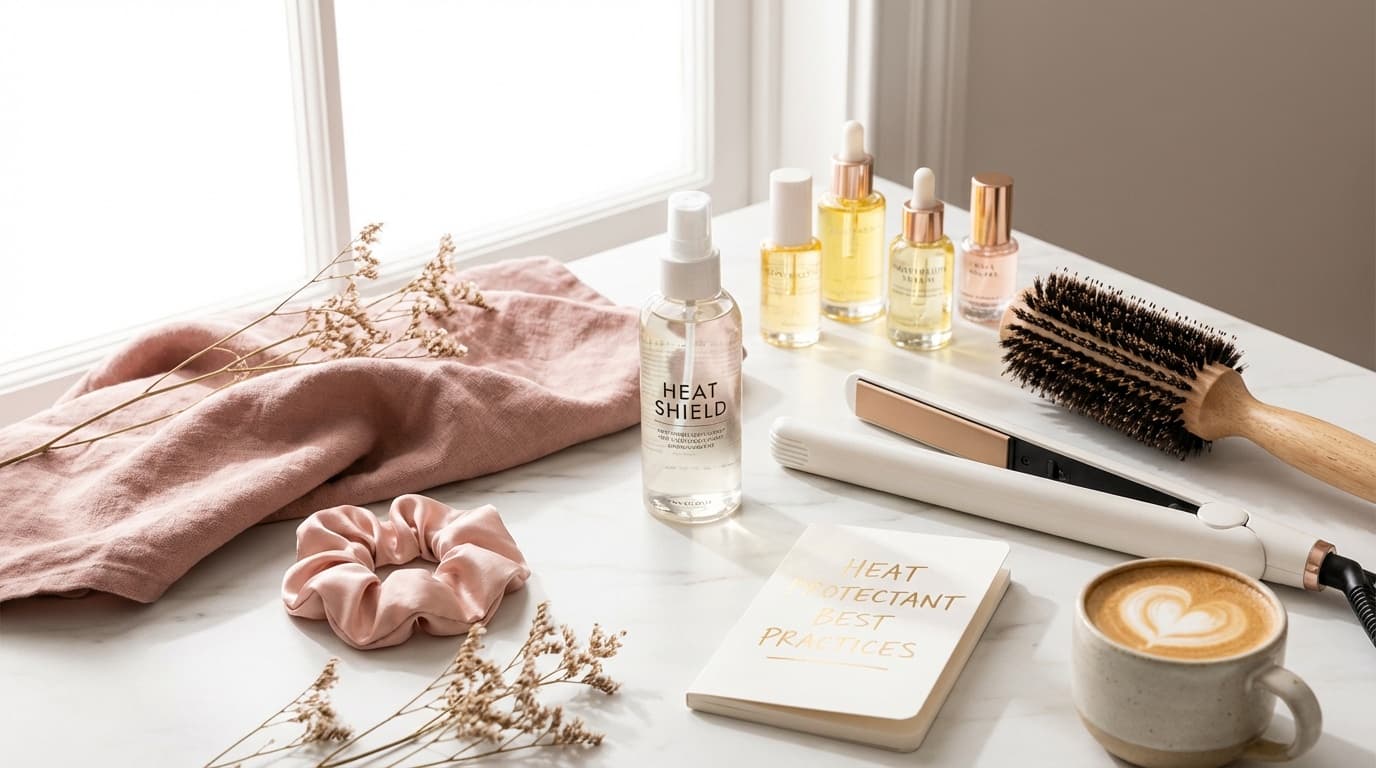
Heat protectant spray best practices come down to three things: apply it before every heat styling session, use enough to coat hair evenly without soaking it, and match the formula to your hair type and tool temperature. This works because heat protectants form a light film over the hair cuticle, helping reduce moisture loss, friction, and surface damage from blow-dryers, curling irons, and flat irons.
Quick Takeaways
- Use heat protectant every time you blow-dry, curl, straighten, or hot brush your hair
- Apply on damp hair for blow-drying and on dry hair only if the product specifically says it's safe for dry heat styling
- Section your hair so the spray lands evenly instead of just coating the top layer
- Keep hot tools in a realistic range: fine or damaged hair usually does better at lower temperatures, while coarse hair may need more heat
- Don't rely on heat protectant alone if your hair is already overprocessed, brittle, or breaking
Honestly, a lot of heat damage doesn't happen because someone skipped one spray. It usually happens from a bunch of small habits piling up: using too much heat, spraying unevenly, going over the same section five times, or styling hair that isn't fully dry. I've found that when people fix the technique, their hair often feels better fast, even without changing their whole routine.
How do you use heat protectant spray correctly?
The best method is simple, but the details matter. Heat protectant spray best practices start before the tool even turns on.
- Start with clean, detangled hair.
- Towel-dry gently or let hair air-dry until it's damp, not dripping.
- Shake the bottle if the formula calls for it.
- Divide hair into sections, usually 4 to 6 for medium to thick hair.
- Spray from mid-lengths to ends first, then lightly over the roots if needed.
- Comb or brush through to distribute the product evenly.
- Wait a few seconds before using heat.
- Use the lowest temperature that gets the job done.
That brush-through step is the one people skip, and yeah, it matters. If the spray sits in random spots, some strands get overloaded while others get almost nothing.
How much heat protectant spray should you use?
A common mistake is using either one tiny spritz or half the bottle. You want light, even coverage.
For most hair types, this is a good rule of thumb:
- Fine hair: 2 to 4 sprays per section, focused on the mid-lengths and ends
- Medium hair: 3 to 5 sprays per section
- Thick or long hair: 4 to 6 sprays per section, sometimes more if the section is large
- Very curly or dense hair: spray each section, then comb through so the product actually reaches the inner layers
Look, your hair should feel slightly coated, not wet. If it's soggy from product, blow-drying takes longer and the style can fall flat. If it feels like nothing at all touched the hair, you probably didn't use enough.
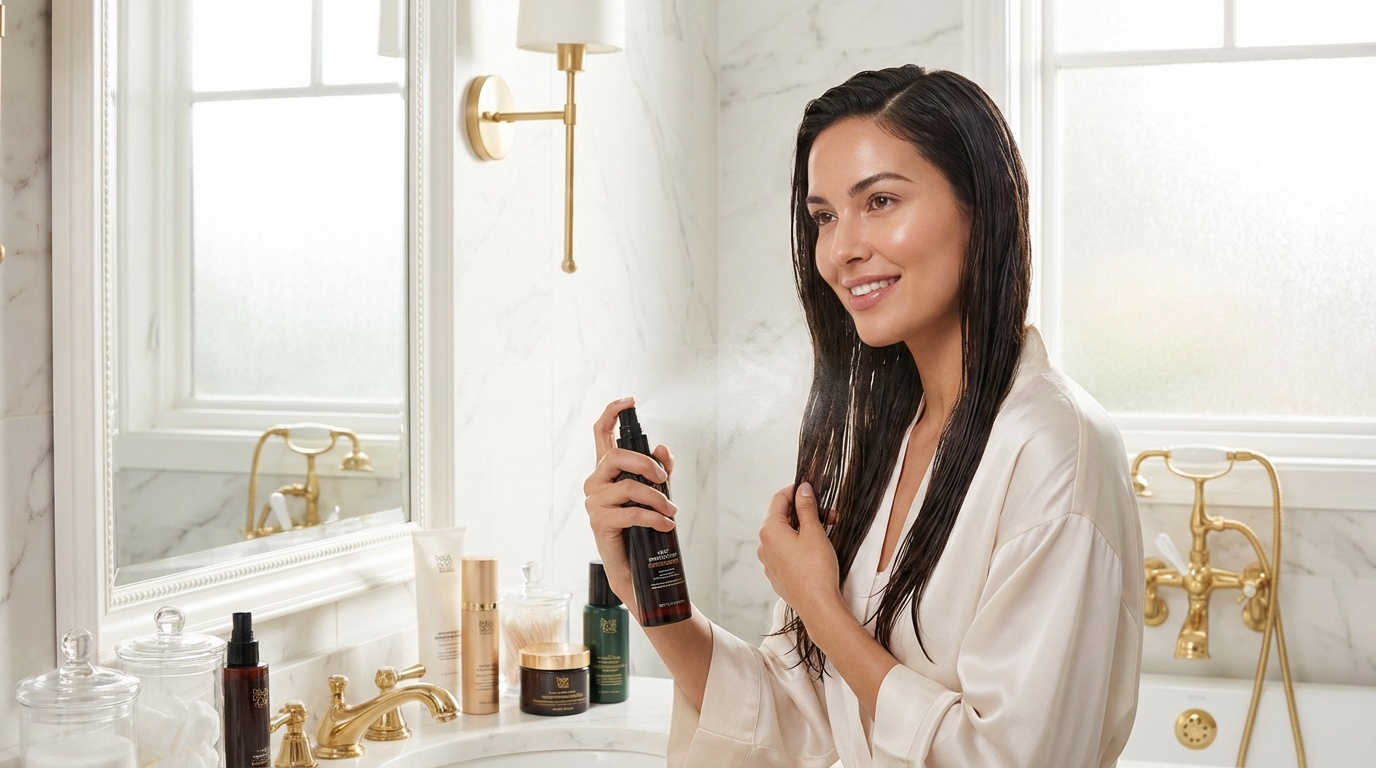
Should you apply heat protectant on wet or dry hair?
This depends on the product and the tool.
For blow-drying: apply heat protectant spray to damp hair. This is the sweet spot because the product spreads more easily and helps protect hair as water evaporates during drying.
For flat irons and curling irons: only apply on dry hair if the label says the spray is designed for dry heat styling. Some formulas are made specifically for blow-dry prep, while others are meant for thermal styling on finished, dry hair.
Never use a damp-hair-only spray right before a flat iron. That sizzling sound people sometimes hear? Not cute. Hair is most vulnerable when high heat meets leftover moisture.
If you use more than one styling step, layering can help:
- Use a lightweight leave-in or cream heat protectant on damp hair before blow-drying
- Follow with a fine mist heat protectant spray on dry hair before curling or straightening, if needed
What temperature is safest with heat protectant?

Heat protectant helps, but it doesn't make hair invincible. One of the most useful heat protectant spray best practices is pairing the spray with a realistic temperature setting.
A general guide:
- Fine, fragile, color-treated, or damaged hair: 250°F to 300°F
- Medium or healthy hair: 300°F to 375°F
- Coarse, thick, or very resistant hair: 375°F to 400°F
- Try not to exceed 400°F unless a stylist has shown you a specific reason to do that safely
I've found that a lot of people are using 430°F for hair that would style perfectly well at 330°F. More heat doesn't always mean better results. Sometimes it just means the outside of the strand gets fried before the inside has even smoothed out.
Also, limit passes. Even with a good thermal protectant, one slow pass is usually better than three quick ones over the same piece.
What ingredients should you look for in a heat protectant spray?
The best heat protectants usually combine film-forming ingredients, conditioning agents, and smoothing ingredients. You don't need to memorize a chemistry list, but a few ingredient categories are worth knowing.
Look for formulas with:
- Silicones like dimethicone or amodimethicone, which help reduce friction and smooth the cuticle
- Humectants in balanced amounts, which can help maintain moisture depending on your climate and formula
- Hydrolyzed proteins that can temporarily support and strengthen the feel of damaged hair
- Conditioning polymers that create slip and reduce snagging during styling
- Light oils in some formulas, especially for thick, dry, or frizz-prone hair
If you have fine hair, a light mist spray is usually the easiest to work with. If your hair is thick, coarse, or extra dry, a cream heat protectant or serum-style thermal protectant may feel more protective and smoothing.
So, no, the "strongest" formula isn't always the best one. The best one is the one you'll actually use correctly and consistently.
What mistakes cause heat damage even with heat protectant?
This is where things usually go sideways. You can buy a solid product and still end up with rough, brittle ends if the technique is off.
Here are the biggest mistakes to avoid:
- Spraying only the top layer: the underneath sections need protection too
- Using heat on soaking-wet hair: especially with hot tools that are meant for dry styling
- Cranking the tool too high: protectant lowers risk, it doesn't cancel it out
- Doing too many passes: repeated heat exposure stacks up quickly
- Skipping reapplication on second-day restyling: if you're using heat again, protect again
- Holding the dryer too close: keep airflow moving instead of blasting one spot
- Using old tools with uneven heat: hot spots can damage hair fast
A sneaky one? Styling hair that's already compromised from bleach, relaxers, or frequent color. In that case, even perfect heat protectant spray best practices may not be enough to prevent breakage. You might need to cut back on heat frequency altogether and focus on repair-focused care between styling days.
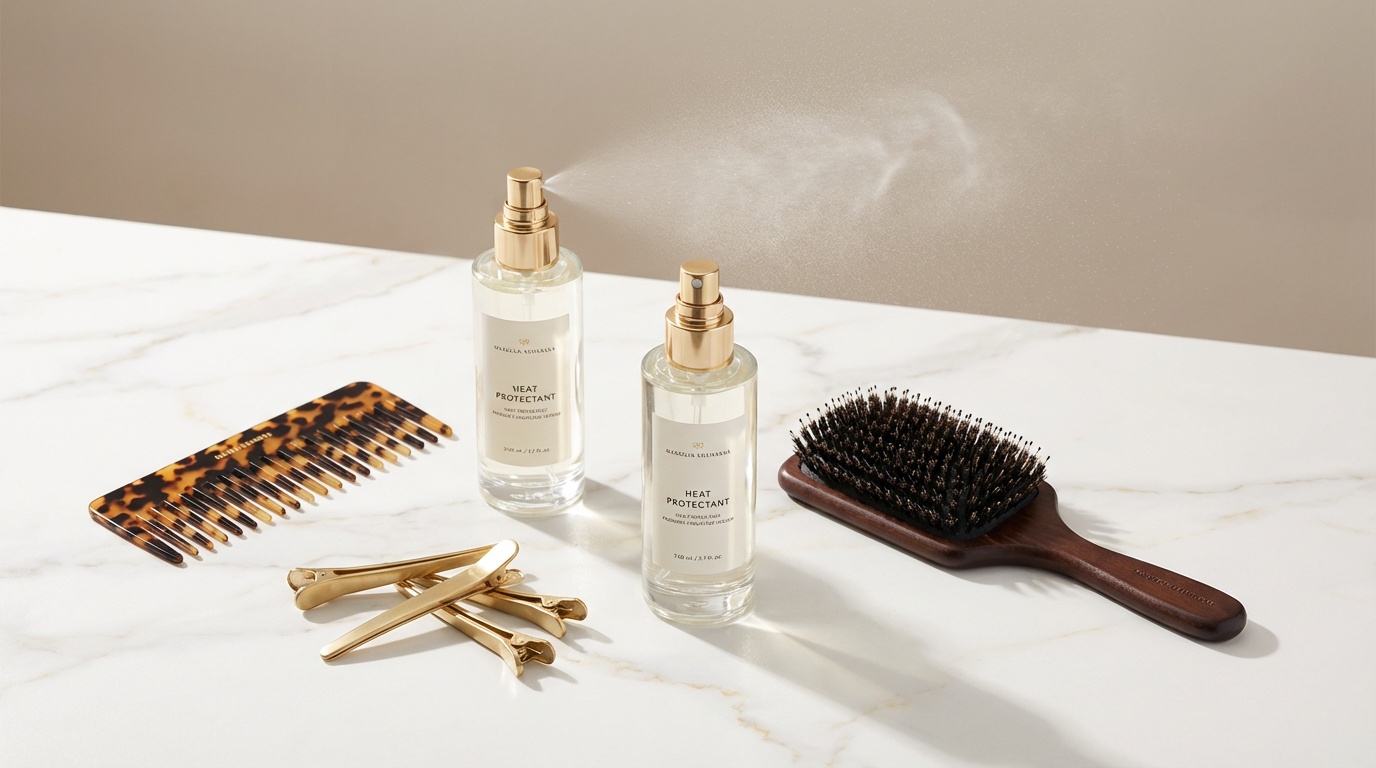
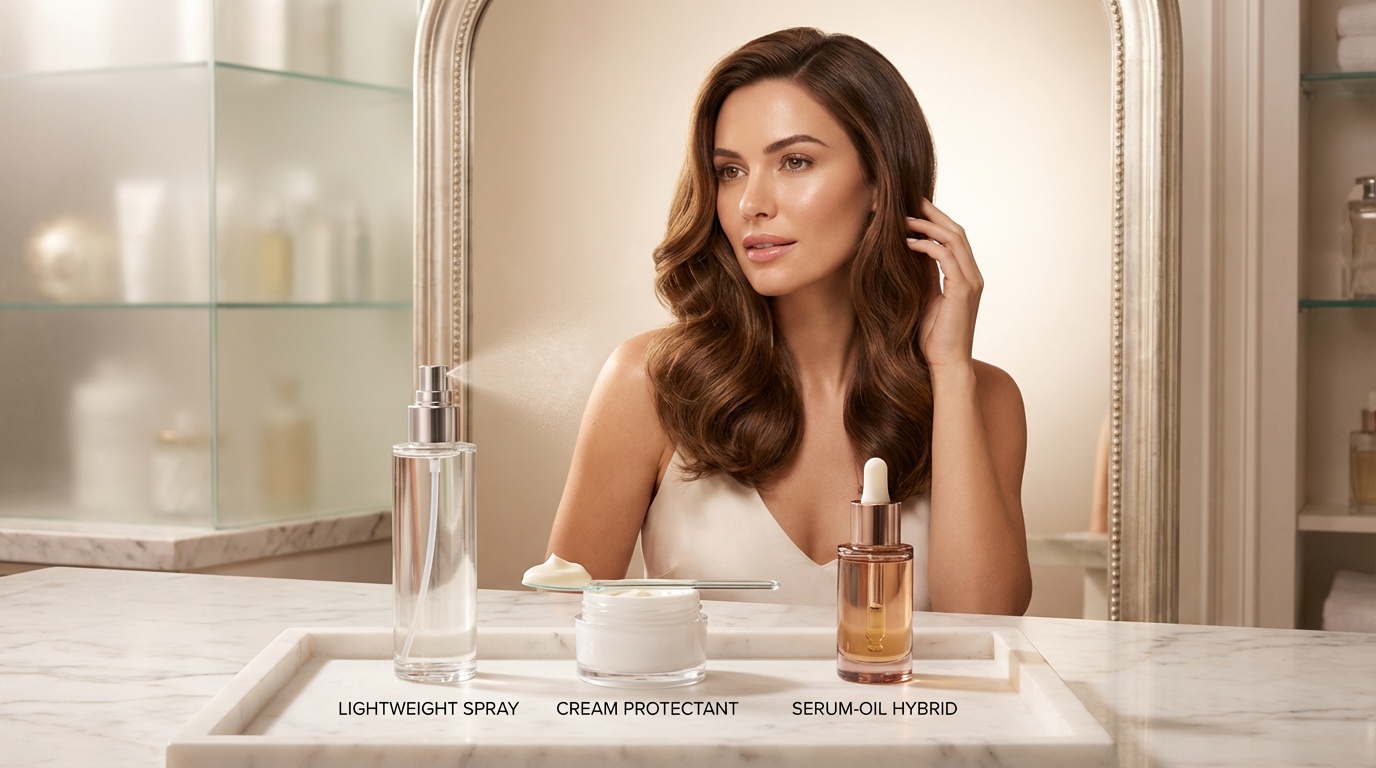
Which heat protectant product type is best for your hair?
Not every spray works for every texture, and that's part of why people think heat protectants "don't work." The format matters.
- Lightweight spray: best for fine, straight, or easily weighed-down hair; also great before blow-drying
- Cream protectant: better for thick, coarse, curly, or dry hair that needs more moisture and control
- Serum or oil-serum hybrid: useful for frizz-prone hair and smoothing ends before flat ironing, but go easy if your hair gets greasy fast
If you blow-dry often, look for a product that mentions blow-dry protection, smoothing, and humidity control. If you mostly use a curling wand or straightener, choose one labeled for high-heat styling on dry hair.
And if your hair is fine but damaged, I usually suggest starting with a very light spray plus a lower temperature rather than jumping straight to a heavy cream. Too much product can make fine hair limp, which just tempts people to use more heat trying to force volume back in.
How often should you use heat protectant spray?
Every single time you use heat. That's really the answer.
If you style multiple days in a row, reapply before each session according to the directions. You don't need to drench the hair, but you do need fresh, even coverage where the tool will touch.
For lower-damage styling, try this routine:
- Wash and apply protectant on damp hair.
- Blow-dry with moderate heat.
- Finish with one pass of a flat iron or curling iron only where needed.
- On day two, restyle a few sections instead of the whole head.
- Use a dry-hair-safe heat protectant before touching up.
That kind of routine tends to be much kinder to the hair shaft than full high-heat styling every morning.
The Bottom Line
The best heat protectant spray best practices are pretty straightforward: apply the product evenly, use it on the right hair state for your tool, keep temperatures reasonable, and avoid repeated passes. A heat protectant spray can reduce damage, but it works best when your technique is solid and your heat settings match your hair's condition.
So if your ends feel crunchy or your shine has disappeared, don't just blame the product. Check how much you're using, where you're spraying it, and whether your tool is running way hotter than necessary.
If you want more smart beauty tips and a heads-up on the best finds, sign up for Insider Beauty's weekly deals. It's an easy way to catch useful picks without doing a full internet spiral.
Want more tips and exclusive beauty deals delivered to your inbox? Pop your email in the box below and join thousands of insiders who save big every week.