
The safest way to remove acrylic nails at home is to shorten and file the acrylic, soak it in 100% acetone, and gently push away the softened product. Acetone breaks down the acrylic so it can be removed without pulling off layers of your natural nail—here's exactly how to do it.
Les points essentiels
- Allow 45 to 60 minutes: Rushing is one of the biggest causes of peeling and nail damage.
- Use 100% acetone: Standard acetone-free polish remover usually isn't strong enough to soften acrylic efficiently.
- File before soaking: Removing the shiny topcoat helps acetone penetrate the enhancement faster.
- Never pry or peel: If the acrylic resists, soak it again instead of forcing it off.
- Finish with moisture: Cuticle oil and a fragrance-free hand cream help replace some of the oils stripped away by acetone.
What Do You Need to Remove Acrylic Nails?
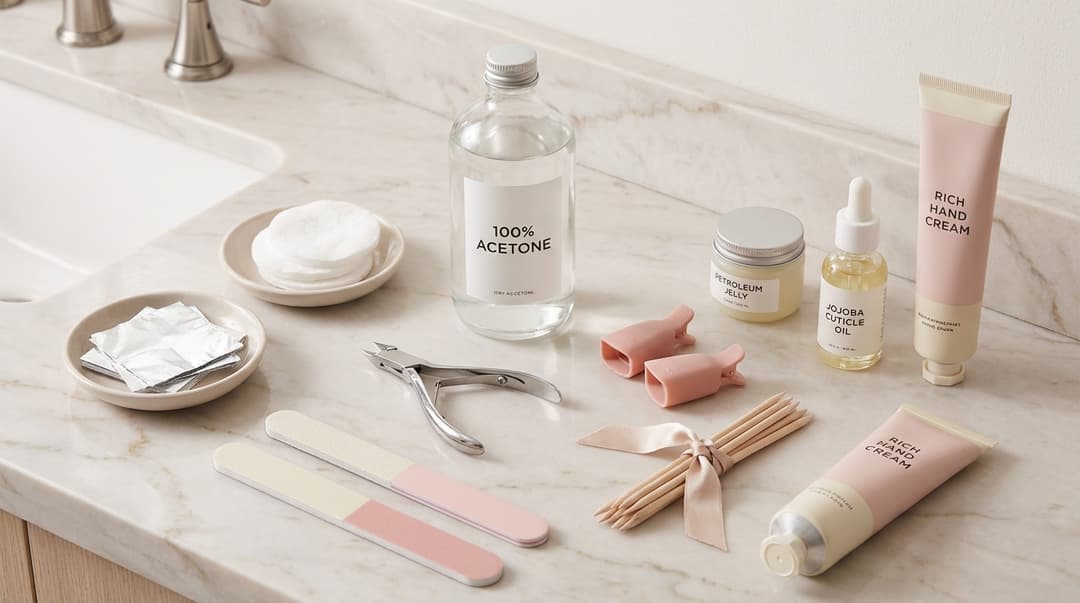
Gathering everything first makes the process easier, especially once your fingertips are wrapped. You don't need a huge manicure kit, but the right basics matter.
- 100% acetone remover: Check the ingredient list rather than relying on the front label. Ideally, acetone should be the only ingredient or the first one listed.
- Nail clippers: Use sturdy clippers designed for artificial nails if your extensions are especially thick.
- Coarse and fine-grit nail files: A coarse file removes bulk, while a finer file smooths the natural nail afterward.
- Cotton pads or cotton balls: Cut pads into nail-sized pieces to reduce waste and limit unnecessary acetone use.
- Foil or reusable soak-off clips: Clips create less single-use waste and are handy if you remove enhancements regularly.
- Wooden cuticle stick: This helps slide away softened acrylic without aggressive scraping.
- Petroleum jelly or thick balm: A thin barrier protects the skin around each nail from excessive dryness.
- Cuticle oil and hand cream: Look for oils such as jojoba, sunflower, or squalane, plus a cream containing glycerin or shea butter.
Look, acetone is effective, but it's also volatile and highly flammable. Work in a well-ventilated area, keep it away from candles and heat, and never warm acetone in a microwave or directly on a stove.
How to Remove Acrylic Nails at Home Step by Step
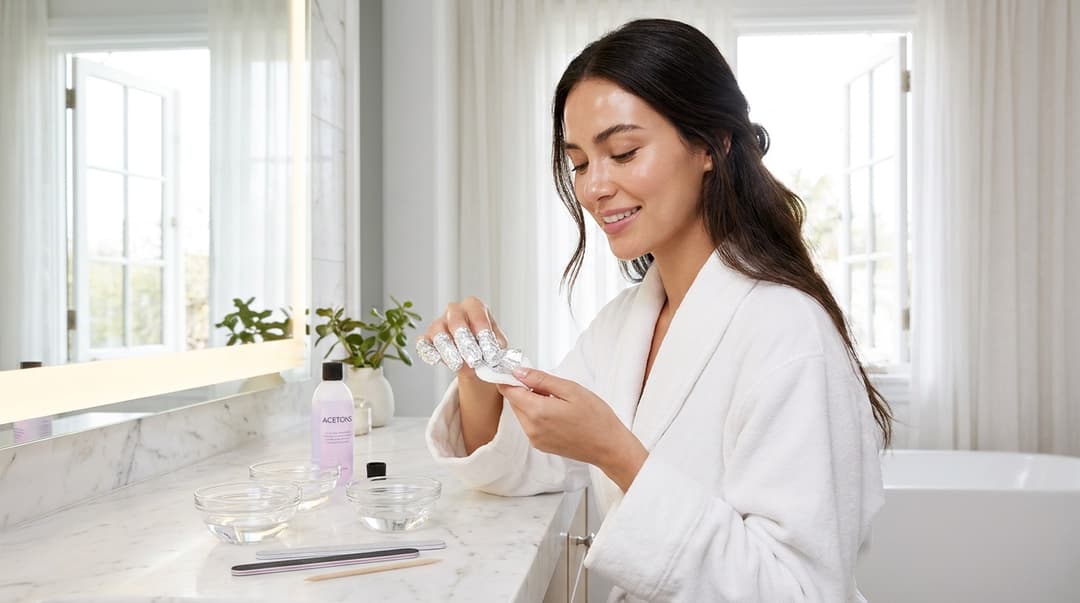
Set aside enough time to work slowly. I've found that putting on a podcast before wrapping my nails makes the soaking stage much less tempting to rush.
- Clip off the extra length. Trim the acrylic extensions as close to your natural nails as comfortably possible. Cut small sections at a time because thick acrylic can crack if squeezed too aggressively.
- File away the topcoat. Use a coarse file to remove the glossy seal and thin down some of the acrylic. Apply light, even pressure and stop before reaching your natural nail.
- Protect the surrounding skin. Smooth a little petroleum jelly or thick balm around the cuticles and sidewalls. Try not to coat the acrylic itself, since an oily barrier can slow acetone penetration.
- Saturate the cotton. Soak a nail-sized piece of cotton with 100% acetone. It should be thoroughly damp without dripping everywhere.
- Wrap each nail. Place the cotton directly on the acrylic, then secure it with foil or a reusable soak-off clip. A snug wrap helps reduce evaporation.
- Wait 20 to 30 minutes. Check one nail after 20 minutes. The acrylic should look swollen, gummy, or flaky rather than hard and glossy.
- Gently push off softened acrylic. Remove one wrap at a time and use a wooden cuticle stick to slide the product toward the free edge. Don't dig underneath or scrape the nail plate.
- Re-soak stubborn areas. If the acrylic doesn't move with gentle pressure, rewrap that nail for another 10 to 15 minutes. Some thick sets may require two rounds.
- Smooth and moisturize. Lightly buff away only loose residue, wash your hands, and apply cuticle oil followed by hand cream.
Honestly, the re-soaking step is where patience pays off. A stubborn patch isn't a sign that you should scrape harder; it simply hasn't softened enough yet.
Can You Remove Acrylic Nails Without Acetone?
You can technically remove acrylic without acetone by filing it down and allowing the remaining thin layer to grow out, but this method is slower and easier to get wrong. Acetone-free nail polish remover generally won't break down professional acrylic effectively, even if you soak for a long time.
If you want to avoid acetone because of sensitive skin or respiratory irritation, the safest alternatives are:
- Ask a licensed nail technician to file down the enhancement with controlled pressure.
- Shorten the acrylic and let it grow out, filing the free edge regularly.
- Leave a very thin protective layer rather than filing all the way to your natural nail.
Skip social-media tricks involving dental floss, credit cards, hot water, or forcing another nail beneath the acrylic. These methods can lift layers of keratin from the natural nail plate. They may also tear skin if the enhancement is still firmly attached.
So, warm water and oil can help loosen press-on nails attached with temporary glue, but they won't reliably remove cured acrylic. Acrylic is a durable polymer and needs controlled filing, acetone, or professional removal.
How Do You Protect Your Nails and Skin?
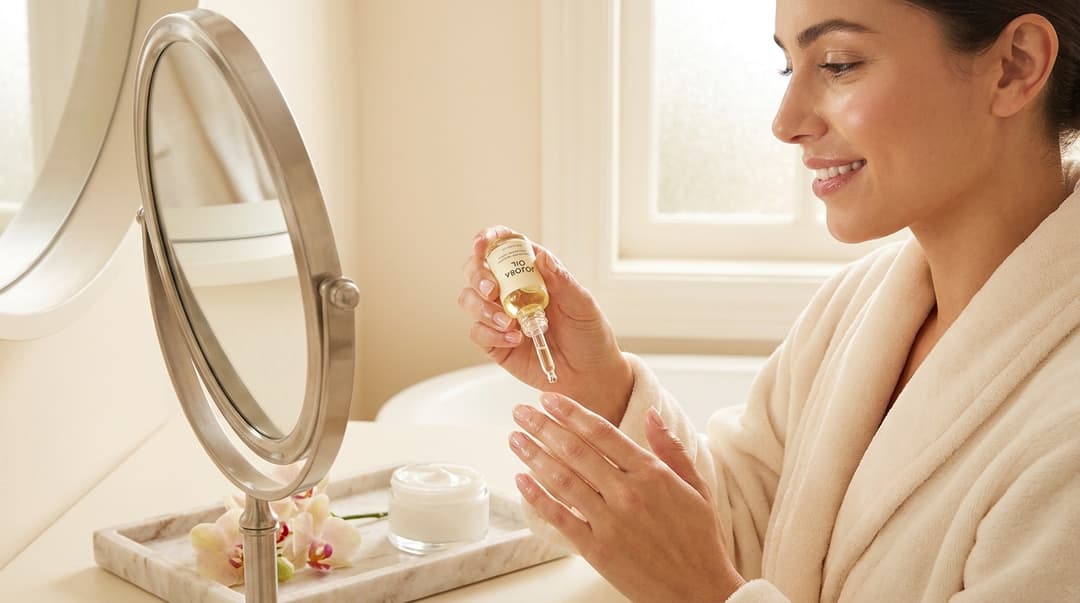
Acetone removes oils along with the acrylic, which is why nails and skin can look chalky afterward. That temporary dryness doesn't necessarily mean your nails are permanently damaged, but they do benefit from gentle care.
Apply cuticle oil at least twice daily for the next week. Jojoba oil is a favorite of mine because its lightweight texture spreads easily, while sunflower oil supplies skin-softening fatty acids. Follow with a hand cream containing humectants such as glycerin and richer ingredients like shea butter to help hold moisture in.
Keep your nails short until weak or peeling areas grow out. Wear gloves for dishwashing and cleaning because repeated water exposure makes nails swell and contract, which can worsen splitting. A clear strengthening base coat may add temporary support, although it can't repair nail tissue that's already damaged.
Give your nails a break before applying another set if they feel sore, paper-thin, or unusually flexible. Healthy fingernails grow approximately 3 millimeters per month, so visible damage can take several months to fully grow out.
For a lower-waste setup, choose reusable removal clips, washable manicure towels, and appropriately sized cotton pieces. Keep leftover acetone tightly sealed in its original container. Don't pour it into the sink or onto the ground; follow your local household hazardous-waste guidance for disposal.
What Acrylic Removal Mistakes Should You Avoid?
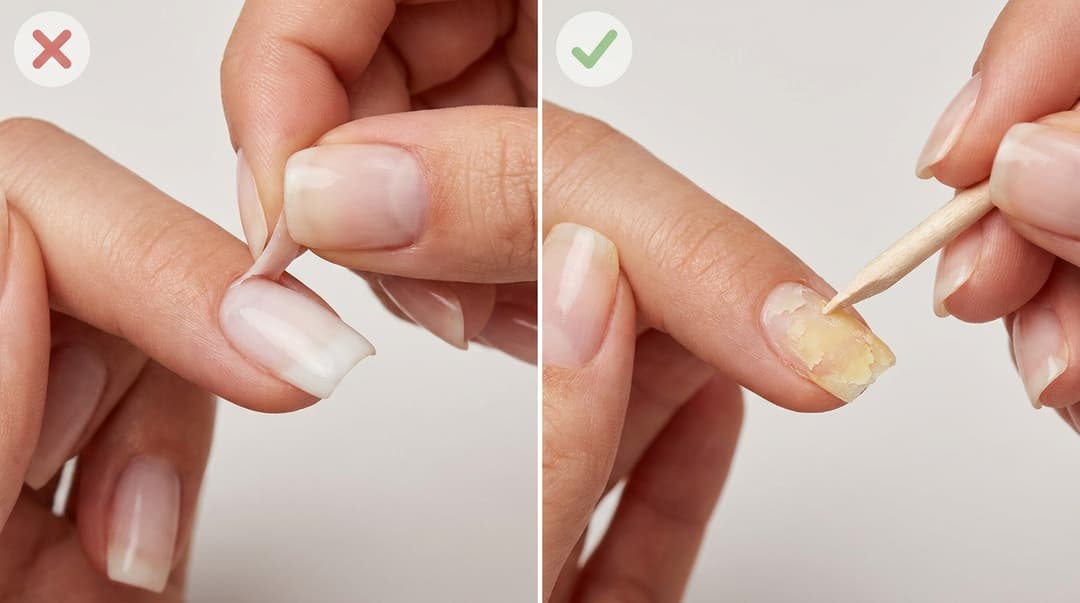
The technique matters as much as the products. These common mistakes can leave natural nails thin, rough, or painful:
- Peeling off lifted acrylic: Even a loose edge may still be bonded elsewhere, so pulling can remove surface layers of the nail plate.
- Over-filing: Stop when the remaining product becomes thin. Heat, tenderness, or a burning feeling means you're applying too much pressure.
- Scraping hard acrylic: Product should be soft before you touch it with a wooden stick.
- Soaking irritated skin: Cuts, hangnails, and inflamed cuticles may sting intensely in acetone. Let the skin heal or book professional removal.
- Using heat near acetone: Acetone fumes ignite easily. Good ventilation and a flame-free workspace are non-negotiable.
- Covering possible infection: Green, yellow, or dark discoloration, swelling, pus, a bad odor, or throbbing pain should be assessed by a medical professional.
If the acrylic is lifting because your natural nail has separated from the nail bed, don't keep poking beneath it. A nail technician can shorten the enhancement, while a dermatologist or healthcare professional can evaluate pain, discoloration, or suspected infection.
Notre conclusion
The best method for how to remove acrylic nails at home is simple: clip the length, file away the seal, soak with 100% acetone, and gently remove only what has softened. Expect the process to take 45 to 60 minutes, and re-soak rather than peel, pry, or scrape.
Your aftercare counts, too. A few days of cuticle oil, rich hand cream, shorter nails, and gloves during wet chores can make dry nails feel much more comfortable. I've found that slow removal isn't as exciting as a quick peel, obviously, but your natural nails will look far better for it.
Want more ingredient-conscious beauty tips and genuinely useful savings? Sign up for Insider Beauty's weekly deals for clean beauty finds, nail-care offers, and thoughtful product picks delivered to your inbox.
Vous souhaitez recevoir d’autres conseils et des offres beauté exclusives ? Saisissez votre adresse e-mail ci-dessous et rejoignez les milliers d’Insiders qui économisent chaque semaine.