
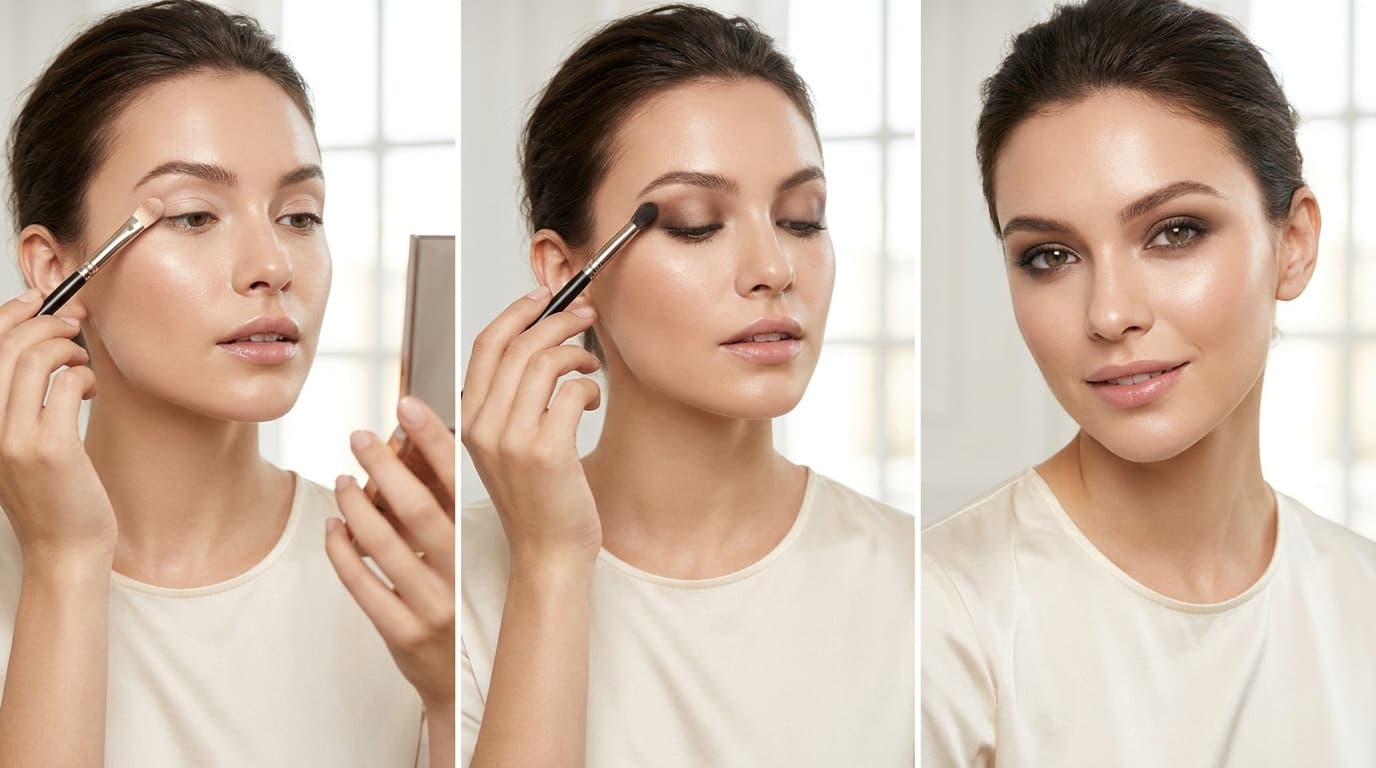
A smokey eye makeup tutorial step by step works best when you layer three tones—light, medium, and deep—then blend each one before adding more pigment. Start with a small amount of color, keep the darkest shade close to the lash line, and soften the outer edges with a clean brush for that diffused, sultry finish.
Das Wichtigste auf einen Blick
- Build color gradually: Thin layers are much easier to blend than one heavy swipe of dark shadow.
- Use three tones: A light base, medium transition shade, and deep accent create dimension without muddying together.
- Keep darkness controlled: Concentrate the deepest color along the lashes and outer corner rather than covering the entire lid.
- Blend with a clean brush: This softens harsh edges without spreading extra pigment toward the brow.
- Check the formula: Look for comfortable pigments, clearly listed ingredients, and packaging you'll realistically reuse or recycle.
What Do You Need for a Smokey Eye?
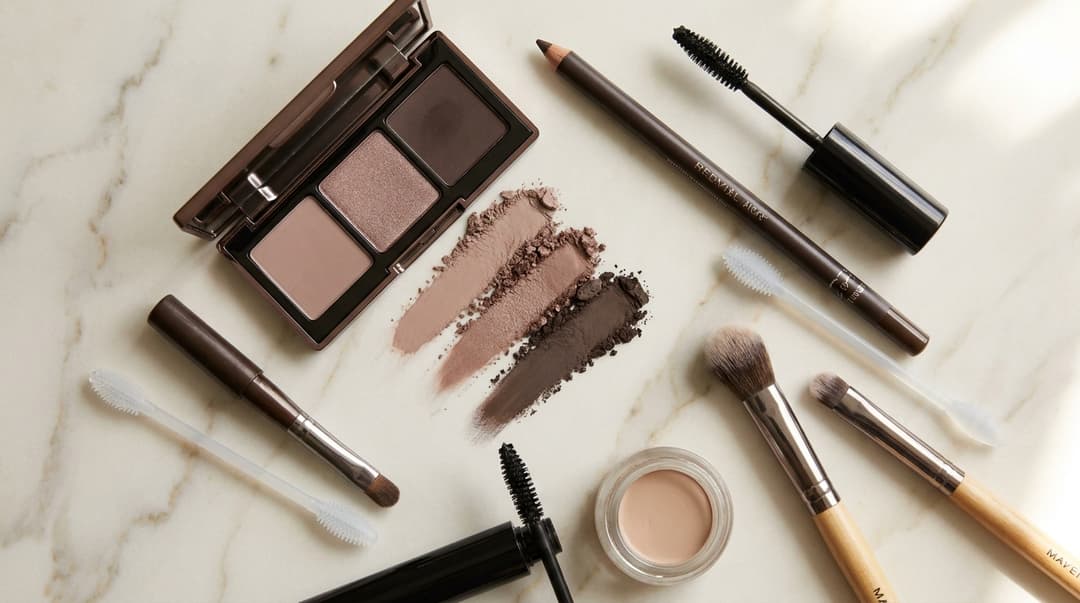
You don't need a giant palette or a dozen brushes. A small, coordinated kit usually gives you more control and creates less product waste.
Gather these basics:
- Eyeshadow primer: A thin, tacky base helps powder adhere evenly and reduces creasing.
- Powder eyeshadow: Choose a light neutral, a medium transition color, and a deep shade from the same color family.
- Pencil eyeliner: A creamy pencil can be smudged before it sets, making it more forgiving than liquid liner.
- Two eye brushes: Use a small, dense brush to place color and a fluffy blending brush to soften it.
- Mascara: One or two light coats define the lashes without hiding your blending work.
- Cotton swab or reusable precision swab: This cleans edges and corrects small mistakes.
For a classic look, try taupe, soft brown, and espresso. Charcoal and black create more drama, while plum, bronze, forest green, and navy offer a softer alternative that still reads smoky. I've found that deep brown is especially beginner-friendly because it gives definition without becoming harsh quite so quickly.
How Should You Prep Your Eyes for Smokey Makeup?

Start with clean, dry eyelids. Heavy eye cream or facial oil can cause shadow to separate, so give your skin care several minutes to absorb before applying makeup. If your lids are oily, gently press away excess product with a tissue rather than piling powder over it.
Apply a rice-grain-size amount of eyeshadow primer per eye, blending from the lash line to just above the crease. Let it settle for around 20 to 30 seconds. Primer should feel slightly grippy, not thick or wet.
Next, place a tissue or reusable shadow shield beneath the outer corner if your shadows tend to create fallout. You can also do your eye makeup before complexion products. Honestly, that's my usual method with charcoal or highly pigmented mineral shadows because cleanup is faster and I don't waste concealer fixing gray specks.
Check that brushes are clean and completely dry. Old pigment left in a blending brush is one of the sneakiest reasons a neutral look turns muddy.
Smokey Eye Makeup Tutorial Step by Step
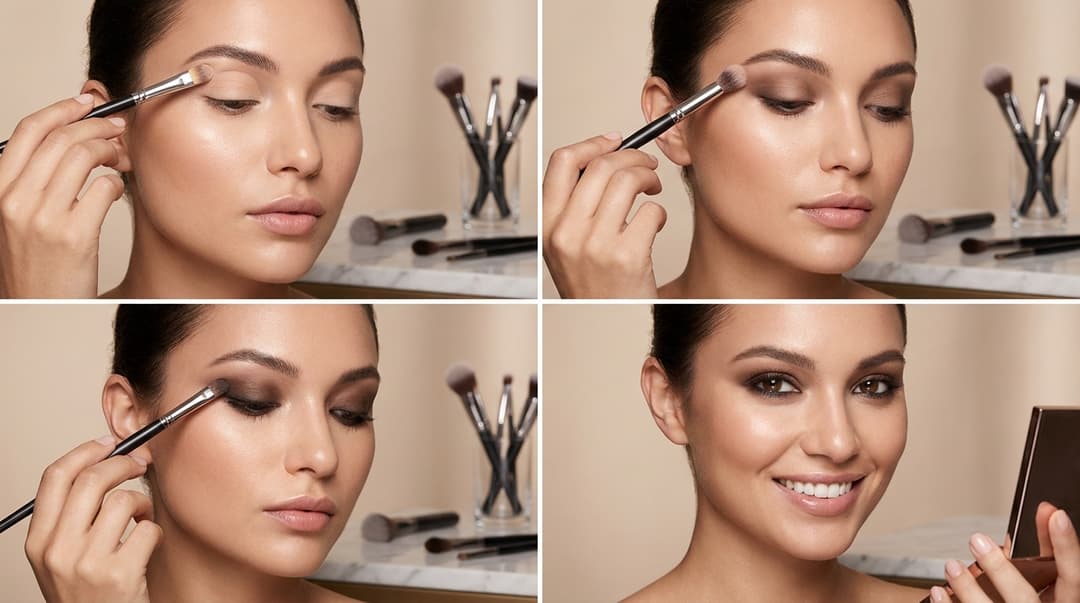
This eight-step method works with browns, grays, jewel tones, and softer everyday neutrals. Use light pressure throughout; you can always deepen the color later.
- Apply the light base shade. Sweep a matte or softly luminous neutral from the lash line to the crease. Use a thin layer to even out the lid and help darker colors move smoothly.
- Map the crease with a medium shade. Look straight ahead and place the transition color slightly above your natural crease. Blend with short windshield-wiper motions, keeping the brush pressure light.
- Deepen the outer corner. Press a deeper shadow onto the outer third of the lid in a small sideways V shape. Keep the color below the crease at first, then diffuse it upward a few millimeters.
- Add depth along the lash line. Work the darkest shade close to the upper lashes with a small brush. The pigment should be richest at the roots and gradually fade as it moves upward.
- Smudge pencil eyeliner. Draw a thin, imperfect line across the upper lashes, then soften it immediately with the dense brush. Keep the outer section slightly thicker for a lifted effect.
- Connect the lower lash line. Place the medium shade under the outer two-thirds of the lower lashes. Add a tiny amount of the deep shade near the outer corner, making sure it connects with the upper shadow.
- Blend the borders. Wipe your fluffy brush on a clean cloth, then move it over the upper edge in small circles. Stop when you can no longer see where one shade abruptly ends and another begins.
- Finish and clean up. Add mascara, brighten the inner corner with a small touch of the light shade, and sharpen the outer edge with a cotton swab. Check both eyes from a normal viewing distance rather than judging them inches from the mirror.
So, the secret isn't endless blending. It's precise placement followed by brief, targeted blending. If you sweep a brush everywhere for several minutes, the shades can merge into one flat color.
How Do You Adapt or Fix a Smokey Eye?
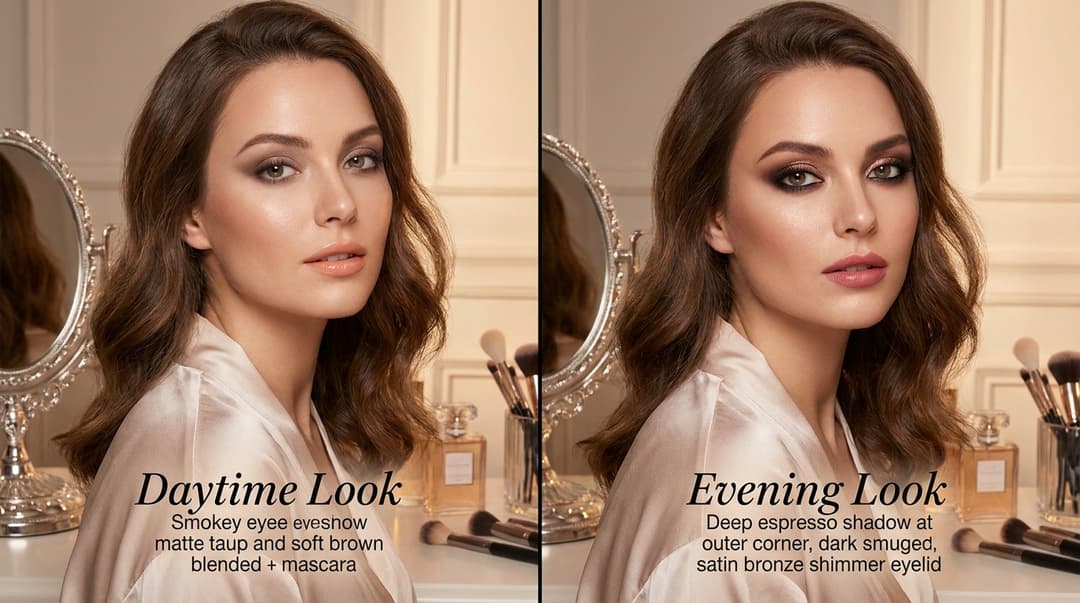
For daytime, use matte taupe and brown, stop the deepest shade at the outer third, and skip dark liner on the lower waterline. For evening, extend the outer corner slightly, add more lash-line depth, or press a satin shadow onto the center of the lid. A damp brush can intensify shimmer, but check the product instructions first because not every powder is designed for wet application.
Common issues are usually easy to repair:
- The shadow looks patchy: Press on a little more medium color instead of dragging the brush across bare spots.
- The edges look harsh: Use a clean brush with a trace of your skin-tone shadow to soften the border.
- The look feels too dark: Pat a lighter shade over the center of the lid and clean beneath the eye.
- Both eyes look uneven: Match the placement and shape first; don't keep adding pigment simply to match intensity.
- Fallout is stuck to the skin: Lift it with clean adhesive tape used very gently, or sweep it away with a dry, fluffy face brush.
Look, eye shape matters more than rigid makeup rules. Hooded eyes often benefit from placing the transition shade slightly above the natural crease so it's visible when the eyes are open. On downturned eyes, keep the lower shadow fine and angle the outer blending toward the tail of the brow. For deep-set eyes, use less dark pigment in the crease and put a subtle satin finish on the mobile lid.
Which Eyeshadow Ingredients Should You Check?
Ingredients affect texture, wear, sensitivity, and environmental impact. Mica adds slip and luminosity, while mineral or synthetic pigments provide color. Silica can absorb oil and improve blendability, and binders such as magnesium stearate help pressed shadows hold together.
Mica isn't automatically harmful or sustainable; sourcing practices vary. If this matters to you, look for companies that publish a responsible-minerals policy or use synthetic fluorphlogopite, a lab-made alternative that offers controlled sparkle. Refillable compacts and single-pan shadows can also reduce packaging, especially when you'll use the same neutrals regularly.
People with sensitive eyes may prefer fragrance-free formulas and should avoid loose glitter near the lash line. Carmine, a red pigment derived from insects, appears in some plum and burgundy shades, so vegan shoppers may want to check for carmine or CI 75470. Talc-free doesn't automatically mean gentler, either—individual sensitivity and overall formulation matter more than one buzzword.
Always use products labeled for the eye area, don't share eyeliner or mascara, and replace anything that smells unusual or changes texture. Remove the look gently with a cleansing balm or oil-based remover, holding a reusable pad against the closed eye for several seconds before wiping. Less rubbing is kinder to the delicate eye area and usually removes pigment more effectively.
Das Fazit
A polished smokey eye comes from controlled placement, gradual color, and clean blending—not from using the darkest shadow you can find. Start with three coordinated tones, keep depth close to the lashes and outer corner, and adjust the intensity to suit your eye shape, comfort level, and plans.
I've found that practicing with soft brown shadows is the easiest way to learn because mistakes are less obvious and can be corrected quickly. Once the technique feels natural, swap in charcoal, plum, bronze, or navy without changing the basic steps.
Want thoughtful beauty picks without sorting through every launch yourself? Sign up for Insider Beauty's weekly deals for curated offers, ingredient-aware finds, and products worth keeping in your routine.
Möchtest du weitere Tipps und exklusive Beauty-Angebote per E-Mail? Trage unten deine Adresse ein und schließe dich Tausenden Insidern an, die jede Woche kräftig sparen.