
The safest way to remove gel nails is to file off the shiny topcoat, protect your skin with petroleum jelly, then soak the nails in acetone using cotton and foil for 10–20 minutes before gently wiping the gel away. This works because acetone dissolves the gel while filing breaks the seal so it can actually penetrate. Here’s exactly how to remove gel nails safely and avoid wrecking your natural nails.
Quick Takeaways
- Never peel or rip off gel nails – it can remove up to 1–2 layers of your natural nail plate.
- The safest at-home method is file + acetone soak + gentle removal with a wooden cuticle stick.
- Use 100% acetone, not regular polish remover, and protect skin with petroleum jelly.
- If the gel resists, re‑soak for 5–10 minutes instead of scraping harder.
- Finish with hydration: cuticle oil + thick hand cream for at least a week.
How To Remove Gel Nails Safely: Step‑By‑Step

So, let’s walk through how to remove gel nails safely at home like a pro. This is the same basic process we use in dermatology and what most good salons do, just slower and gentler.
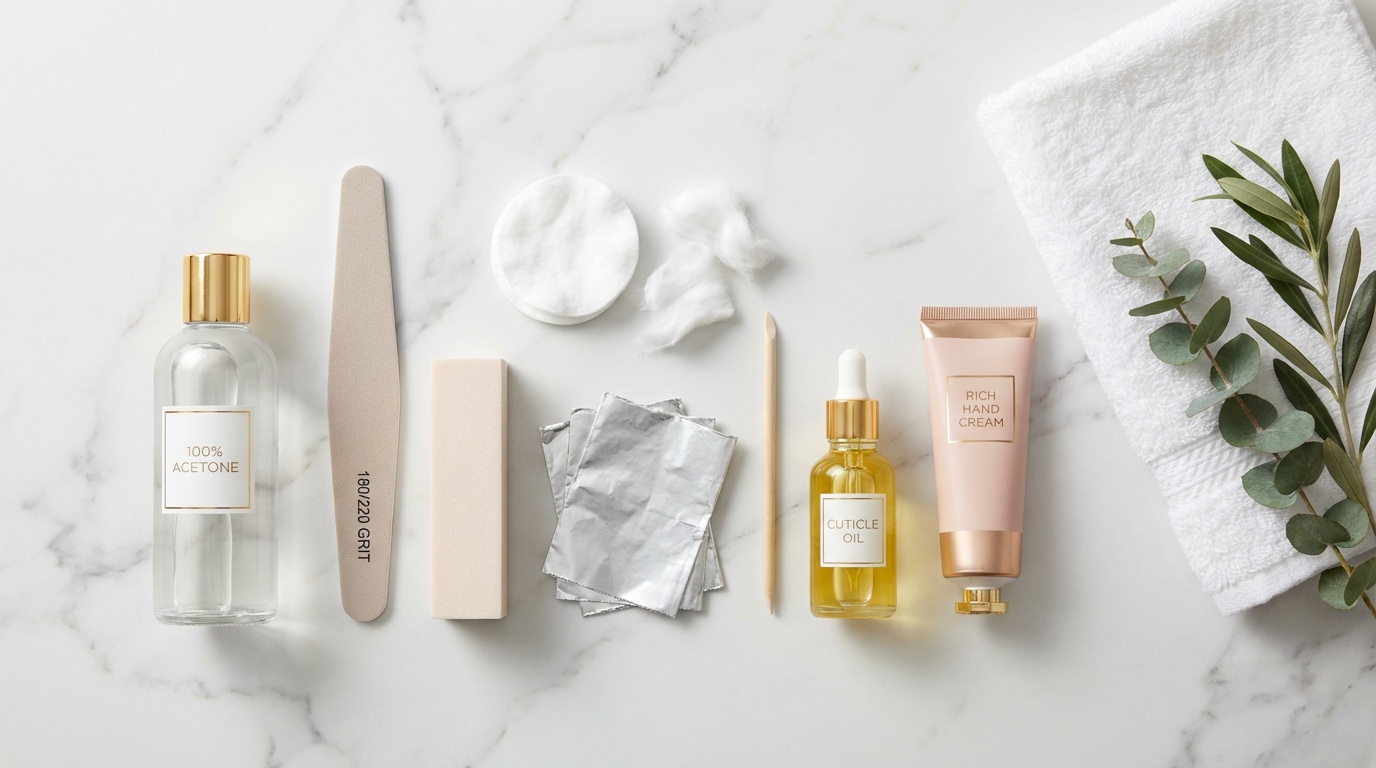
What you’ll need
- 100% acetone nail polish remover
- Nail file (180–220 grit) and a soft buffer
- Cotton balls or pads (cut into small pieces)
- Aluminum foil, cut into small squares
- Wooden cuticle stick or orangewood stick
- Petroleum jelly or a thick barrier cream
- Cuticle oil or a nourishing nail oil
- Rich hand cream
Step‑by‑step gel removal
Wash and dry your hands
Clean nails are easier to work with and you’ll remove any oils or lotion that might block the acetone.Gently file off the shiny topcoat
Use a 180–220 grit file to remove just the glossy layer from your gel polish. You don’t need to file off the color completely.Look, this part matters more than people think. That topcoat is like armor; if you don’t break it, acetone can’t get in and you’ll end up scraping.
Protect the skin around your nails
Apply a thin layer of petroleum jelly around the cuticles and on the sidewalls of the nail. This creates a barrier so acetone dries your skin less.Soak cotton with acetone
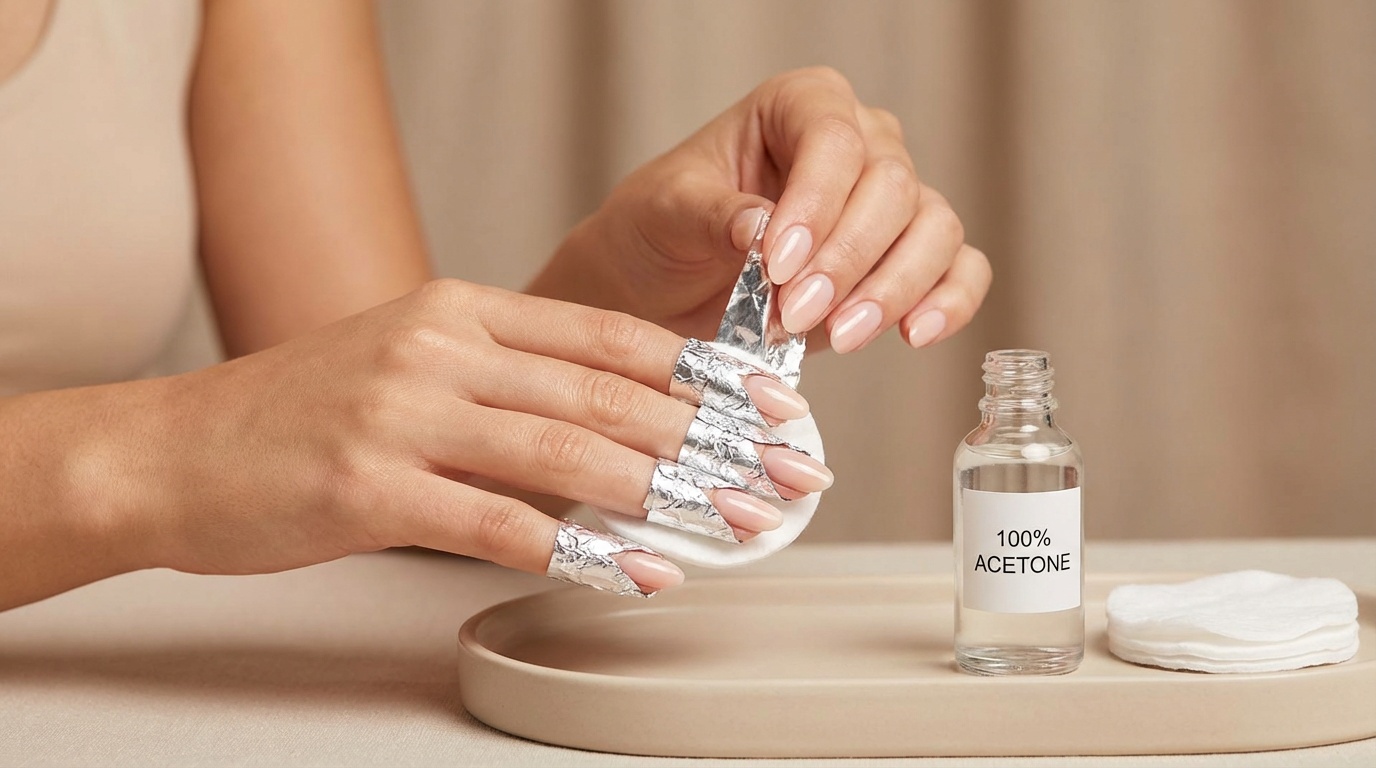
Saturate small pieces of cotton with 100% acetone. They should be wet but not dripping.Wrap each nail with cotton and foil
Place the soaked cotton on the nail plate, then wrap tightly with a small piece of foil to hold it in place. Pinch the tip gently so it’s snug.Wait 10–15 minutes (sometimes up to 20)
Time will vary depending on how thick the gel is and how strong your topcoat was. I usually tell patients: check at 10 minutes, but don’t panic if you need 20.Check and gently push off loosened gel
Unwrap one nail. Using a wooden cuticle stick, very gently nudge the gel off. It should look soft and flaky, sliding off with minimal pressure.- If it’s stuck or rubbery, don’t force it.
- Re‑wrap with fresh acetone cotton and foil for another 5–10 minutes.
Repeat soak as needed
Stubborn patches (especially near the free edge) may need a second round. Better to re‑soak than to scrape aggressively.Lightly buff the surface
Once the gel is off, use a soft buffer to smooth any remaining roughness. A few strokes only—you’re smoothing, not thinning your nail.Wash, then hydrate like crazy
Wash your hands with a gentle soap to remove acetone, pat dry, then apply:
- Cuticle oil to the nail and surrounding skin
- A thick hand cream over everything
Honestly, this post‑care step is what makes your nails recover faster.
What Happens If You Peel Gel Nails Off?
The short answer: you remove your own nail layers. When you peel gel polish, it doesn’t just take color—it takes the top layers of your nail plate with it.
As a dermatologist, here’s what I actually see when people habitually peel gel nails:
- Nails become thin and bendy, almost papery
- Peeling and splitting at the tips (we call this onychoschizia)
- White, chalky patches where the surface is damaged
- Tenderness or sensitivity, especially to water and heat
Your nail plate is made of tightly packed keratin cells. Gel polish adheres strongly to those cells. When you rip the gel off, you’re literally ripping keratin layers away. That damage can take 3–6 months (or more for toenails) to fully grow out.
So if you’re tempted to start picking because your gel is lifting at the edges—don’t. File down the lifted area a bit, cover with a regular polish if you need to hide it, and remove it properly when you have time.
How To Remove Gel Nails Without Damaging Natural Nails
If your goal is to remove gel nails without damage, the method matters—but so does your technique.
Here are the key rules I give my own patients:
File, don’t drill at home
Skip at‑home electric files unless you’re really trained. It’s way too easy to over‑file and thin the nail plate.Use 100% acetone for gels
Regular non‑acetone removers are gentler, but they don’t break down gel polish effectively. You’ll just end up scraping more.Go slow and gentle
If the gel isn’t sliding off with light pressure, it’s not ready. More soaking, less scraping.Limit back‑to‑back gel sets
Try giving your nails a 1–2 week break after every 2–3 gel applications. Use that time to hydrate and strengthen.Keep nails short while recovering
Shorter nails are less likely to split or catch while the damaged part grows out.
I’ve found that people who respect those basics can wear gel pretty regularly without long‑term damage.
Best Products To Use When Removing Gel Nails
You don’t need a ton of fancy tools, but a few product types really do make at‑home gel removal safer and easier.
Pure acetone remover
Look for 100% acetone or a remover specifically labeled for gel or acrylic nails. This dissolves gel much more effectively than standard removers.Acetone‑resistant cotton and foil wraps
You can use regular cotton balls and kitchen foil, or pre‑made gel removal wraps. The key is good contact between the soaked cotton and the nail.A gentle nail file and buffer
A 180–220 grit file for the topcoat and a soft buffer for finishing. Avoid very rough files (80–100 grit) on natural nails.Cuticle oil or nail serum
Look for formulas with jojoba oil, vitamin E, or squalane. These help restore flexibility to the nail plate and soothe the surrounding skin.Thick hand cream
I love creams with ceramides, shea butter, or glycerin. They help repair the moisture barrier after acetone exposure.
If you’re sensitive, you can also keep a barrier repair ointment on hand to apply around your nails before and after removal.
How Long Should You Soak Gel Nails In Acetone?
Most people need 10–20 minutes of soaking to remove gel nails safely. But the exact time depends on:
- How many layers of gel you have (base, 2–3 color coats, topcoat)
- How thickly it was applied
- Whether you fully filed off the shiny top layer
- The strength of your acetone and how well the foil is sealed
Here’s a simple guideline:
- At 10 minutes: Unwrap one nail and check. If the gel is lifting and looks wrinkled or flaky, you’re ready to start gently pushing it off.
- If it’s mostly intact: Re‑wrap and wait another 5–10 minutes.
- At 20 minutes: Most gels should be soft enough to remove. Stubborn bits can be gently scraped and then buffed.
If you’re consistently needing 30+ minutes, your topcoat might be very strong, or your wraps aren’t tight enough. In that case, spend a little more time filing the surface next time before you soak.
How To Care For Nails After Removing Gel Polish
Honestly, the aftercare is where you can really protect your nails long‑term. Acetone and gel removal are drying, even if you do everything right.
Right after you remove your gel nails:
Wash and dry your hands thoroughly
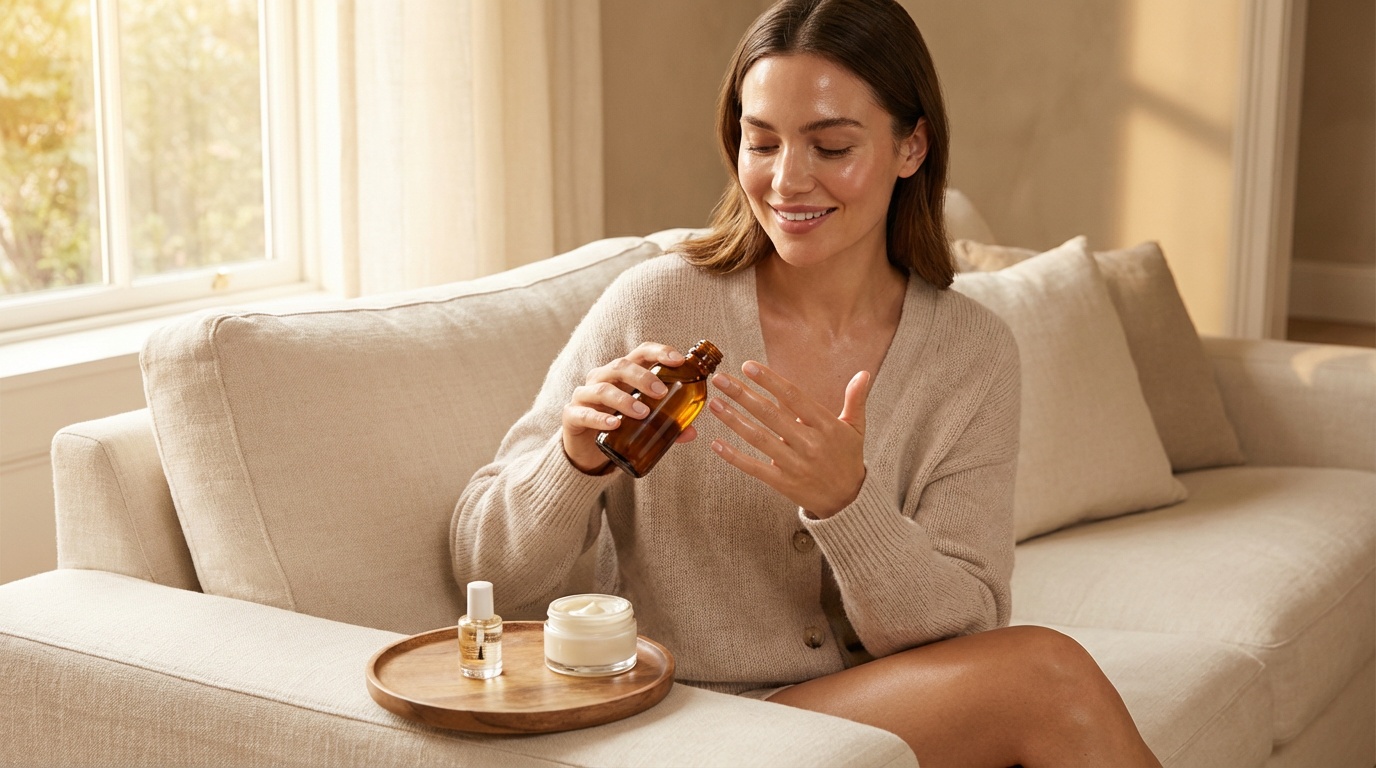
Remove all acetone residue so it doesn’t keep dehydrating the nail.Apply cuticle oil twice a day for at least a week
Massage into the nail, cuticle, and surrounding skin. Consistency matters more than the exact product.Use a rich hand cream after every hand wash
This helps repair the skin barrier that acetone can disrupt.Consider a strengthening treatment
A formaldehyde‑free nail strengthener or a keratin‑infused clear coat can help protect thin nails while they grow out.Take a short gel break
Give your nails at least 7–10 days off between gel sets if they’re feeling weak or peeling.
If your nails are very damaged—splitting up the length, painful, or lifting from the nail bed—schedule a visit with a dermatologist. Sometimes there’s more going on than just cosmetic damage (like psoriasis, eczema, or fungal infection).
When To See A Pro Instead Of Removing Gel Nails At Home
Removing gel nails safely at home is totally doable, but there are times I’d rather you see a professional manicurist or a dermatologist:
- You have very thin, brittle, or peeling nails already
- There’s pain, redness, or swelling around any nail
- You see green, brown, or black discoloration under the gel
- You have a history of eczema or contact dermatitis on your hands
- You’ve had a bad reaction to nail products before
In those cases, professional removal is usually safer, and we can adjust the method (shorter soak times, different products, added protection) to reduce irritation.
The Bottom Line
The safest way to remove gel nails is slow, gentle, and a little boring: file off the shiny topcoat, protect your skin, soak with 100% acetone, and only push the gel off when it’s truly softened. No peeling, no prying, no power tools at home.
If you treat your nails kindly during removal and baby them afterward with oil and moisture, you can absolutely enjoy gel manicures without trashing your natural nails.
If you like tips like this, you’ll probably love Insider Beauty’s weekly deals and dermatologist‑approved picks—consider signing up for our newsletter so you don’t miss the good stuff.
Want more tips and exclusive beauty deals delivered to your inbox? Pop your email in the box below and join thousands of insiders who save big every week.