
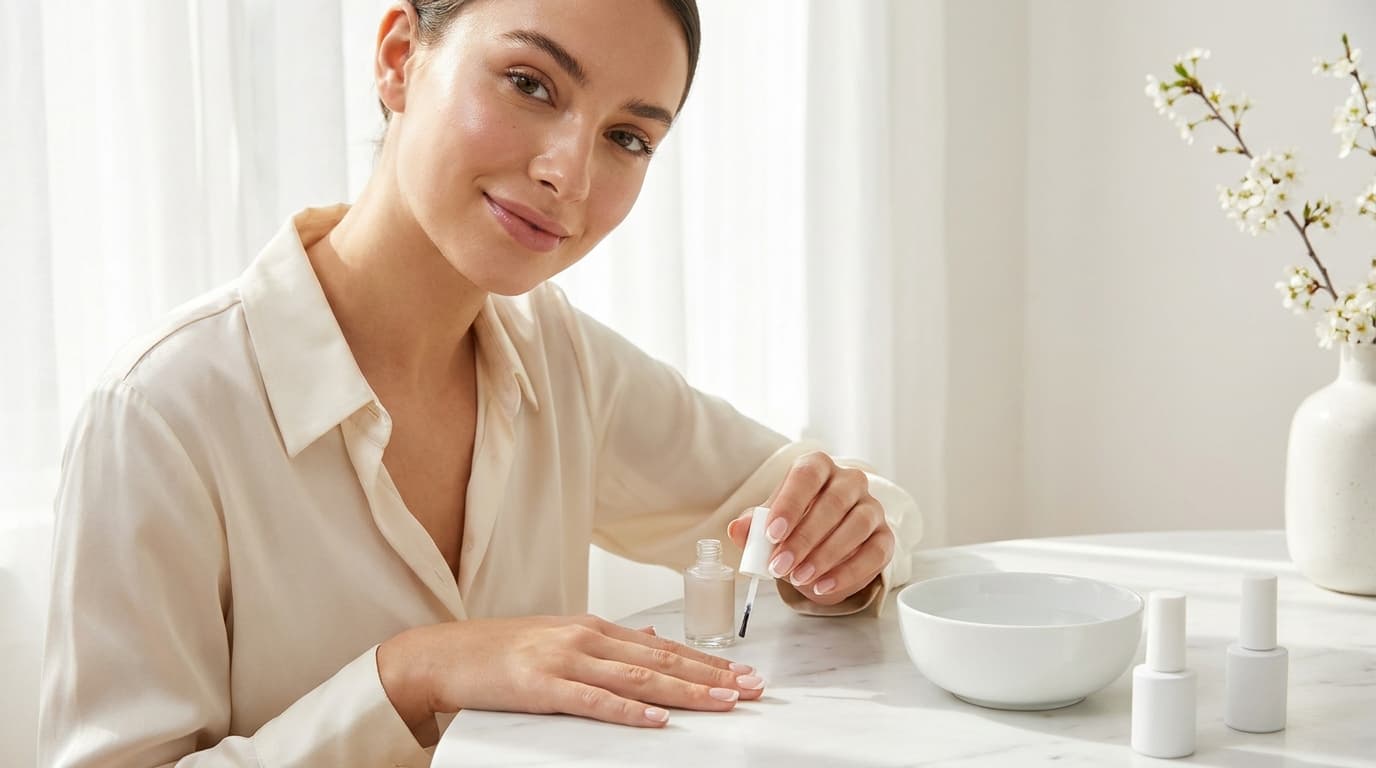
A french manicure at home tutorial is easiest when you prep the nail well, use thin polish layers, and create the tip before sealing everything with top coat. The clean, classic look works because contrast and symmetry do most of the heavy lifting. Here's exactly how to do it without making a mess.
Quick Takeaways
- Start with nail prep: Clean, shape, and lightly buff nails so polish grips better and lasts longer.
- Use thin coats: Thick polish streaks, smudges, and takes forever to dry.
- Paint the smile line slowly: Short strokes usually look cleaner than one long swipe.
- Fix mistakes with a small brush: A detail brush dipped in remover sharpens the tip fast.
- Seal the edge with top coat: This helps prevent chipping at the tips.
How to do a french manicure at home
So, the simplest way to do a french manicure at home is to break it into three parts: base, tip, and seal. I've found that most DIY manicures go wrong because people rush the prep or overload the brush. You really don't need salon-level skill. You need a steady setup, decent lighting, and a little patience.
A classic French manicure usually uses:
- A sheer pink or nude base polish
- A white nail polish for the tip
- A clear top coat to smooth and protect
You can also use a ridge-filling base coat if your nails have texture, or a milky neutral polish if you want a softer, less stark finish. Honestly, that softer finish is often more forgiving at home.
What do you need for a french manicure at home?
Before you start this french manicure at home tutorial, set out everything first. That cuts down on smudges from digging around in drawers with wet nails.
You'll need:
- Nail polish remover or acetone
- Cotton pads or lint-free wipes
- Nail clippers if needed
- A nail file
- A buffer block
- Cuticle pusher
- Base coat
- Sheer pink, nude, or milky polish
- White polish
- Top coat
- A small cleanup brush or angled brush
Optional but helpful:
- French tip guide stickers
- A dotting tool for tiny fixes
- Quick-dry drops
Look, if you're a beginner, tip guide stickers can help. But they aren't mandatory. I've seen people get cleaner results freehand once they stop trying to force a perfect deep curve.
How do you prep nails for the cleanest French tip?
Prep matters more than people think. Nail polish adheres best to a clean, dry, oil-free surface. If there's lotion, cuticle oil, or even a little dust left behind, the manicure can lift or chip sooner.
Follow these steps:
- Remove old polish completely.
- Trim and file nails into your preferred shape.
- Lightly buff the surface to smooth ridges.
- Gently push back cuticles.
- Wipe nails with remover to eliminate oil and dust.
- Apply one thin layer of base coat.
For shape, squoval and soft almond tend to look especially pretty with French tips. Short nails work too, by the way. You don't need long extensions for this look. On shorter nails, a thinner white tip usually looks more balanced and can make the nail bed appear longer.
How do you paint French tips without streaks?
This is the part everyone worries about, but it's very doable. The key is keeping the white line thin and building it gradually.
Use this step-by-step method:
- Apply one to two thin coats of your sheer pink or nude base and let it dry.
- Roll the white polish bottle between your hands instead of shaking it to reduce bubbles.
- Remove excess polish from the brush so it isn't overloaded.
- Starting at one side of the nail, paint toward the center with a short curved stroke.
- Repeat from the other side until the smile line meets in the middle.
- Fill in the tip above the line with thin polish.
- Let it dry, then refine the edge with a cleanup brush dipped in remover.
- Apply top coat over the entire nail, including the free edge.
If freehand feels tricky, use tip guides after the base color is fully dry. Press them down firmly so polish doesn't bleed underneath. Then paint the tip, remove the guide while the polish is still slightly wet, and let it settle.
Honestly, a lot of home manicures look better when the smile line is subtle rather than dramatic. A super deep white curve can be harder to match from nail to nail.
How can you make a French manicure look salon-quality?
A salon-looking result usually comes down to a few small details, not fancy tools. In clinic and on shoots, I've noticed people focus on the white tip and forget the overall finish. But the smoothness, symmetry, and shine are what make it look polished.
Try these tips:
- Keep the tip width consistent: Aim for a similar thickness on every nail.
- Use thin layers: Two thin coats always beat one thick coat.
- Cap the free edge: Swipe top coat along the nail edge to reduce chipping.
- Clean as you go: A small brush and remover can sharpen lines in seconds.
- Let each layer dry: Smearing usually happens when the base is still tacky.
- Choose a softer white if needed: Bright white can highlight every wobble.
So, if your nails naturally have ridges or peeling, use a ridge-filling base coat first. It creates a smoother canvas and helps that glossy, even look. That's one of those little tricks that makes a bigger difference than people expect.
What are the most common French manicure mistakes?
Even a good french manicure at home tutorial can fall apart if you hit a few classic mistakes. The good news is they're easy to fix.
Here are the big ones:
- Skipping prep: Oils and leftover dust shorten wear time.
- Making tips too thick: This can make nails look shorter and less elegant.
- Using too much polish on the brush: That leads to blobs and uneven edges.
- Not waiting between coats: Wet polish drags and dents.
- Over-buffing the nail plate: This can weaken nails over time.
- Ignoring cleanup: Tiny polish smears around the cuticle make the whole manicure look messy.
If you smudge a tip, don't panic. Let it dry a bit, then use a detail brush with remover to reshape it. Trying to wipe it with a finger usually makes things worse. Been there.
How do you make a French manicure last longer?
A DIY French manicure can last around 5 to 7 days on natural nails, sometimes longer if you're gentle with your hands and use a good top coat. Durability depends on nail prep, how thin your layers are, and how much water exposure your hands get.
To help it last:
- Start with clean, dehydrated nails.
- Use a base coat under color.
- Apply thin layers and let them dry fully.
- Seal with top coat and cap the tips.
- Reapply top coat every two to three days.
- Wear gloves when washing dishes or cleaning.
- Use cuticle oil daily, but avoid flooding the nail surface right after painting.
This part matters because repeated water exposure can make the nail plate swell and contract, which stresses the polish film and encourages chipping. So yes, gloves are kind of boring, but they help.
Can you do a French manicure on short nails?
Absolutely. In fact, a French manicure on short nails can look really fresh and modern. The trick is scaling the white tip to the nail length. A very thin line often looks chic and can create the illusion of a longer nail bed.
For short nails:
- Keep the white edge narrow
- Choose a sheer nude close to your skin tone
- Avoid bulky layers of polish
- File nails evenly so the tips look symmetrical
I've found that short nails often suit a micro-French best. That's just a very fine white line at the edge rather than a thick stripe. It's lower maintenance and a bit easier to keep neat.
The Bottom Line
A french manicure at home tutorial really comes down to prep, thin coats, and a controlled white tip. You don't need perfect hands or expensive tools to get a clean result. Start with a sheer base, paint a narrow smile line, clean up the edges, and seal it all with top coat for that glossy, classic finish.
If you want more easy beauty how-tos and smart product picks, sign up for Insider Beauty's weekly deals and get the good stuff sent straight to your inbox.
Want more tips and exclusive beauty deals delivered to your inbox? Pop your email in the box below and join thousands of insiders who save big every week.